For your AI Email (AIE) campaigns, you have the option to suppress lists of emails or domains with a suppression list. This prevents your AI email agent from sending emails to a specific group of leads in your campaigns. AIE provides pre-built suppression lists, and you can create your own custom ones.
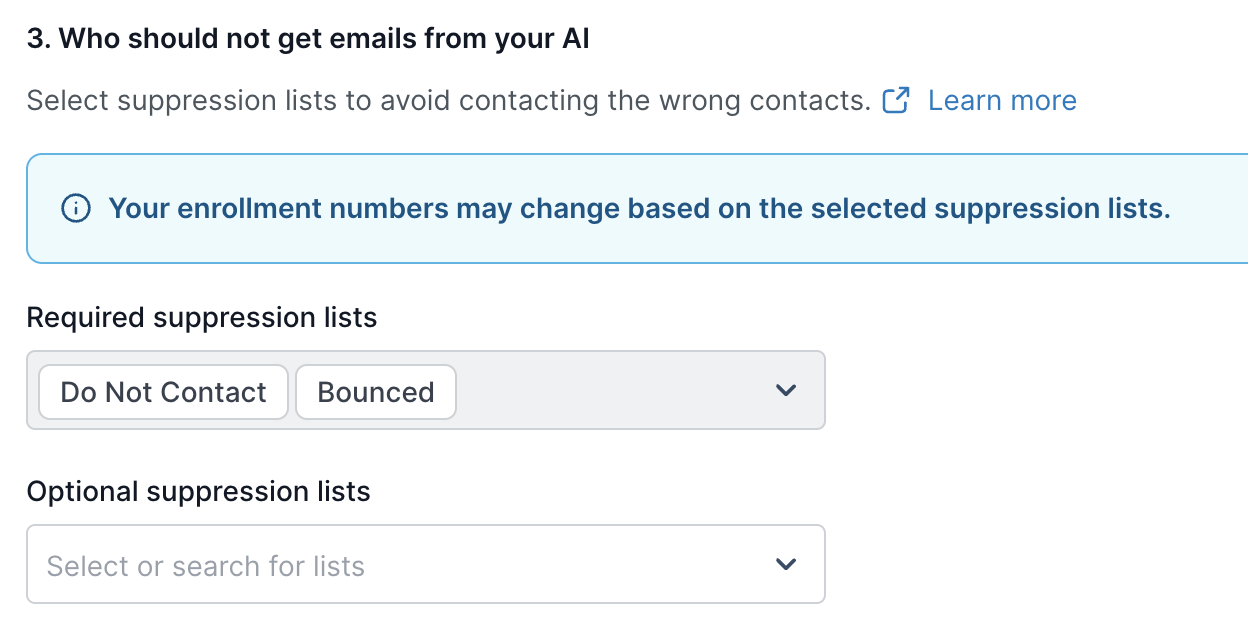
You apply suppression lists to individual campaigns in the Enroll contacts > 3. Who should not get emails from your AI section.
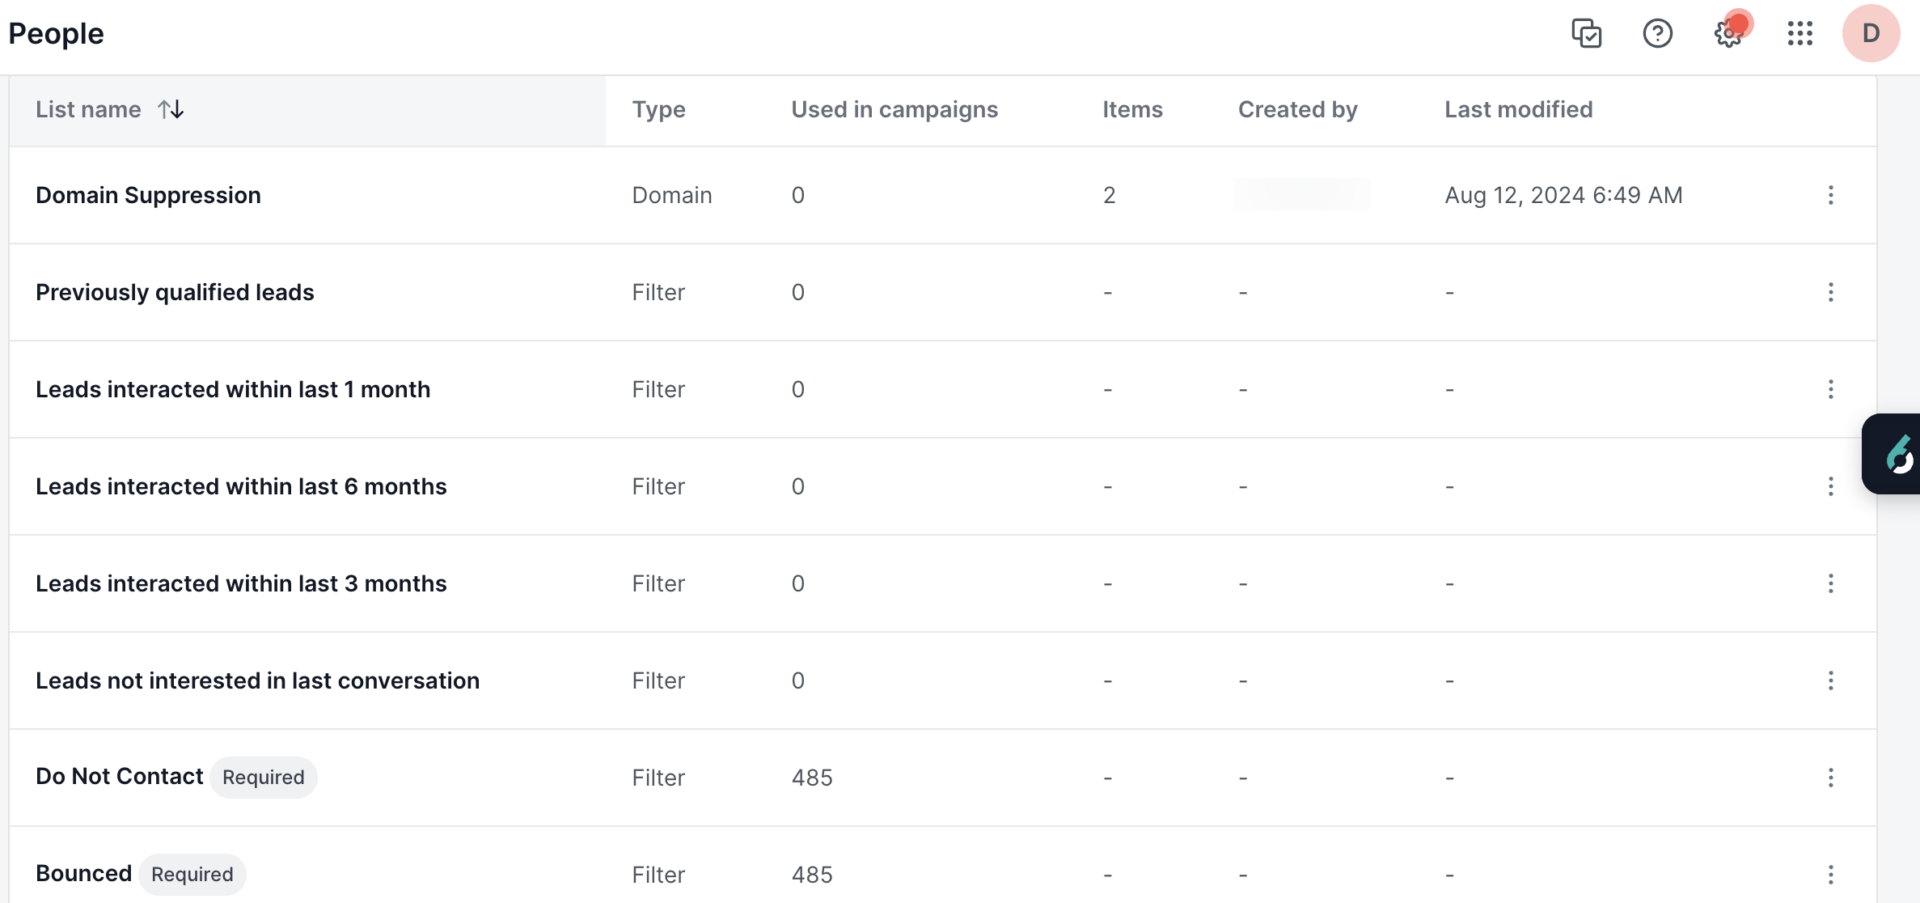
To locate all your suppression lists, go to People > Suppression lists.
Understand how Suppression Lists work
Suppression lists are checked only when a contact is enrolled in a campaign.
If a contact is already enrolled, they’ll still receive emails, even if you add them to a suppression list.
If a contact is not yet enrolled, and they’re on the suppression list before enrollment, they won’t be enrolled and won’t receive emails.
Pre-built suppression lists
Your AI email agent has several pre-built suppression lists based on filters:
Bounced (Required)
Leads that have any previous conversations with the Bounced status.Do Not Contact (Required)
Leads marked with the Do Not Contact status.Leads interacted within last 6 months Leads whose last email interactions was within the last 6 months.
Leads interacted within last 3 months
Leads whose last email interaction was within the last 3 months.Leads interacted within last 1 month
Leads whose last email interaction was within the last 1 month.Leads not interested in last conversation
Leads marked as “Not interested” in the most recent conversation.Previously qualified leads
Leads marked as “Qualified” in any previous conversations.
When selected, your AI email agent will not reach out to leads that fall within these suppression lists for your campaign.
Leads previously marked as Do Not Contact and Bounced leads are automatically suppressed.
Custom suppression lists
You can add your own email or domain list that appears under Optional Suppression Lists. When these lists are activated for a campaign, your AI email agent will not reach out to these specific leads (for email suppression lists), or leads belonging to these specific domains (for domain suppression lists).
Prerequisites
A CSV file in the correct format that contains the list of emails or domains to suppress. See the content and formatting instructions in the following section.
Create a suppression list CSV file
To create a CSV file for an email or domain suppression list:
A CSV file containing the email addresses you wish to suppress, or
A CSV file containing the domains you wish to suppress.
See the following sections for the CSV file format.
Format for an email suppression list CSV file
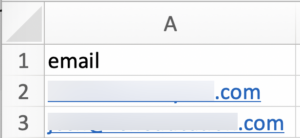
If you are uploading an email suppression list, your CSV file must have the column header text “email” in row 1, and the list of email addresses you wish to suppress in the rows under that column:
Format for a domain suppression list CSV file
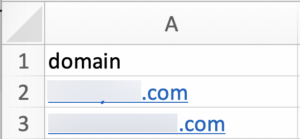
If you are uploading an domain suppression list, your CSV file must have the column header text “domain”, and the list of domains, without the “@” sign, you wish to suppress in the rows under that column:
Set up a custom suppression list in CE
After your CSV is ready, upload it to CE.
In CE, go to People > Suppression lists.
Select New suppression list. The Create a list popup opens.
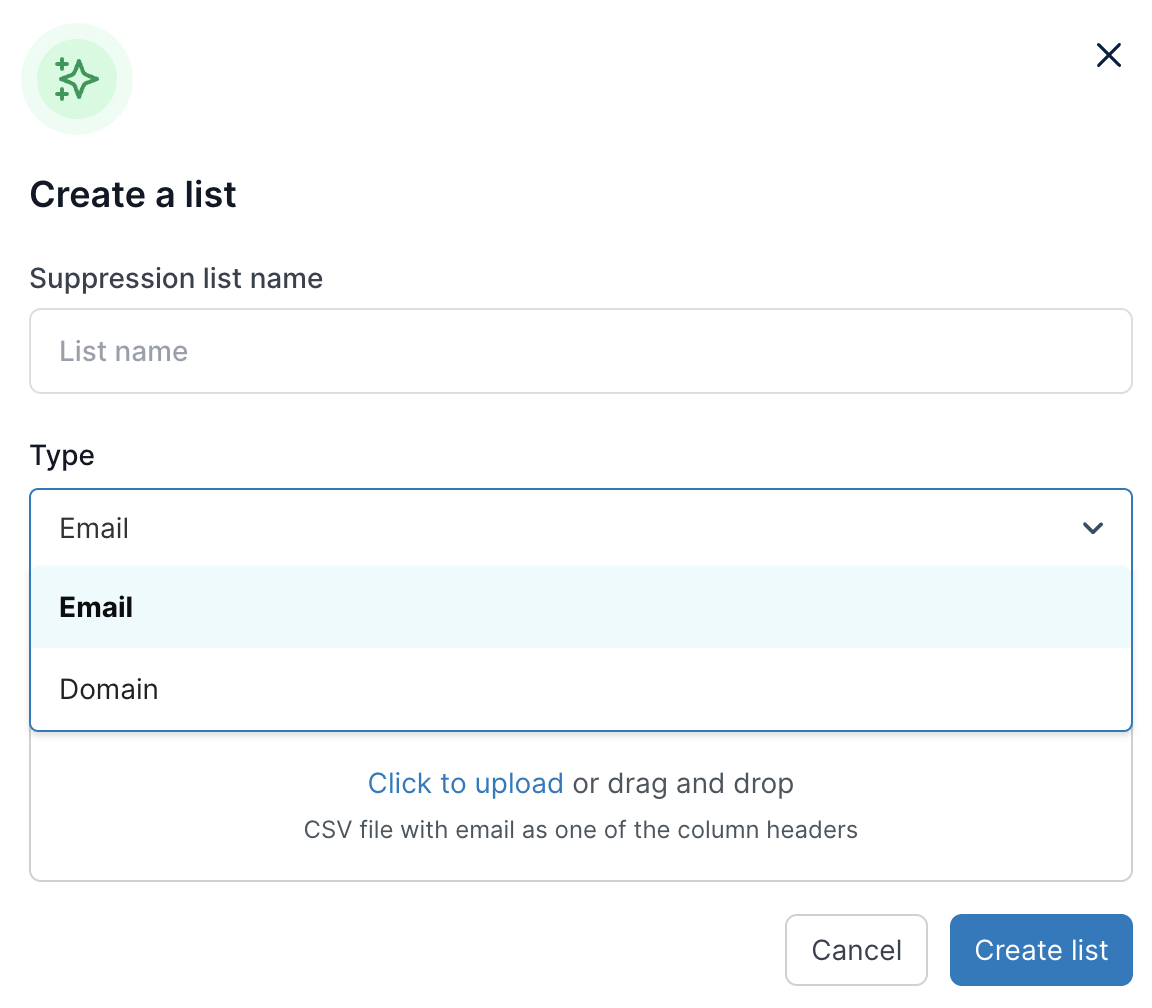
Give the list a descriptive name.
Select either Email or Domain as the Type, depending on the type of suppression list you are creating.
Drag-and-drop your CSV file, or select Click to upload and upload the file.
Select Create list.
AIE adds the list to the Suppression lists tab.