Follow the steps below in order to fetch the client id, client secret, and the tenant id for your Dynamics 365 CRM Integration. You will need access to your Microsoft Azure Portal, as well as Dynamics CRM.
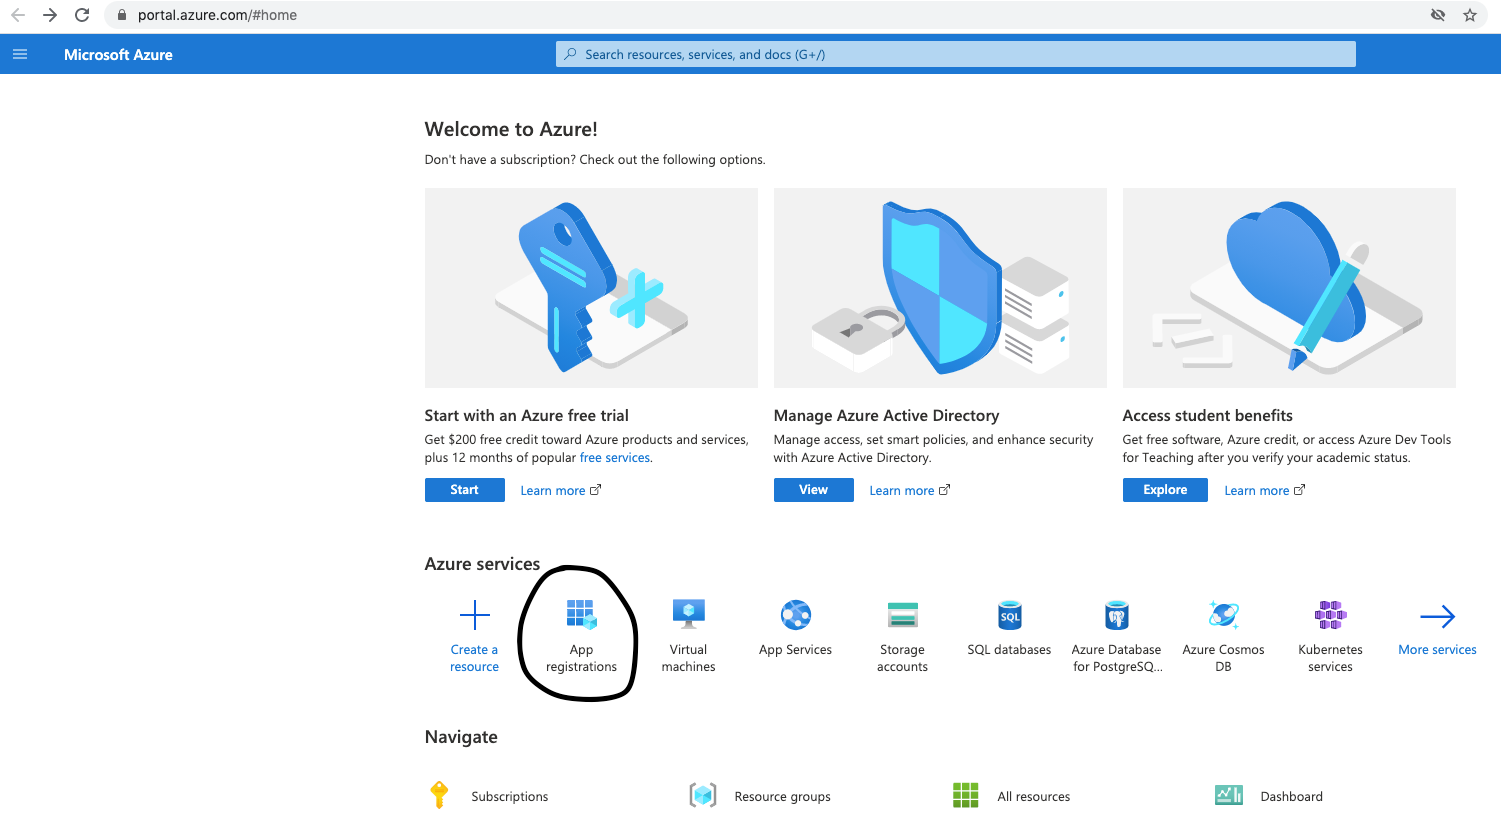
Go to https://portal.azure.com/ and click on App registrations.
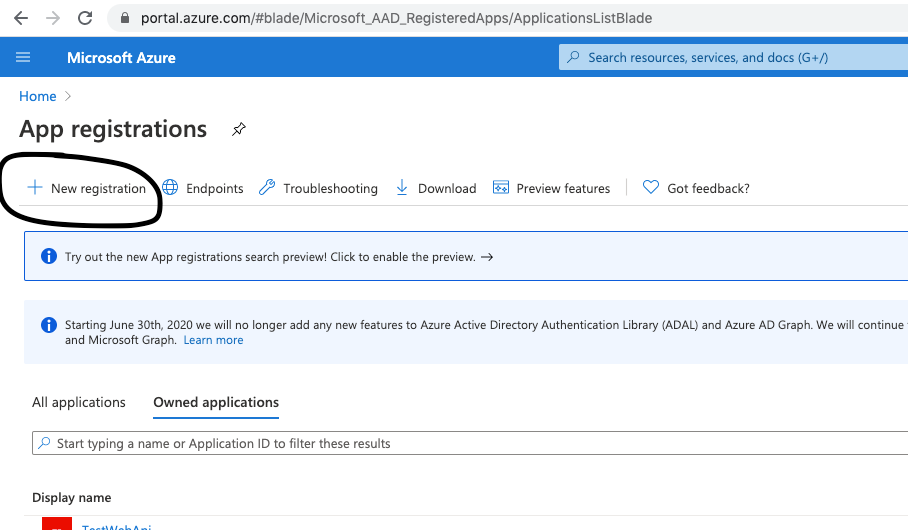
Click on New registration.
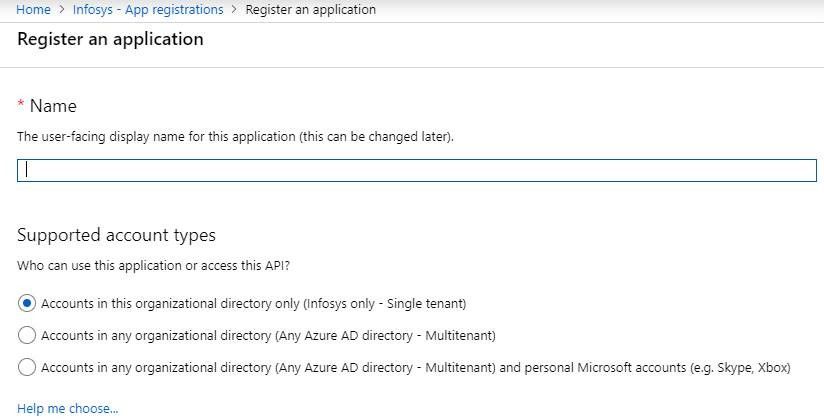
Set a name, and set Supported account types to the first option shown below:
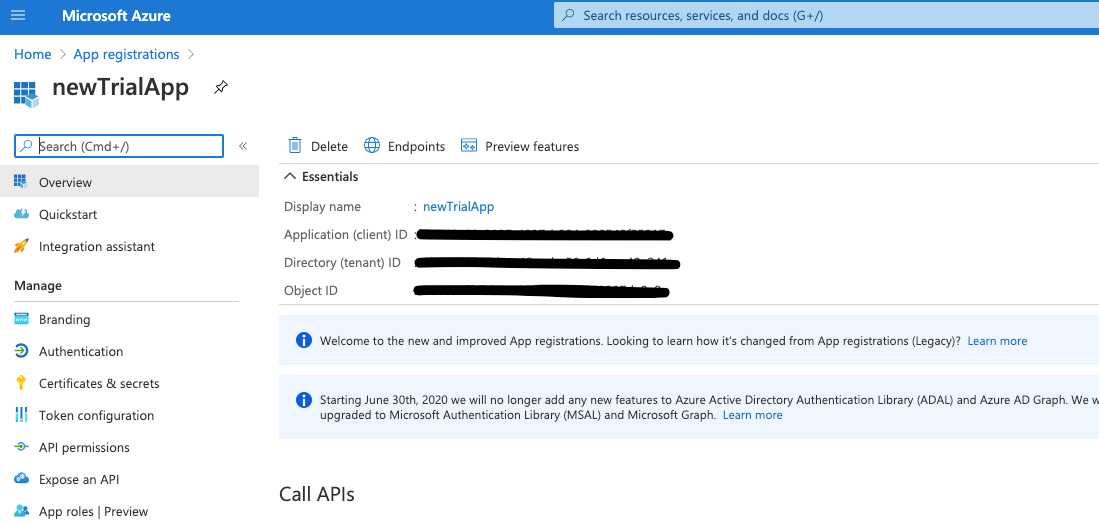
Copy the ‘client Id’ and ‘tenant Id’ to 6sense ABM.
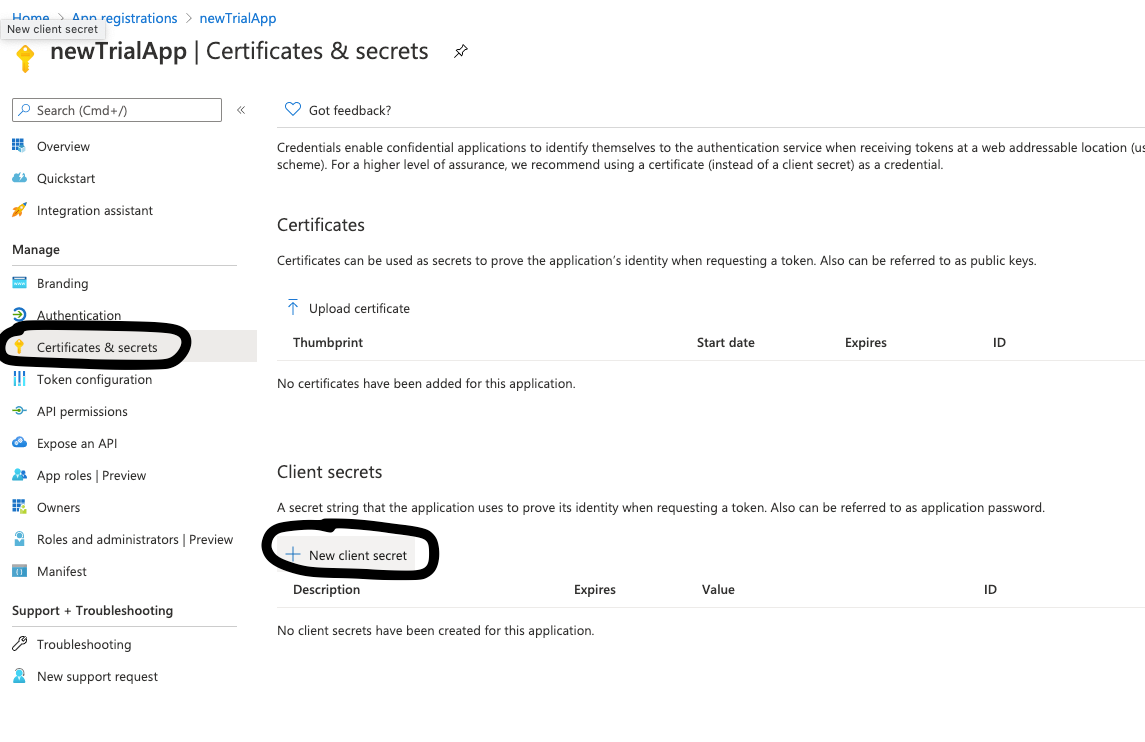
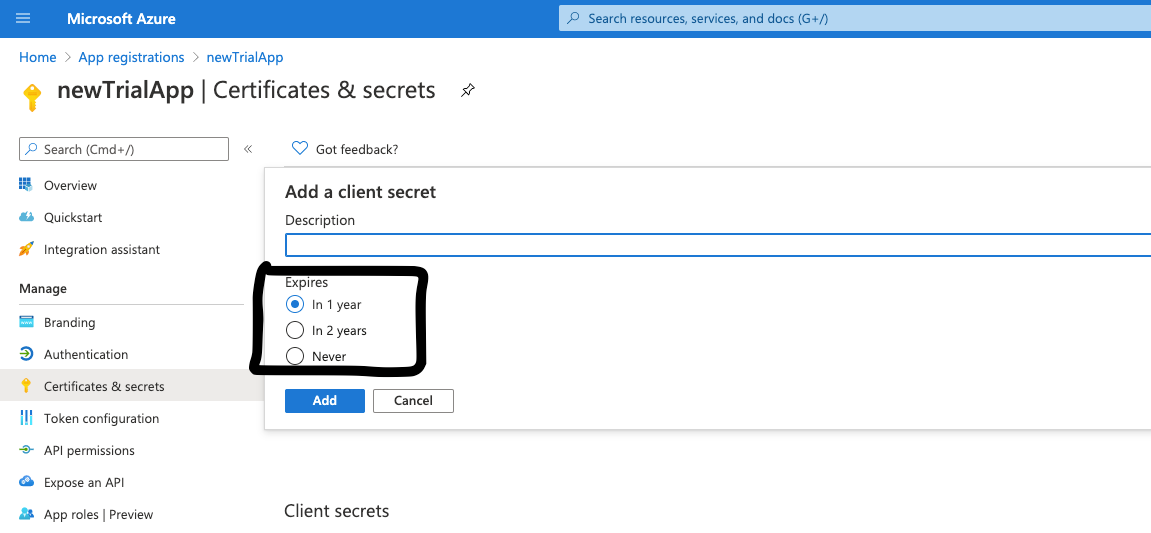
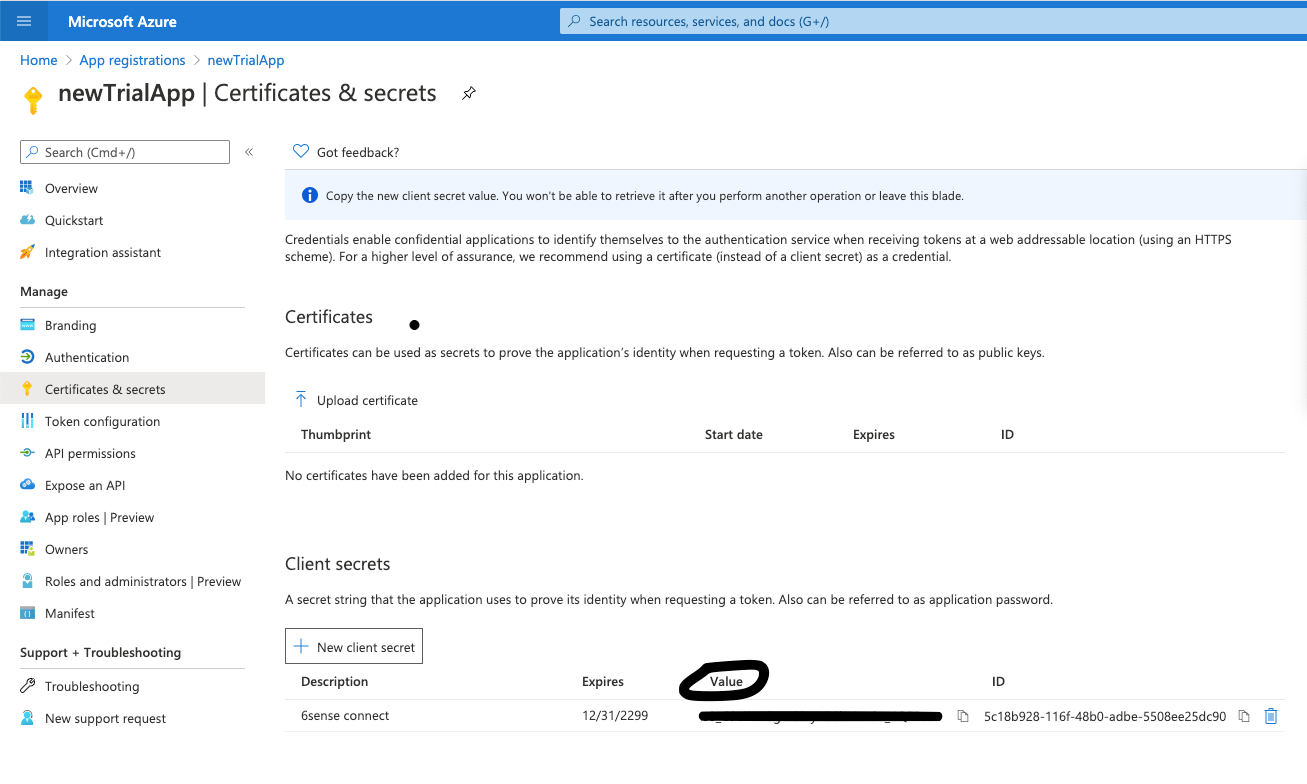
Click on Certificates & Secrets > New client secret > Select the expiration time for the client secret you are above to create > Copy the value (which is the client secret) and put it on 6sense ABM, along with client id and tenant id from the previous step:
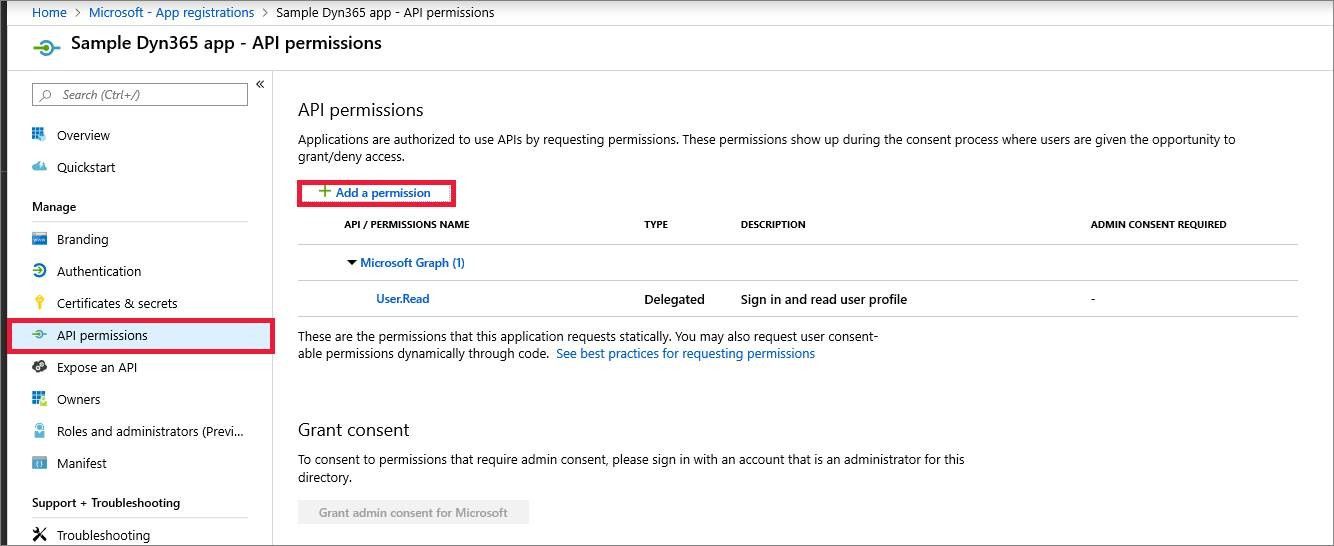
Select the API permissions tab, click on Add a permission.
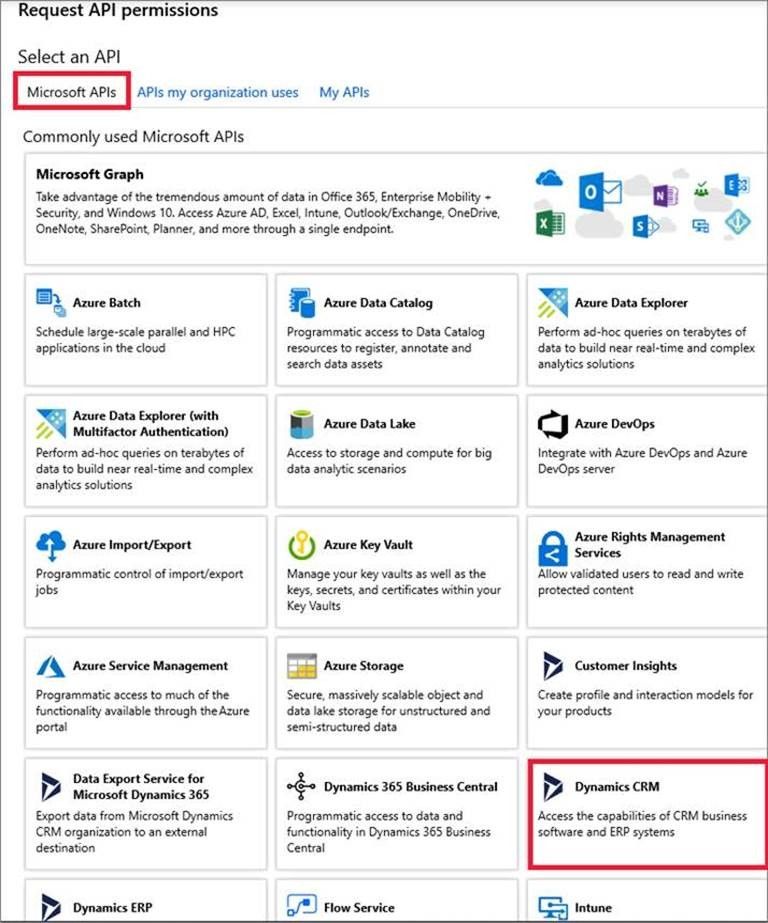
Select Dynamics CRM under the Microsoft APIs tab.
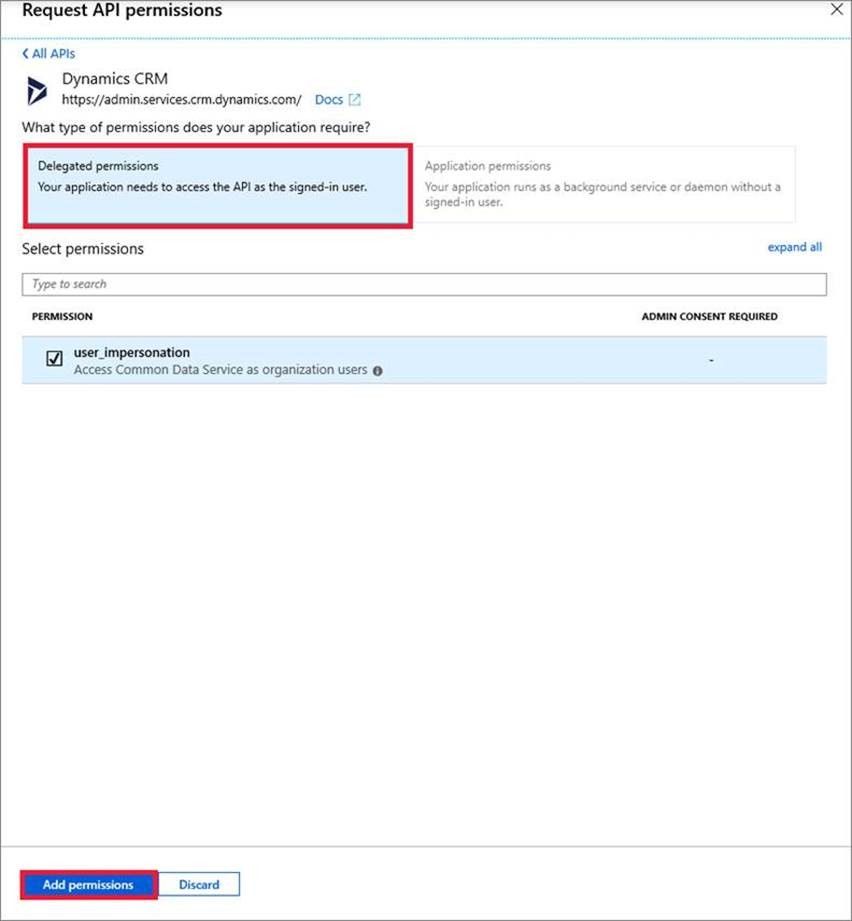
Click on Delegated permissions and check the options and click on Add permissions.
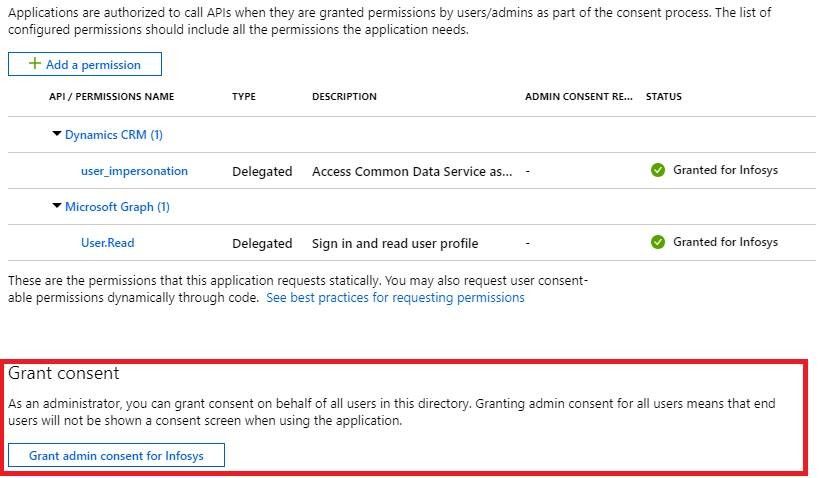
Remember to click Grant admin consent:
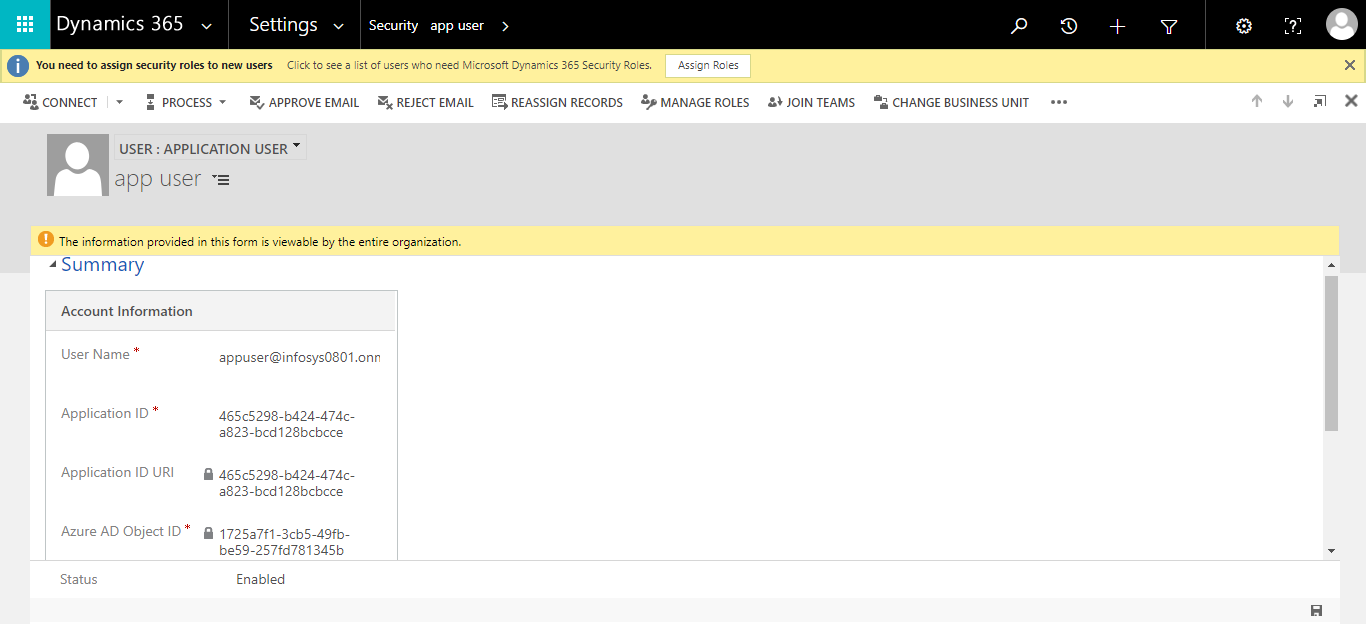
Go to Dynamics365 and create an application user, set the Application ID field to the Application (client) ID of the app you just registered on Azure. Fill in the field for User Name, Full Name, Primary Email as well (use a brand new name that doesn’t exist in your organization). Remember to assign a security role to this user.