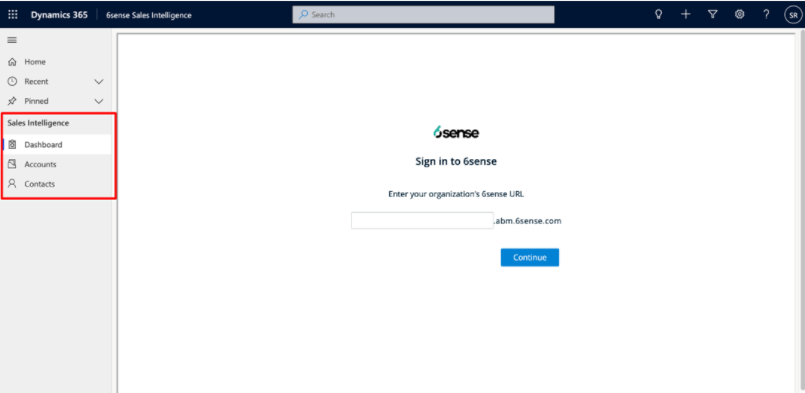
This article describes installing the 6sense Sales Intelligence Extension in Microsoft Dynamics. This installation gives you access to Sales Intelligence (SI) click-ins on Account, Contact, and Lead pages, and the Sales Intelligence Dashboard.
Requirements
Contact your 6sense CSM to provide you with the extension’s zip file.
You must be a Microsoft Dynamics Admin to install the SI Extension as a new app in Dynamics. After completing this integration, you can add 6sense as an existing app to other areas in Dynamics, as needed.
Users are required to be a registered user to use Sales Intelligence. If an org uses SSO, their users do not need to sign into the 6sense ABM platform, but if SSO is not being used, users will receive a confirmation email once the Admin invites them as a user. The link in the email will take the user to the Sales Intelligence app.
To setup your Microsoft Dynamics CRM integration in 6sense, follow the steps below:
Navigate to Settings and select the Integrations tile.
Click on Microsoft Dynamics when presented with the list of supported CRM integrations.
Click Connect and then click Sign in with Microsoft Dynamics credentials.
Click Next.
Enter Rest API limits and click Save & Next.
Flip the Data sync flag to the ON state. Click Finish to complete the setup.
Install the Extension as a New App
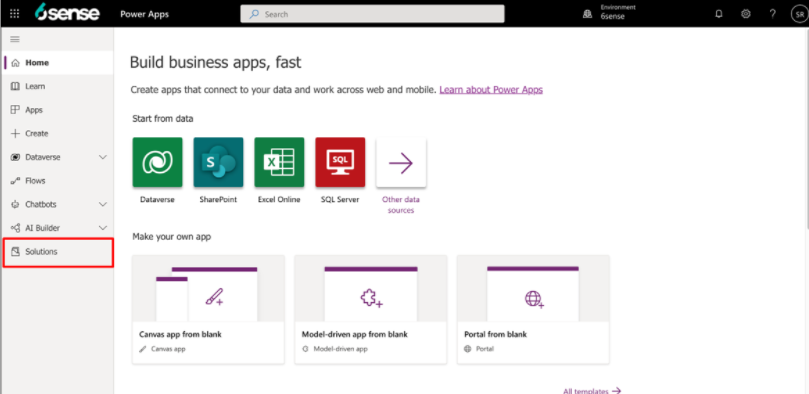
Log into http://make.powerapps.com as an Admin.
Select the correct environment.

Click Solutions.
Click Import.

Click Browse and select the solution zip file provided by your 6sense CSM.
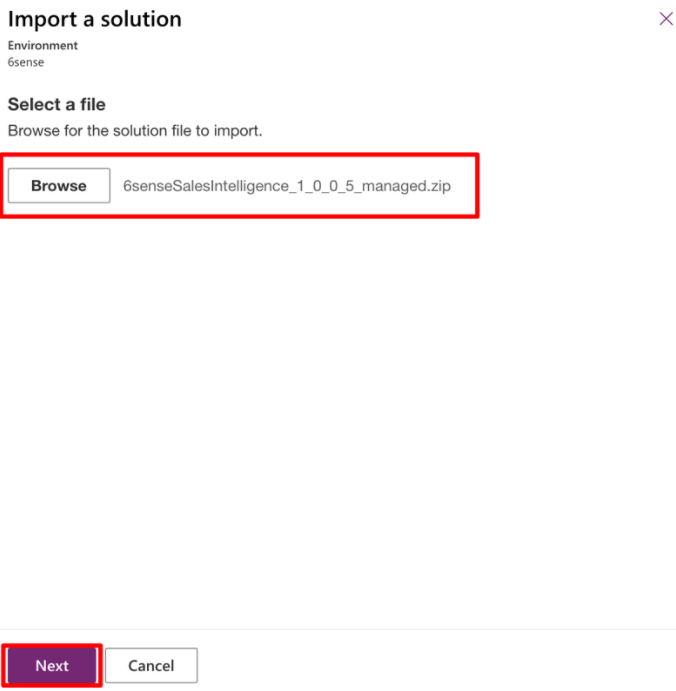
Click Next and then click Import.
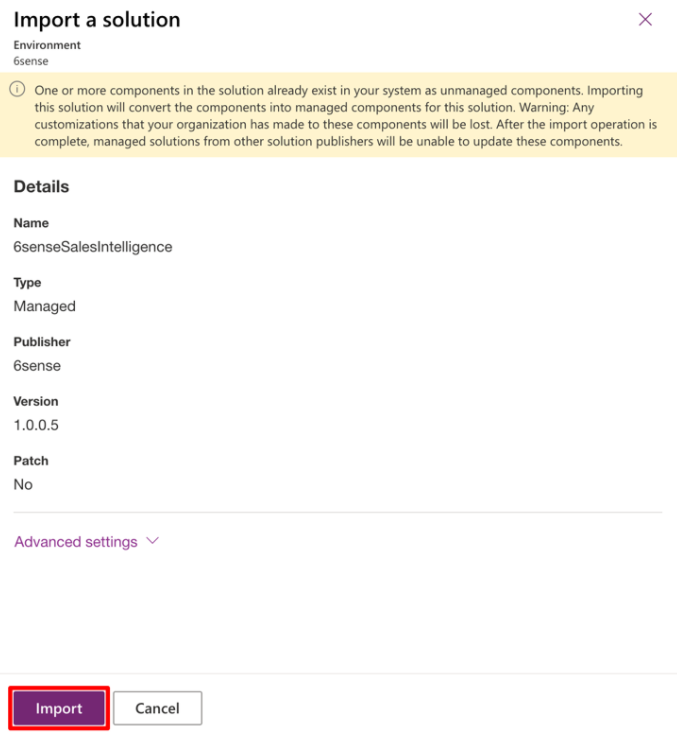
When the import process begins, the following message displays.

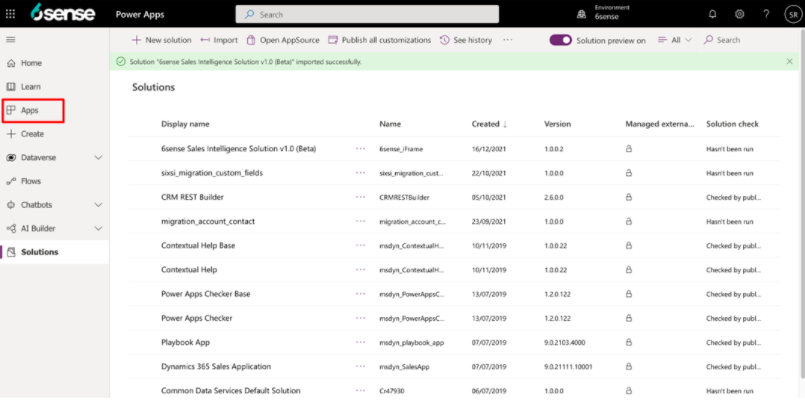
On successful installation of the solution, you see a success message, and the app is listed.
Click Publish all customizations.

In the left menu, click Apps.
From the list that loads, select the Sales Intelligence extension.
You can view the Sales Dashboard and other custom entities under their respective sections.
Install as an Existing App
Configure the Site MAP
As an Admin, log in to http://make.powerapps.com.
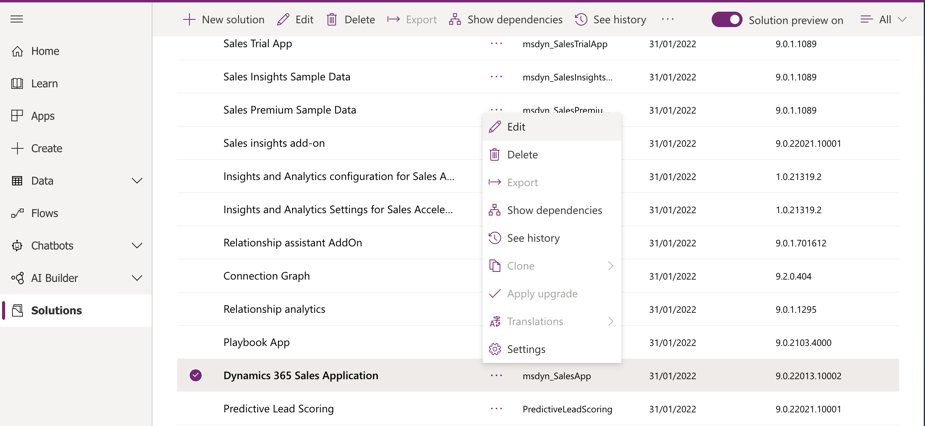
Click on Solutions on the left navigation bar.

Click the ellipses (…) button next to the solution you wish to modify and click Edit.
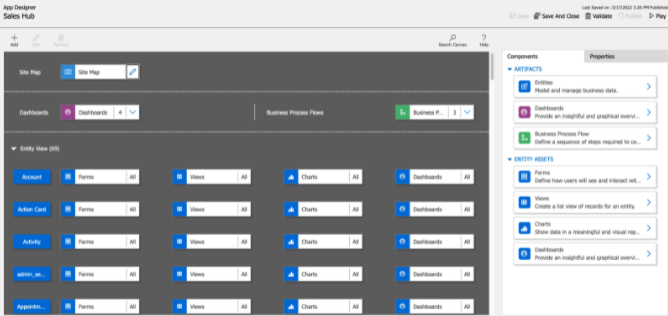
Click the entry with the Type Site Map.
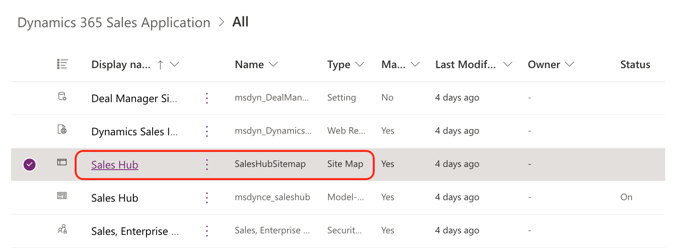
Note: If you don’t find the application of your choice in this example Sales Hub, you can find it under the Apps section.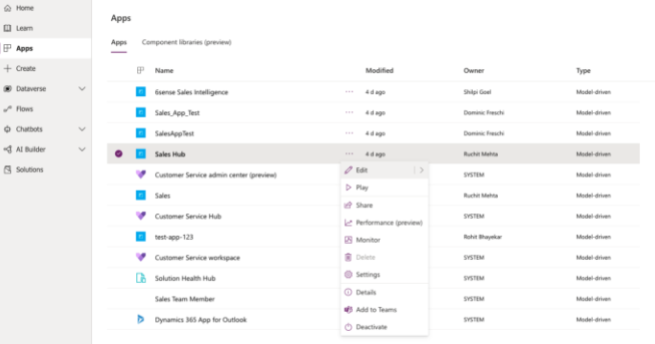
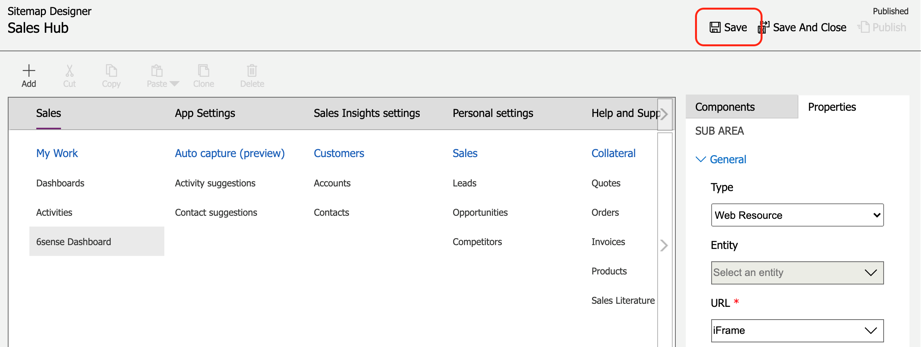
Select Site Map to edit your specified application.
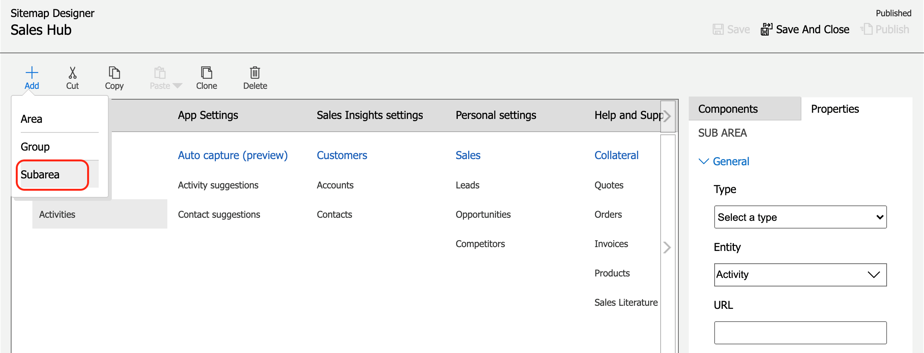
Either create a new Area and Group and then add a Subarea, or select an existing Area & Group and then add a Subarea to it.
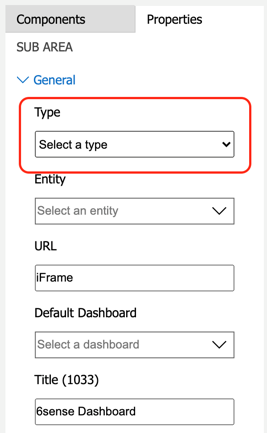
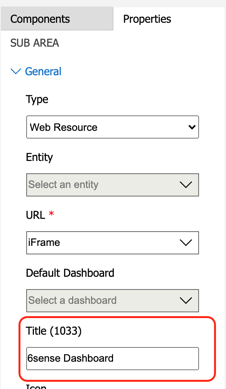
In the Properties tab on the right, click the Type dropdown and select Web Resource as the component type.
Under URL, type “sixsense”, then select Sales Intelligence extension from the option list that appears.
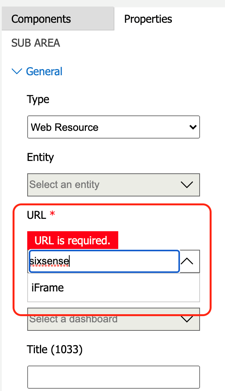
Enter a title for the SUB AREA.
At the top of the page click Save, and then click Publish.
Configure Account, Contact, and Lead
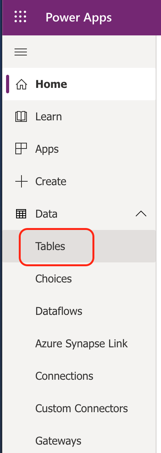
From the left menu, select Data > Tables.
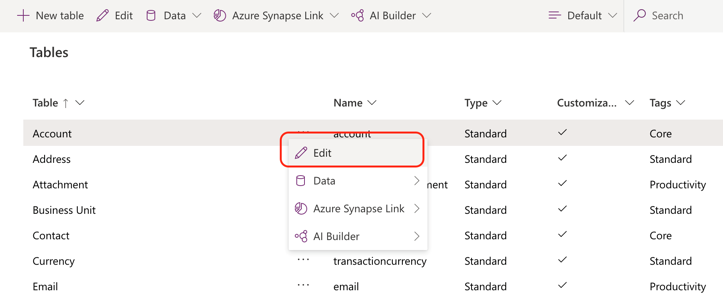
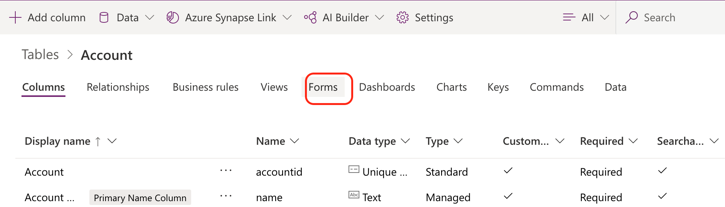
Right-click the Account, Contact, or Lead entity and click Edit.
At the top of the Account screen, select the Forms tab.
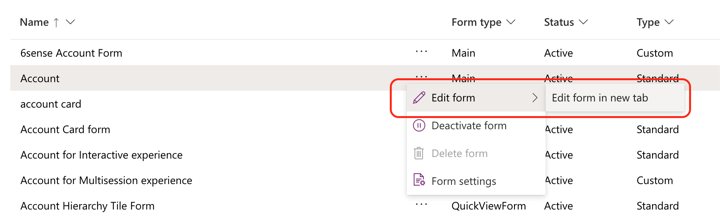
Right-click the desired form and select Edit form > Edit form in new tab.
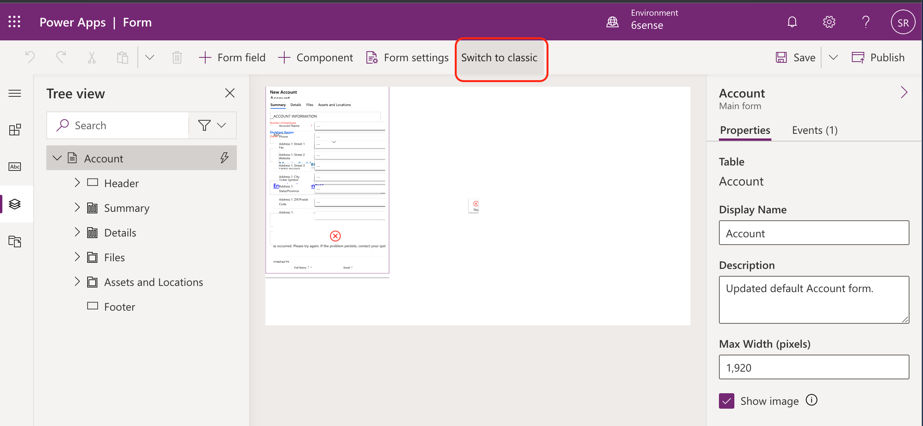
Click Switch to classic at the top of the page.
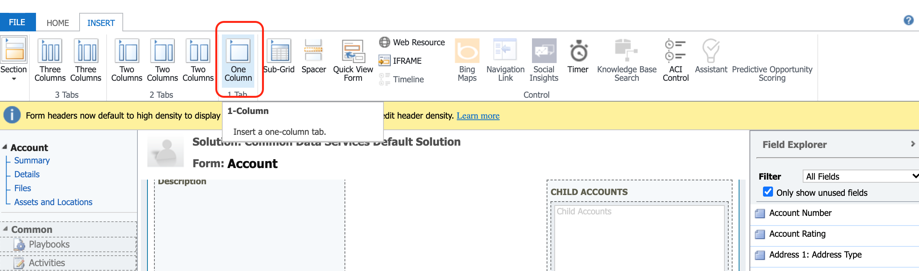
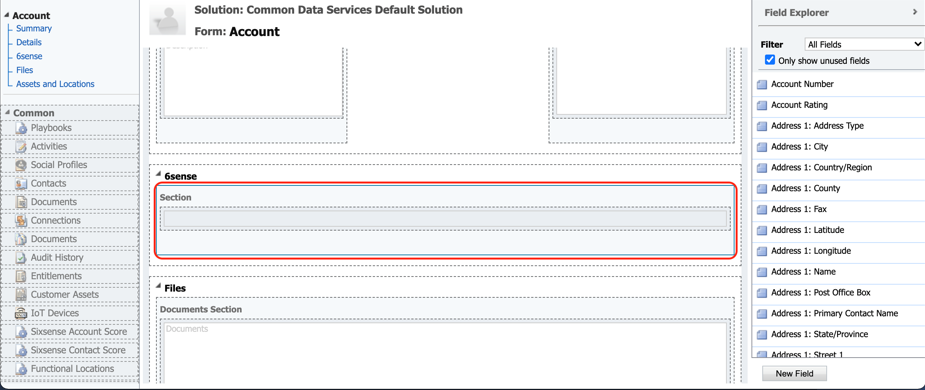
Choose an area where you want to embed the Sales Intelligence Extension, and click One Column at the top of the page. This inserts a new section in the form.
Select the newly created section, then click Change Properties in the top ribbon.
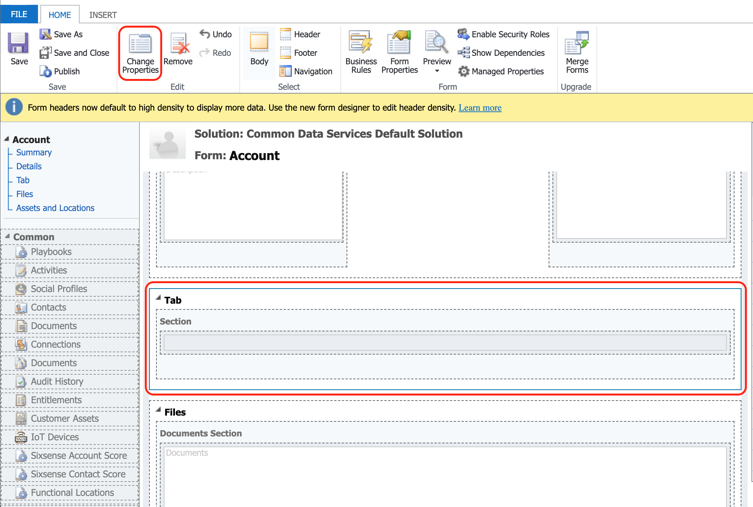
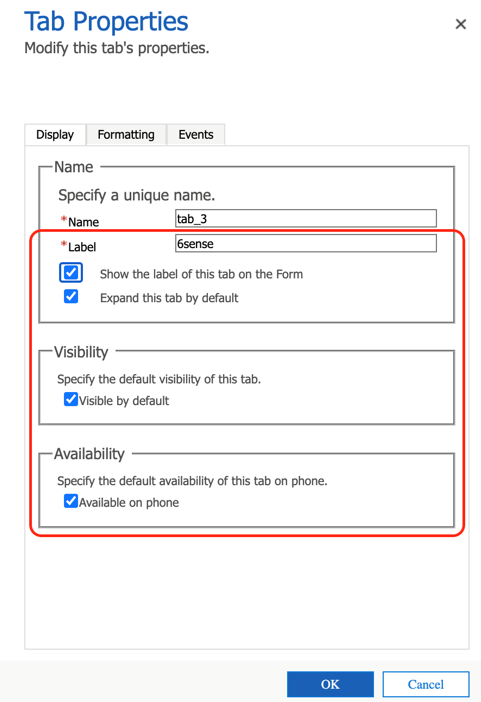
Set properties as displayed here:
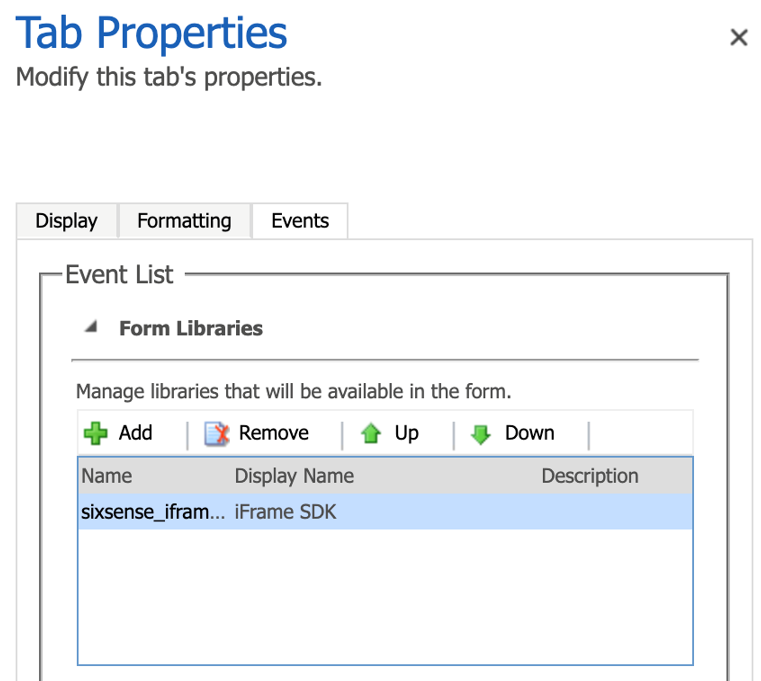
Under Events > Form Libraries select the Sales Intelligence Extension SDK as displayed here:
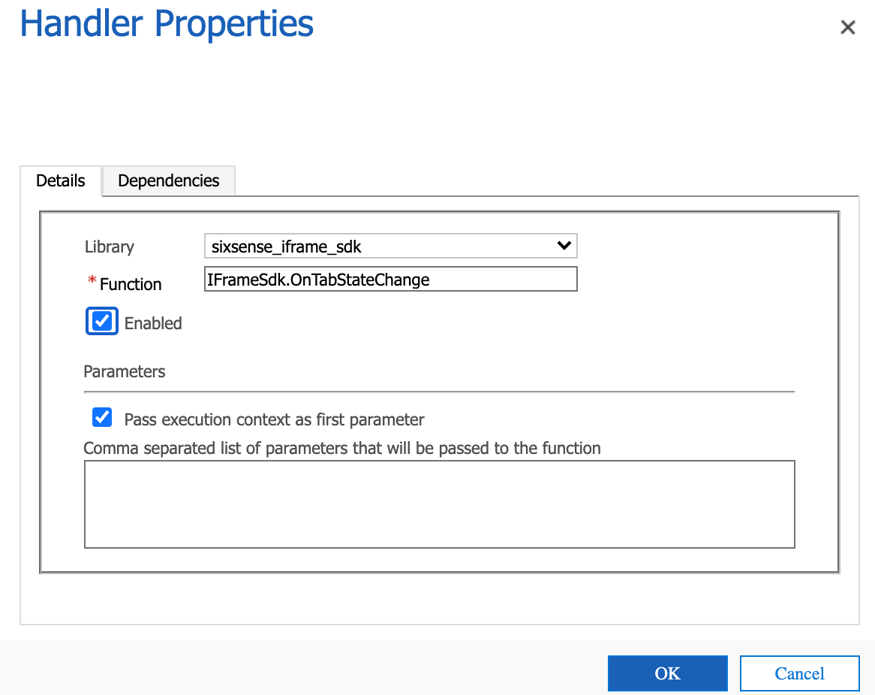
Under Event Handlers, select TabStateChange as the type of event and click Add.
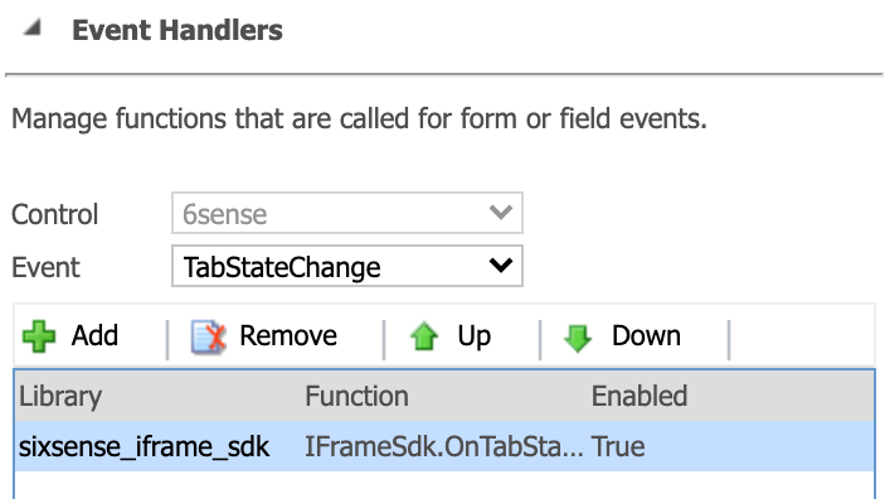
Make the changes shown below and then click OK.
Select the Section.
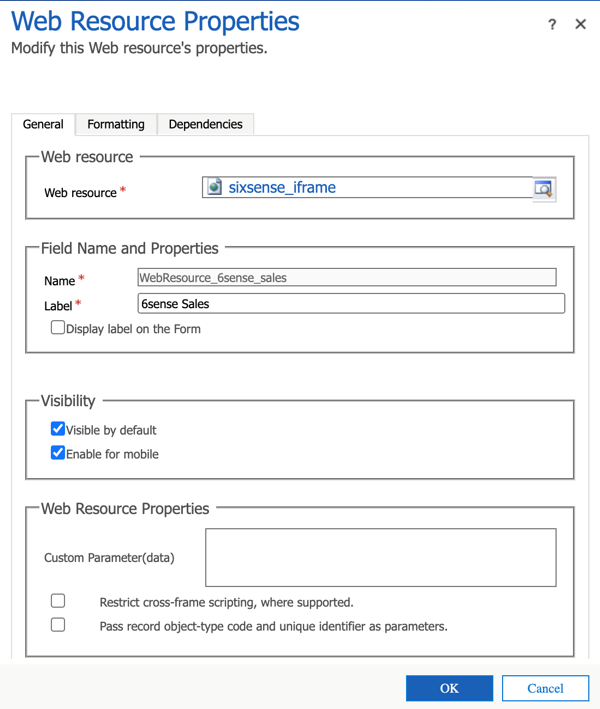
Go to the INSERT tab and select Web Resource.

Make changes as shown:
Under the Formatting tab, make changes as shown, then click OK:
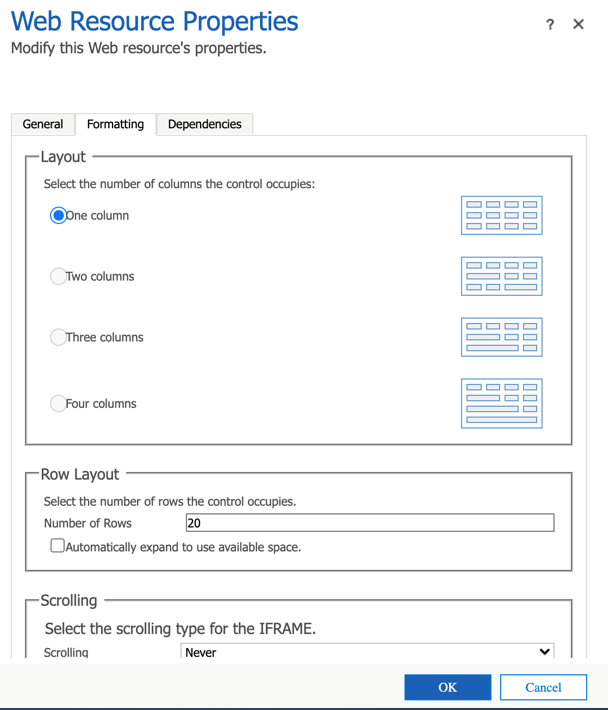
Click Save and then Publish at the top left of the page.
