6sense Orchestrations will sunset in 2026. Starting this spring, we’ll begin rolling communications asking you to migrate all Orchestrations to Intelligent Workflows. You'll be notified by email when your migration window begins. Once notified, you will have 12 weeks to complete the migration. We will provide access resources that help make the process smooth and simple. Refer to Migrate Orchestrations to Intelligent Workflows.
This feature is in Beta. Its use is subject to the terms of service for Beta features.
This feature requires the Orchestrations package. To use this Orchestration you must first set up your email server integration by using the instructions here.
Admins with access to Microsoft Office 365 or Google Suite can set up your company’s email integration, so 6sense platform users can sync contact information from their emails, address book, and calendar, and add them to your company’s CRM through the Add New Contacts from Email Orchestration. Gain greater visibility into buying teams by capturing all contacts from the email server. This feature allows for richer contact-level insights, customer’s revenue teams can capture revenue moments to help them better understand individuals within the buying group and engage accounts more effectively.
Create Orchestration
Select the orchestration goal Add New Contacts from Email, and name your orchestration.
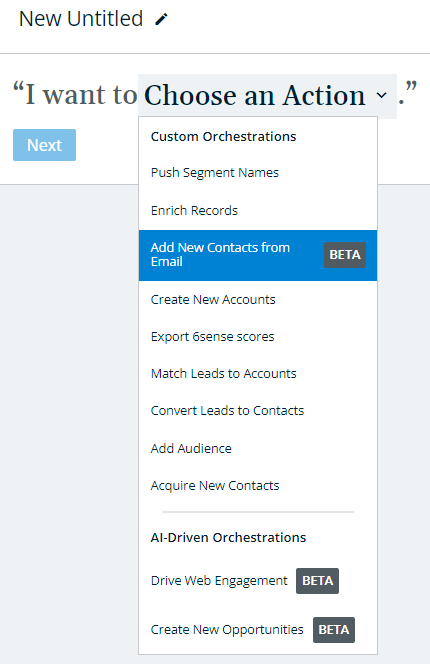
Select from the list of available targets where you would like to send the audience. Currently, you can only add the new contacts from your email server as leads in your CRM.

Click Next.
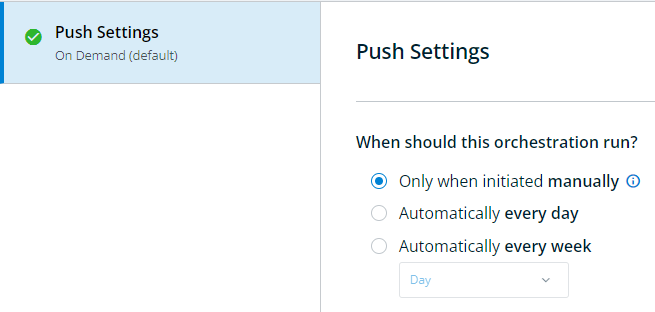
Push Settings
Select how often you want the orchestration to run. By default, the orchestration will NOT run on a regular basis. In this default setting, net-new contacts from your specified email server will only ever be added by 6sense when a user navigates to the orchestration’s Preview and explicitly initiates a run. Otherwise, you can choose to schedule the orchestration to run every day, or on a certain day each week.
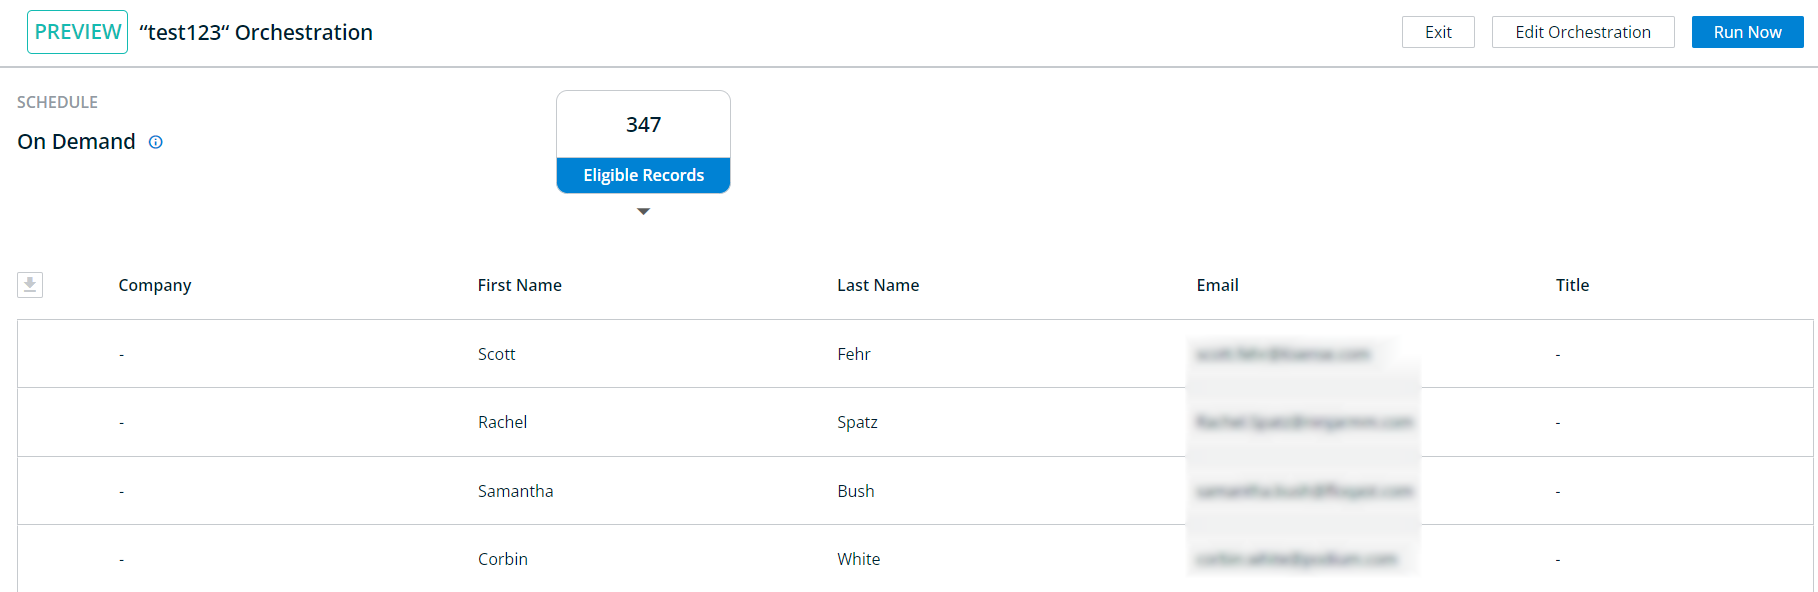
Preview & Run
Once you’ve set up the orchestration, click Save, and then click Preview in the bottom right of the page to see a list of contacts from your email that are not already in your CRM, which will be added to your CRM as Leads. Click Run Now to start pushing the contacts into your CRM as Leads.
Once the orchestration runs successfully, you can check back to see the results of the run. Click on the specific run date on the History page to see the details of the run.