This guide is designed to help guide you through setting up and integrating the 6sense WebTag 2.0 with Adobe Launch (Data Collection).
Prerequisites
Before getting started, it is assumed you are using Adobe Launch (Data Collection), and have a tag container already set up and installed on your website.
For more information about the 6sense WebTag 2.0, see 6sense WebTag 2.0 Setup.
Implementation steps
Create and Configure an ‘HTML’ 6sense WebTag.
Copy 6sense Web Tag Code during the Install Step.
Login to your Adobe Experience Platform, navigate to Data Collection, and follow these steps for setting up your Web Tag. Once you are done with the Adobe Launch (Data Collection) setup, please confirm the same at the bottom of this page to finish your setup.
Create a new Property or edit an existing Property which is used for your website. Click here to learn more about Companies and Properties in Adobe Experience.
Click on Rules on the left sidebar.
.png)
Create a rule to add the 6sense WebTag, an example name would be “Load 6sense WebTag”.
.png)
For the Event, configure the rule to fire as soon as possible. For example, “Core – Library Loaded (Page Top)”.
.png)
For the Action, configure the following details:
Extension: Core
Action Type: Custom Code
Name: Core – Custom Code
Language: HTML
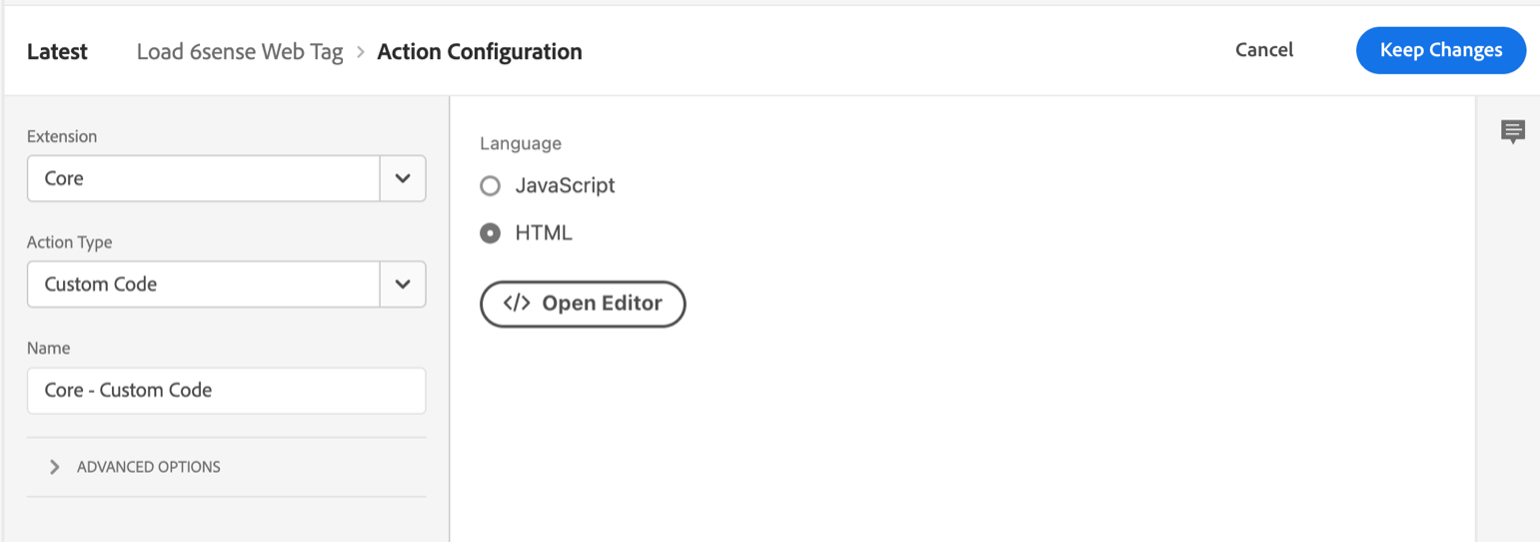
Click on Open Editor.
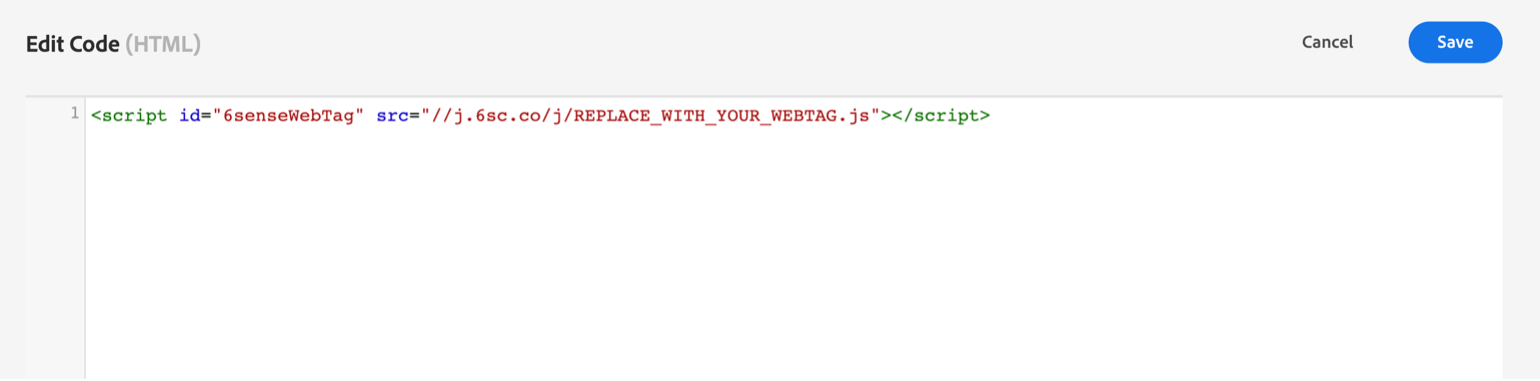
Paste your 6sense WebTag into the Editor and click Save.
Confirm that your 6sense WebTag rule has the following configurations.
Extension: Core
Event: Core – Library Loaded (Page Top)
Action: Core – Custom Code
.png)
Click Save.
Proceed with your organization’s testing or deployment steps for Adobe Launch (Data Collection).
Use How to Check if the 6sense Web Tag is Firing to confirm the webtag 2.0 is working on the production site.