Follow this guide if you wish to customize the dataLayer variable names that the WebTag 2.0 Company Identification API configuration will use.
Step 1: Update your 6sense WebTag
Navigate to where your existing 6sense WebTag is configured. Either remove this tag and continue or skip to number 3 below.
Note: if you have not configured the WebTag yet, follow the guide here to configure and generate the script needed below: 6sense WebTag Setup.
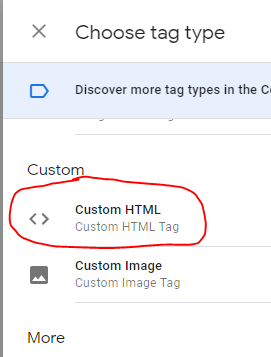
Navigate to the ‘Tags’ section and select Custom HTML. This is where you’ll place the actual 6sense Company Identification WebTag:
Place or update the tag inside the HTML input box with the following code, replacing the top script with your web tag:
Note: In the below code, you will customize you variable names by adjusting the “key” name in the code following `
window.dataLayer.push`.<!-- Your Code for WebTag 2.0 Begins --> <script id="6senseWebTag" src="REPLACE_WITH_YOUR_WEBTAG_SRC"></script> <!-- Your Code for WebTag 2.0 Ends --> <!-- Company Identification API Integration Code Begins --> <script> window._6si = window._6si || []; var processEpsilonData = function(a) { if (a === "") { return; } var jData = JSON.parse(a); switch (jData.company.company_match) { case "Match": var company_name = jData.company.name; break; case "Non-actionable Match": var company_name = "(Non-company Visit)"; break; default: var company_name = "(Unidentified Visit)"; } window.dataLayer.push({ "6si_company_name": company_name, "6si_company_match": jData.company.company_match, "6si_additional_comment": jData.company.additional_comment, "6si_confidence": jData.confidence, "6si_geoIP_country": jData.company.geoIP_country, "6si_geoIP_state": jData.company.geoIP_state, "6si_geoIP_city": jData.company.geoIP_city, "6si_company_domain": jData.company.domain, "6si_company_country": jData.company.country, "6si_company_address": jData.company.address, "6si_company_state": jData.company.state, "6si_company_state_code": jData.company.state_code, "6si_company_city": jData.company.city, "6si_company_zip": jData.company.zip, "6si_company_region": jData.company.region, "6si_company_country_iso_code": jData.company.country_iso_code, "6si_company_employee_count": jData.company.employee_count, "6si_company_employee_range": jData.company.employee_range, "6si_company_annual_revenue": jData.company.annual_revenue, "6si_company_revenue_range": jData.company.revenue_range, "6si_company_industry": jData.company.industry, "6si_company_sic": jData.company.sic, "6si_company_sic_description": jData.company.sic_description, "6si_company_naics": jData.company.naics, "6si_company_naics_description": jData.company.naics_description, "6si_company_is_blacklisted": jData.company.is_blacklisted, "6si_company_is_6qa": jData.company.is_6qa }); if (jData.scores.length != 0 && jData.scores[0]) { var score = jData.scores[0]; window.dataLayer.push({ "6si_company_buying_stage": score.buying_stage, "6si_company_intent_score": score.intent_score, "6si_company_profile_fit": score.profile_fit, "6si_company_profile_score": score.profile_score }) } if (jData.scores.length !== 0) { for (var i = 0; i < jData.scores.length; i++) { var product = jData.scores[i].product; var scoreObject = {}; scoreObject[product] = jData.scores[i]; window.dataLayer.push(scoreObject); } } if (jData.segments.names) { window.dataLayer.push({ "6si_company_segments": jData.segments.names.join(","), "6si_company_segment_ids": jData.segments.ids.join(",") }); } window.dataLayer.push({ "event": "6si_company_details_loaded" }); }; window._6si.push(["enableCompanyDetails", true, processEpsilonData, 3]); </script> <!-- Company Identification API Integration Code Ends -->Make sure you have replaced the place-holder code for the WebTag with the line of code generated by the 6sense Platform.
Set Tag firing priority to 9999. This will ensure the tag fires as soon as possible.

Under Triggering, select All Pages.
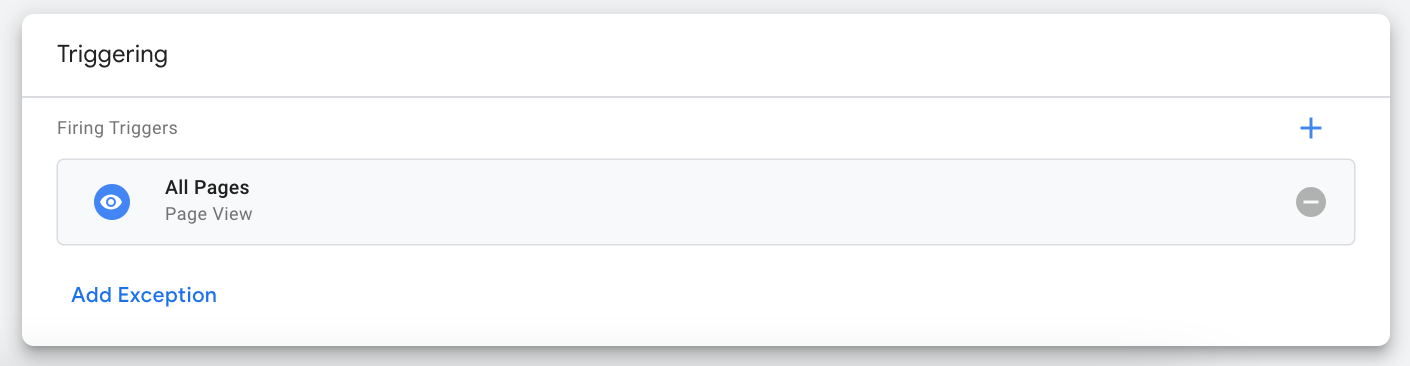
Save the tag.
Step 2: Create Data Layer Variables
There is no limitation to the number of variables you may track in GTM, so we recommend setting up all 6sense Company Identification properties as GTM variables.
In Google Tag Manager, navigate to the ‘Variables’ section on the left:
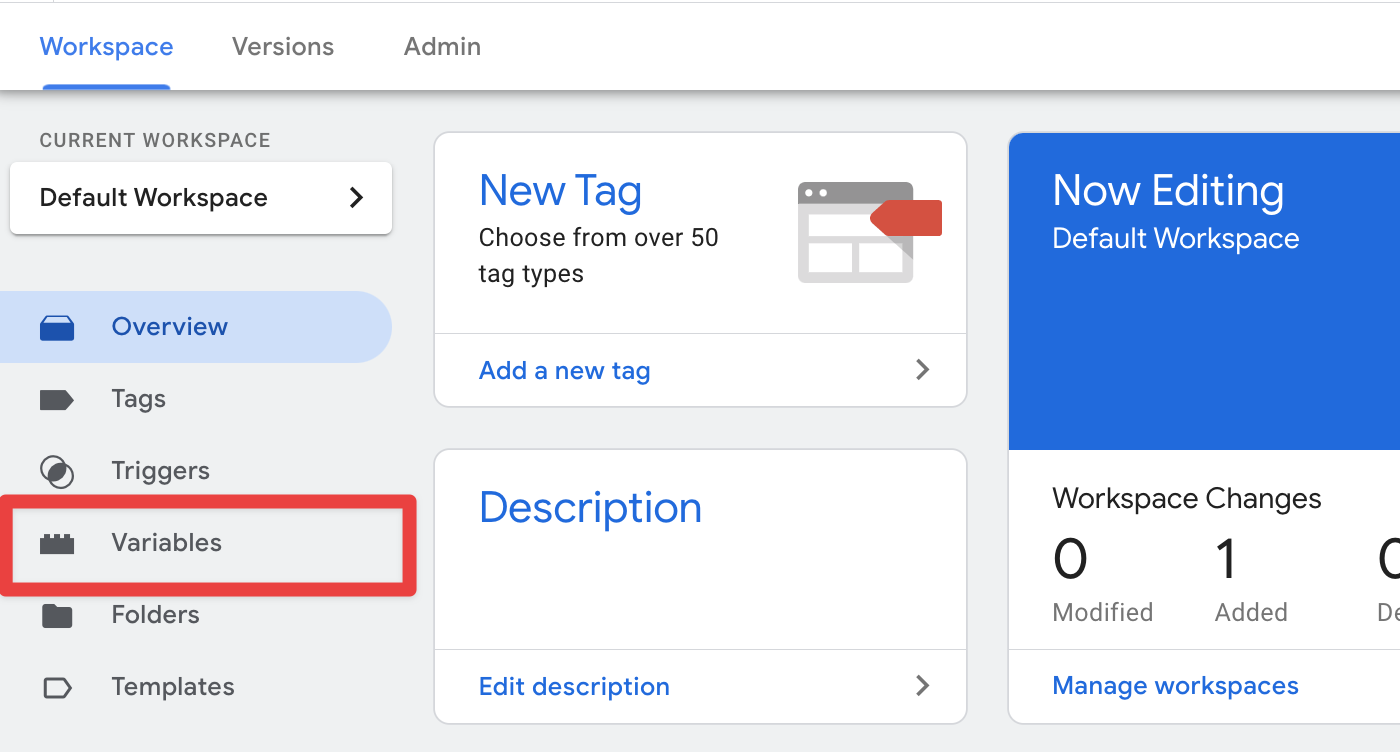
Select New under the User-defined variables section:

Choose the variables you wish to track. The below list reflects the Data Layer values present in the recommended code above. Numbers are provided for convenience but not used in the set-up.
Note: If you customized the variable names in the above script, you will need to match them here.
#
GTM Variable Name / Data Layer Name
1
6si_company_name
2
6si_company_domain
3
6si_company_match
4
6si_additional_comment
5
6si_confidence
6
6si_geoIP_country
7
6si_geoIP_state
8
6si_geoIP_city
9
6si_company_country
10
6si_company_country_iso_code
11
6si_company_address
12
6si_company_state
13
6si_company_city
14
6si_company_zip
15
6si_company_region
16
6si_company_phone
17
6si_company_employee_count
18
6si_company_employee_range
19
6si_company_annual_revenue
20
6si_company_revenue_range
21
6si_company_sic
22
6si_company_sic_description
23
6si_company_naics
24
6si_company_naics_description
25
6si_company_industry
26
6si_company_is_blacklisted
27
6si_company_is_6qa
28
6si_company_intent_score
29
6si_company_buying_stage
30
6si_company_profile_score
31
6si_company_profile_fit
32
6si_company_segments
33
6si_company_segment_ids
Note: In the case that you have multiple models, the data layer variable name will be different for each model. Please work with your CSM or Customer Support and request the “API model name” for each of your predictive models. The Data Layer variable will be something like the following:
GTM Variable Name
Data Layer Value
product1_api_name_intent_score
product1_api_name.intent_score
product1_api_name_buying_stage
product1_api_name.buying_stage
product1_api_name_profile_score
product1_api_name.profile_score
product1_api_name_profile_fit
product1_api_name.profile_fit
product1_api_name_is_6qa
product1_api_name.is_6qa
product2_api_name_intent_score
product2_api_name.intent_score
product2_api_name_buying_stage
product2_api_name.buying_stage
product2_api_name_profile_score
product2_api_name.profile_score
product2_api_name_profile_fit
product2_api_name.profile_fit
product2_api_name_is_6qa
product2_api_name.is_6qa
Name your Variables in an understandable way, or just copy and paste the names in the table above.
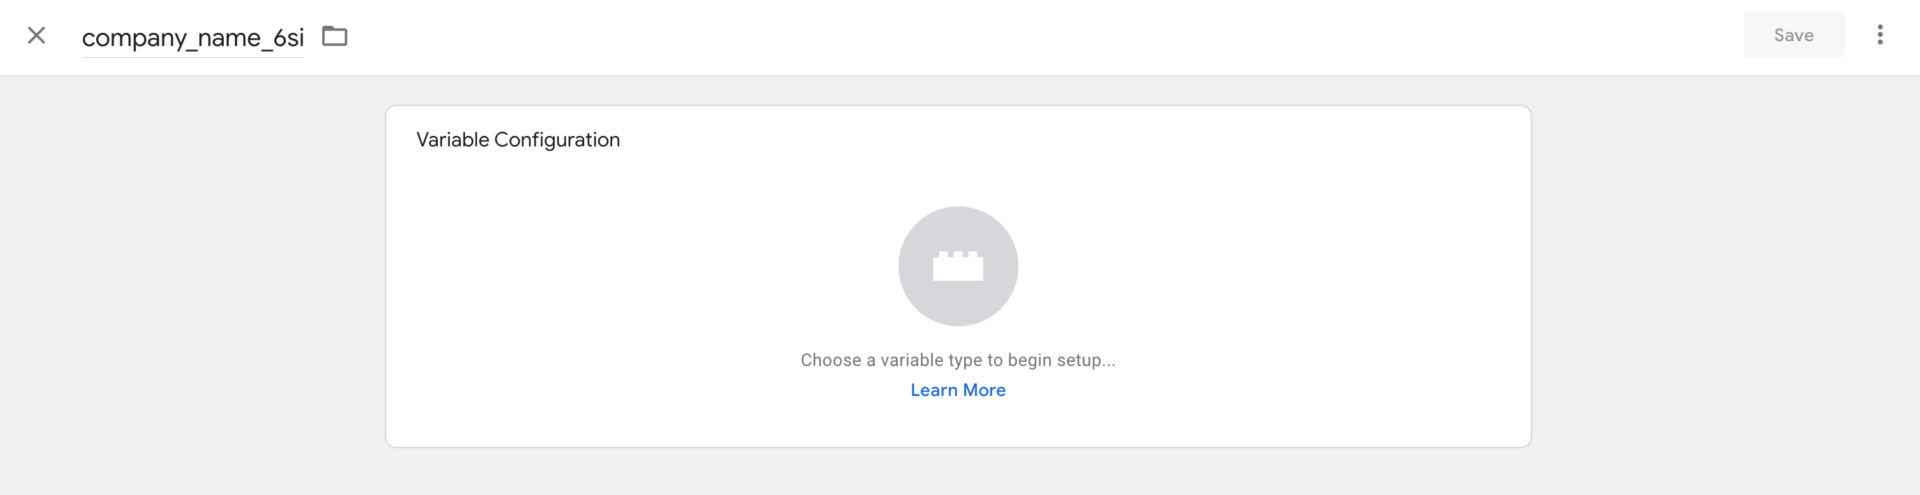
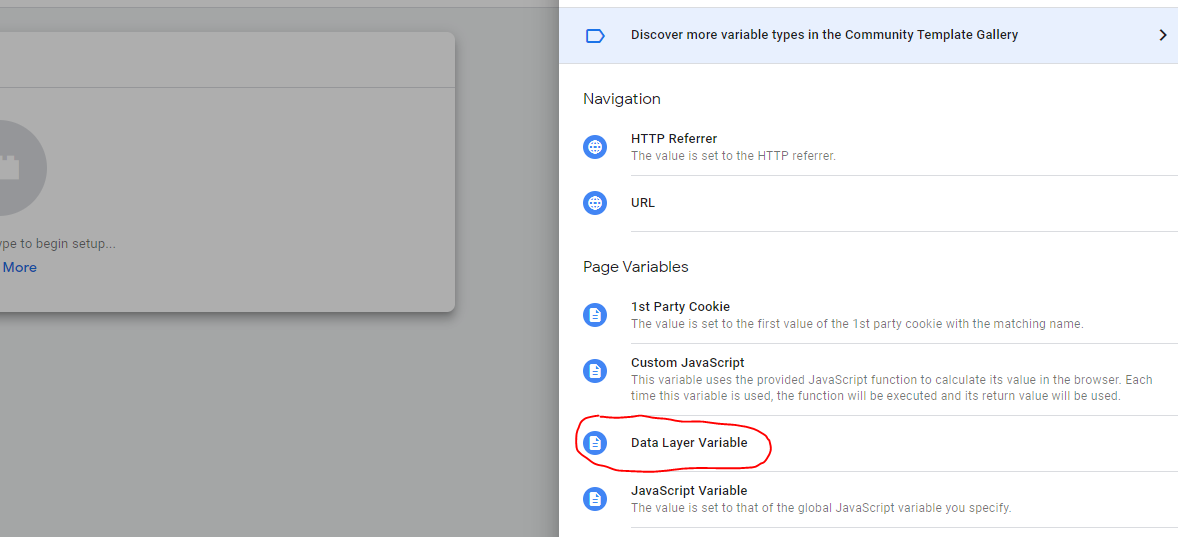
Click the middle circle logo to choose a variable type and select Data Layer variable:
Name your Data Layer variable exactly as defined above. i.e. company_name should be exactly defined as company_name in the Data Layer Variable Name input box:
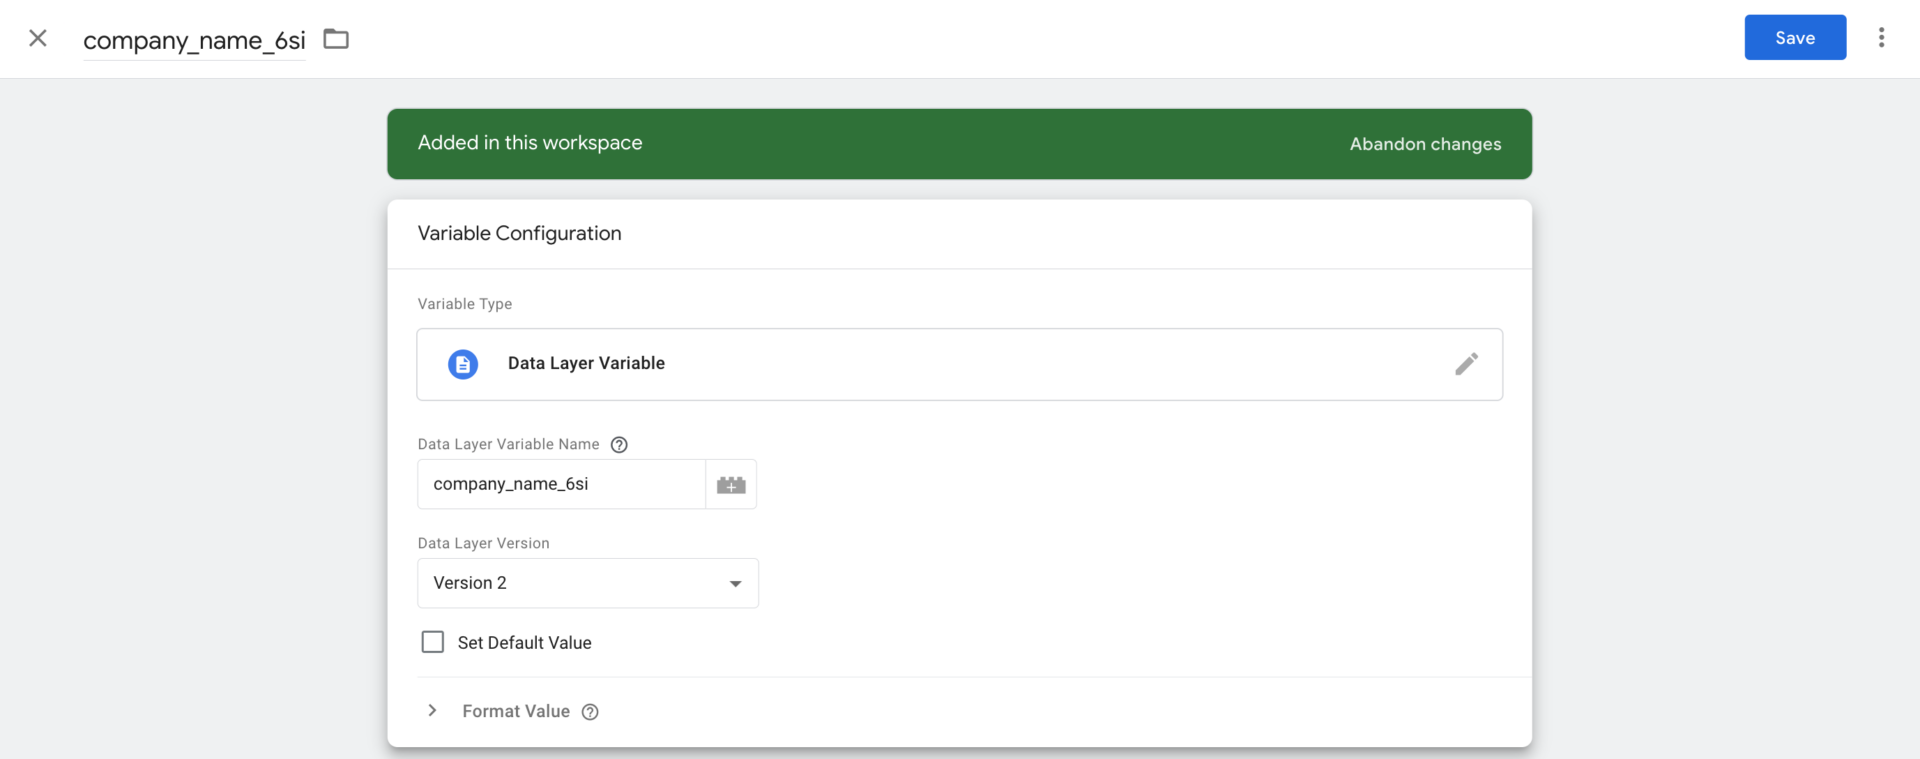
Save and repeat for each desired Data Layer Variable
Step 3: Create Event Trigger
As a part of the recommended 6sense WebTag configuration, a “custom event” will be triggered that may be recognized by GTM. This event can trigger other tags such as GA4 Event or Google Analytics: Custom Event.
In Google Tag Manager, navigate to the Triggers section on the left:
Click the New button and give your trigger the following settings:
Name: 6sense Company Identification Loaded
Trigger Type (click and scroll down on the right): Custom Event
Event Name: 6si_company_details_loaded
Note: If you customized the event name in the tag script, update the Event Name in this event tag configuration to match.
This trigger fires on All Custom Events.
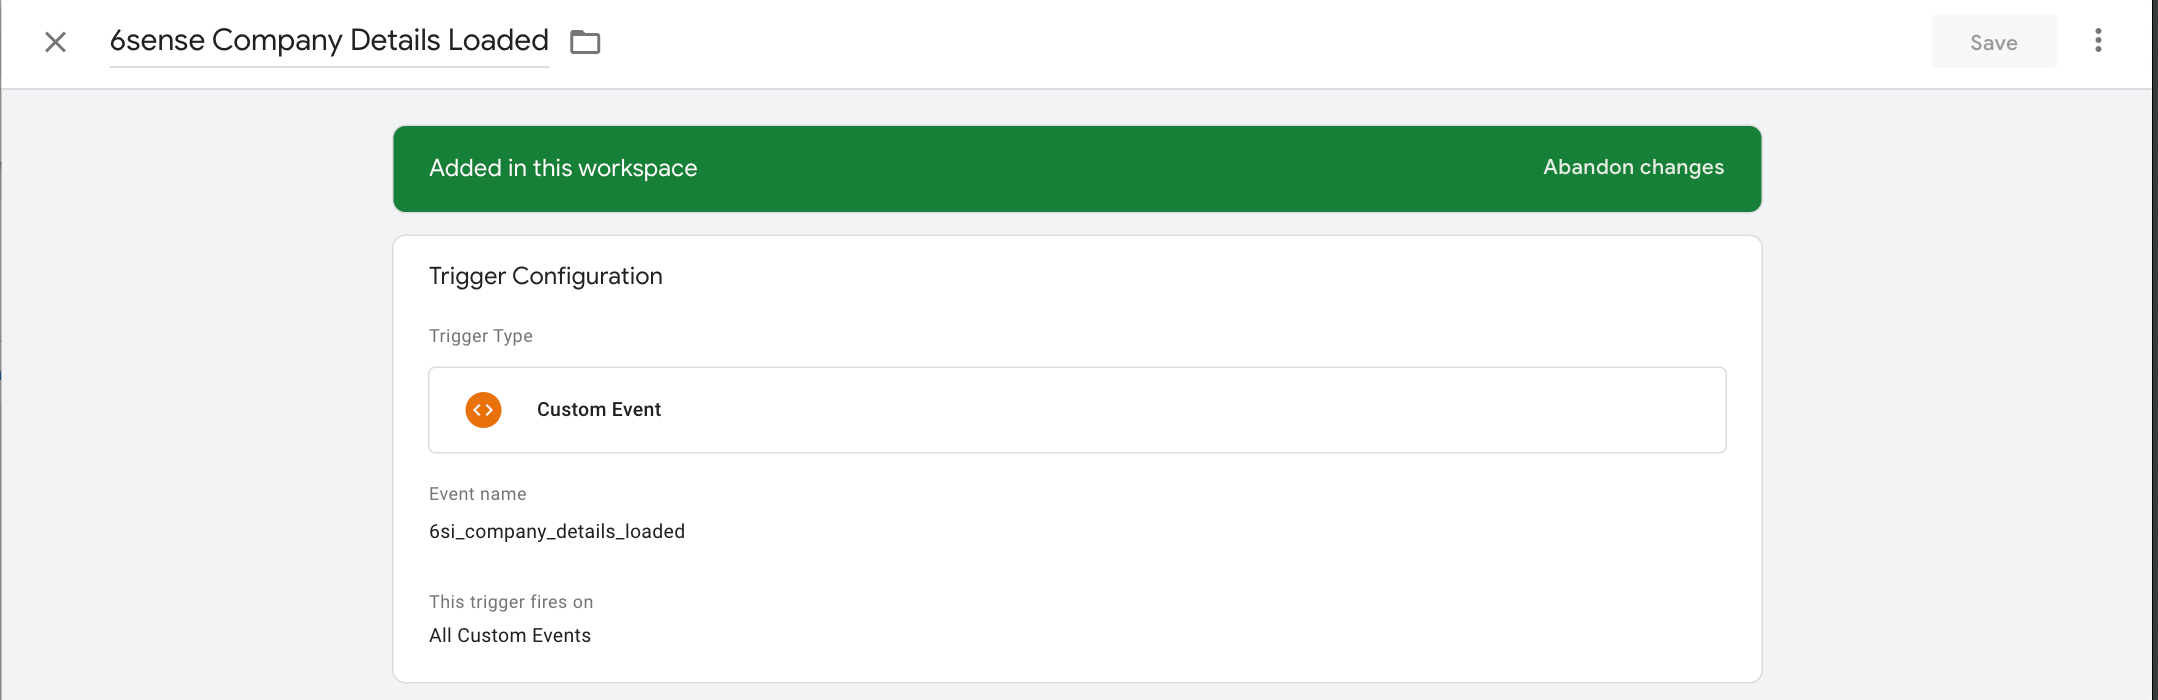
Save.
Step 4: Proceed to Set Up Event Tags for Google Analytics
Continue your setup by following the WebTag 2.0 Guide: Install the Company Identification API on Google Tag Manager guide.