Overview
This article guides you through integrating the 6sense Company Identification API with Google Tag Manager (GTM) and Google Analytics 4 (GA4). You’ll learn how to configure variables, triggers, and tags to capture firmographic data for advanced analytics.
Prerequisites
Before you begin, make sure:
Web Tag 2.0 is installed and running on your website. For more information, refer to Set Up 6sense WebTag 2.0.
The Company Identification API option is enabled in your Web Tag settings. For more information, refer to Company Identification API.
Segment data preferences are configured. To include segment data in your API response, follow the instructions in API Settings for Scores.
If you use predictive features, review the guidance to ensure score data is included in the API response.
Step 1: Create Variables in Google Tag Manager
Variables in GTM capture firmographic information from the 6sense Company Identification API response. For example, you can capture company name, employee range, and other attributes.
For a list of available data layer variable names, see the attached 6sense Data Layer Variable List. To download the attachment, expand your browser window for full visibility, locate the FILES section at the top-right corner of the page, and select the file.
You’ll map these variables to GA4 custom dimensions later.
GA4 limitation
GA4 allows up to 25 user-scoped custom dimensions.
Each custom dimension has a 36-character limit. If you exceed this, GA4 will truncate the data.
Segment data
If you store all segment names or IDs in a single GA4 custom dimension, 6sense combines them in a comma-separated format. As accounts belong to more segments, the data may exceed GA4’s 36-character limit, causing truncation.
To avoid data loss, create separate variables and custom dimensions for the most important segments you want to track in GA4.
Use this naming convention for segment variables: segment_<segment_id>_6si
When configuring the data layer variable, set the default value to false.
Add a direct link to the segment in the Notes section for easy reference.
Steps to create a variable
Sign in to GTM and go to Variables.
Under User-Defined Variables, select New.
Name the variable, for example, 6sense Company Name.
In Variable Configuration, select the pencil icon.
Under Page Variables, choose Data Layer Variable.
In Data Layer Variable Name, enter name_6si.
Set Data Layer Version to Version 2.
Select Save.
The completed variable should look like the following:
.png)
Repeat these steps for each variable you want to configure.
Step 2: Create the GA4 Event Trigger in GTM
This trigger ensures company identification data is collected and sent to custom dimensions defined in GA4.
In GTM, select Triggers > New.
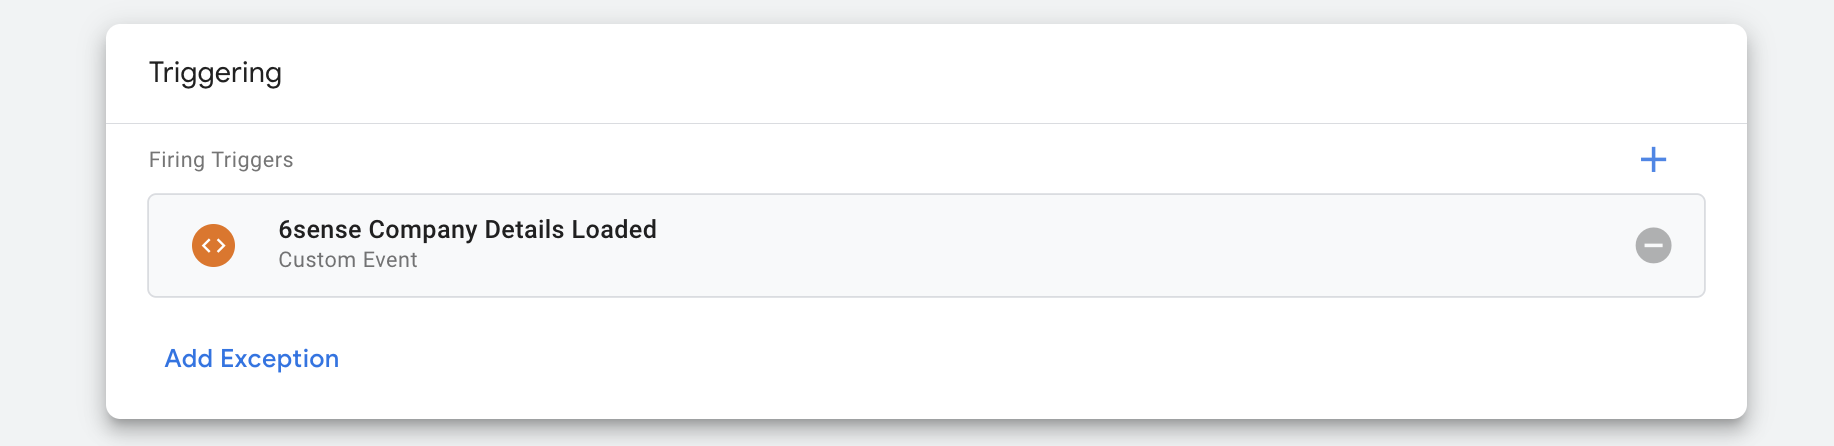
Name the trigger as 6sense Company Details Loaded.
Set Trigger Type to Custom Event.
In Event Name, enter 6si_company_details_loaded.
The completed variable should look like the following:
.png)
Save the trigger.
Step 3: Create the GA4 Event Tag in GTM
This tag sends the company identification data to GA4.
In GTM, select Tags > New.
Name the tag as GA4 – 6sense Company Details.
In Tag Configuration, select Google Analytics > GA4 Event.
Enter your GA4 Measurement ID. For help, see Find your measurement ID.
.png)
In Event Name, enter company_details_6si.
.png)
Under User Properties, map each GTM variable to the corresponding GA4 custom dimension:
In Property Name, enter the GA4 custom dimension name.
In Value, select the corresponding GTM variable, for example, 6sense Company Name.

Under Triggering, select the trigger you created in Step 2: Create the GA4 Event Trigger in GTM.
Save the tag.
.png)
Repeat this mapping for all variables you created.
Step 4: Create Custom Definitions in GA4
In GA4, go to Admin > Data Display > Custom Definitions.
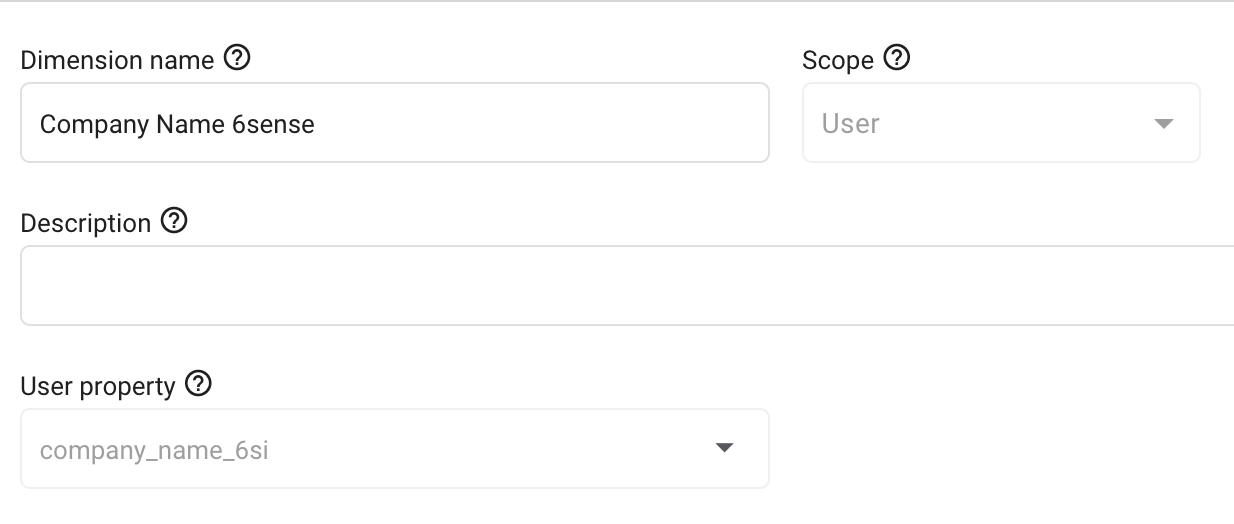
Create a Custom Dimension for each user property configured.
Dimension Name: Can be whatever you would like, but cannot start with a number.
Scope: User Description: Can be whatever you would like – for segments we recommend pasting in the link to the segment in 6sense.
User Property: Paste in the Property Name created above.
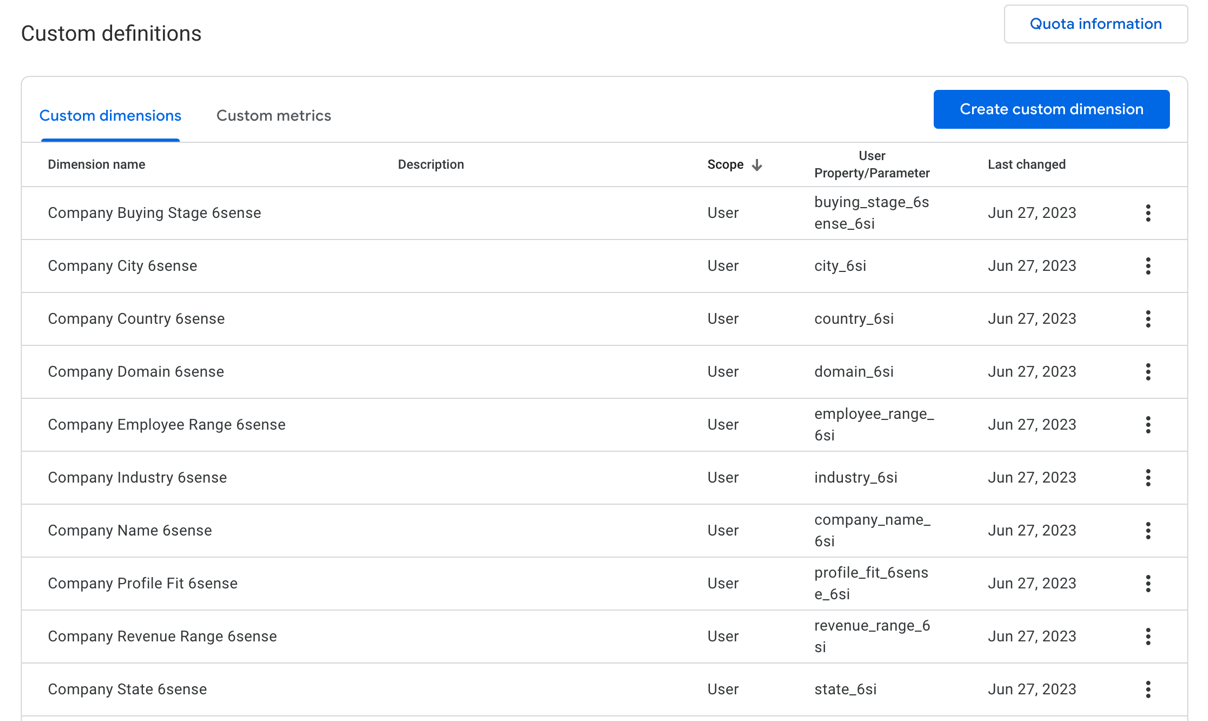
After creating, your list may look like the following:
Segment custom definitions will look similar to:

Step 5: Validate and test GTM to GA4 integration
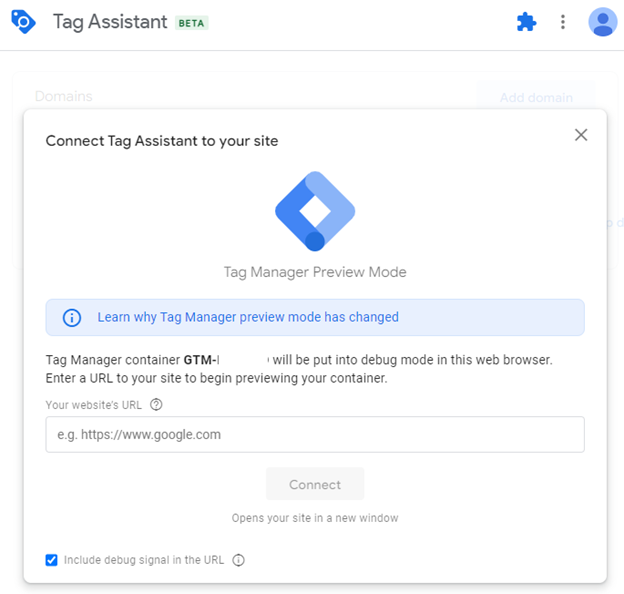
In Google Tag Manager, go to Versions and select Preview for the latest version of with all the 6sense changes.
.png)
Tag assistant window should open. Enter a URL to test if this 6sense implementation is working. Click Connect.
Two tabs open: one for the URL you entered and one for Tag Assistant.
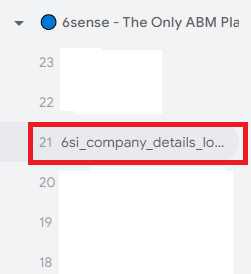
In the Tag Assistant tab, review the list of events on the left. Look for “company_details_loaded_6si”.
If you don’t see this event:
Compare your setup with the steps in this guide.
Correct any differences and proceed to the next step when you see “company_details_loaded_6si”.
Navigate into your GA4 instance to Admin > DebugView.
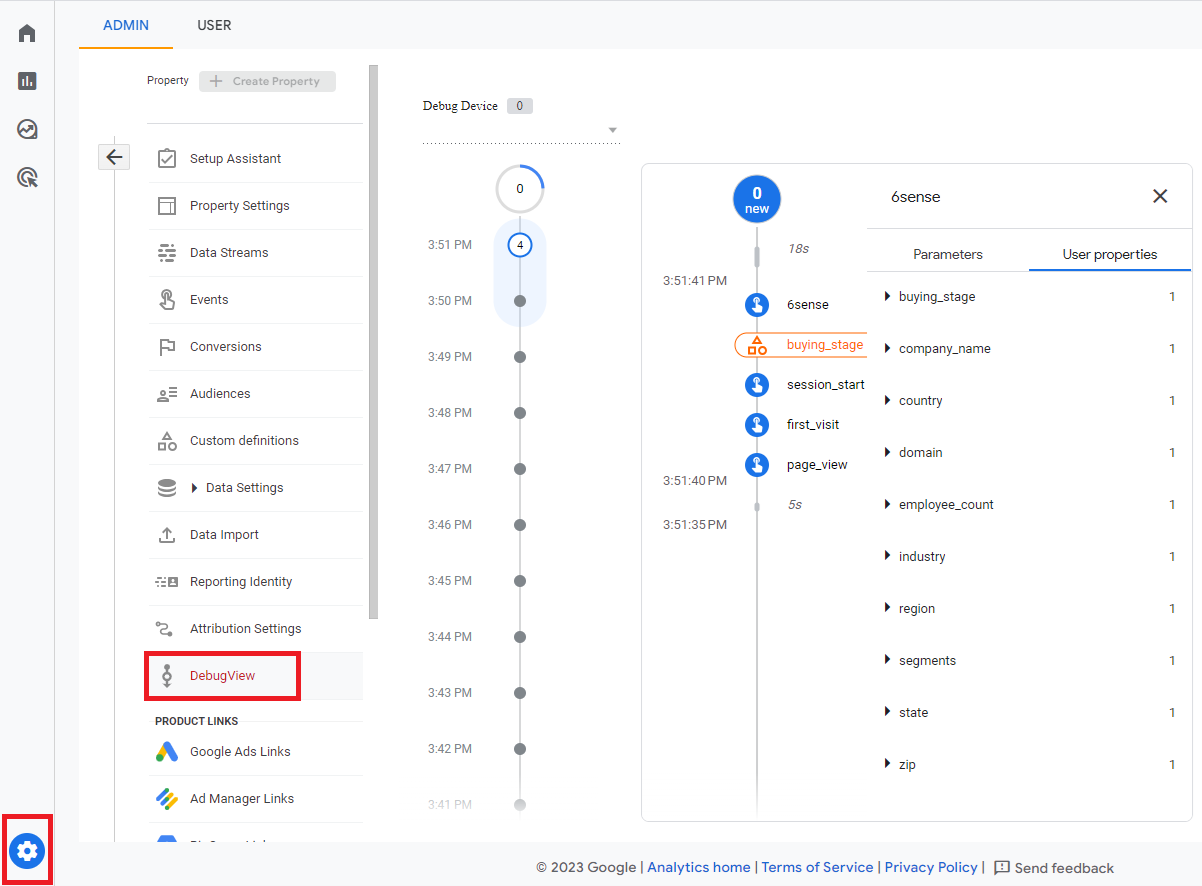
This view shows events from the Tag Assistant session.
Look for the company_details_6si event (or a 6sense event). It may take a few minutes to appear.
When the event appears:
Select it.
Open User Properties.
Verify that all 6sense data from previous steps is listed.
Troubleshoot Missing Data
If any data points are missing:
Review your setup against this guide.
Correct any implementation errors.
If all data appears:
Your setup is complete.
Data will be available in GA4 reports within 48 hours.