This guide is designed to help guide you through setting up and integrating the 6sense WebTag 2.0 with Google Tag Manger. Before getting started, it is assumed you are using Google Tag Manager, and have a tag container already set up and installed on your website.
1. Copy 6sense WebTag 2.0 Code
Copy the 6sense Web Tag 2.0 Code on the Install Tag step after configuring a 6sense Web Tag.
It is common for the quotation marks within the 6sense WebTag 2.0 code to be formatted if pasted into a word processor or email. Please double check that the quotation marks are straight quotation marks and not curly quotation marks.
Straight Quotes:" "Curly Quotes: “ ”
2. Login to your Google Tag Manager and follow these steps for setting up your Web Tag.
Click on the name of your website and select the correct workspace of your organization.

In the left-side menu, click on Tags.
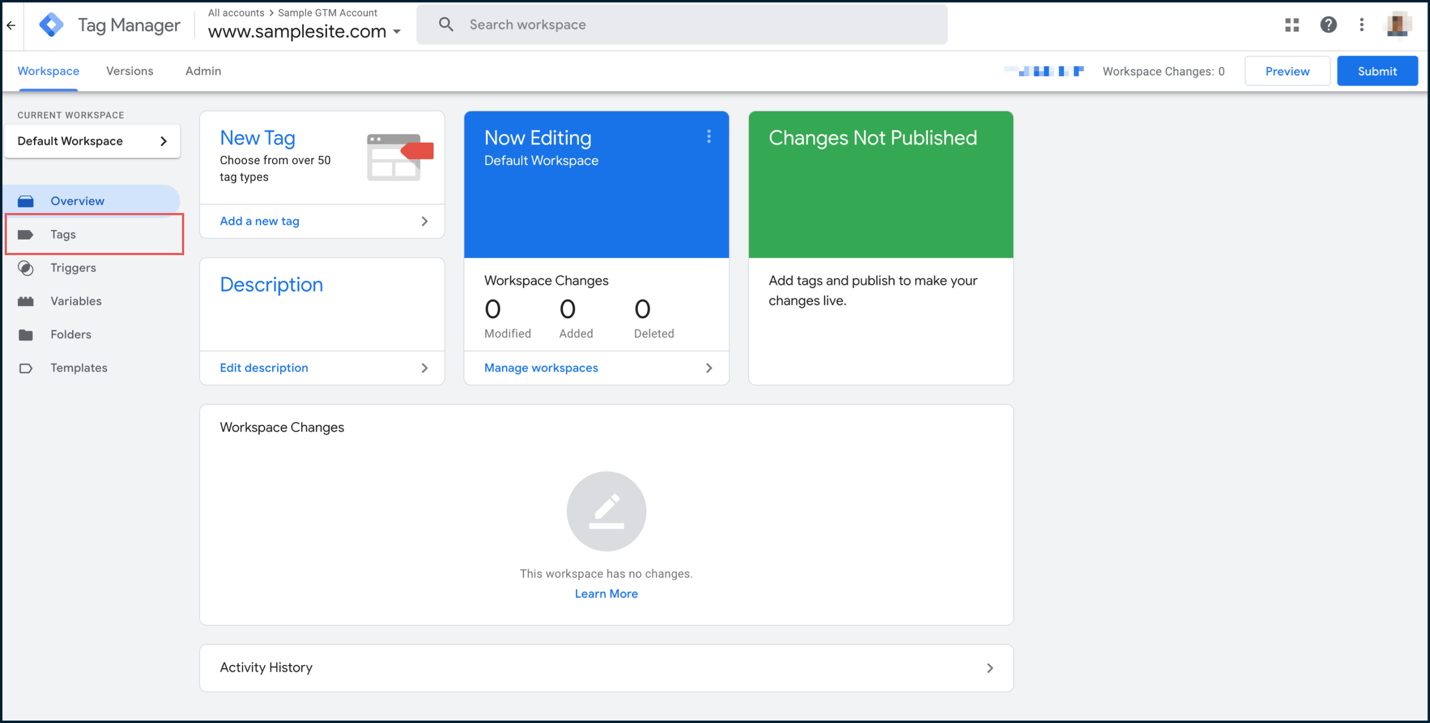
Click New to create a new Tag.

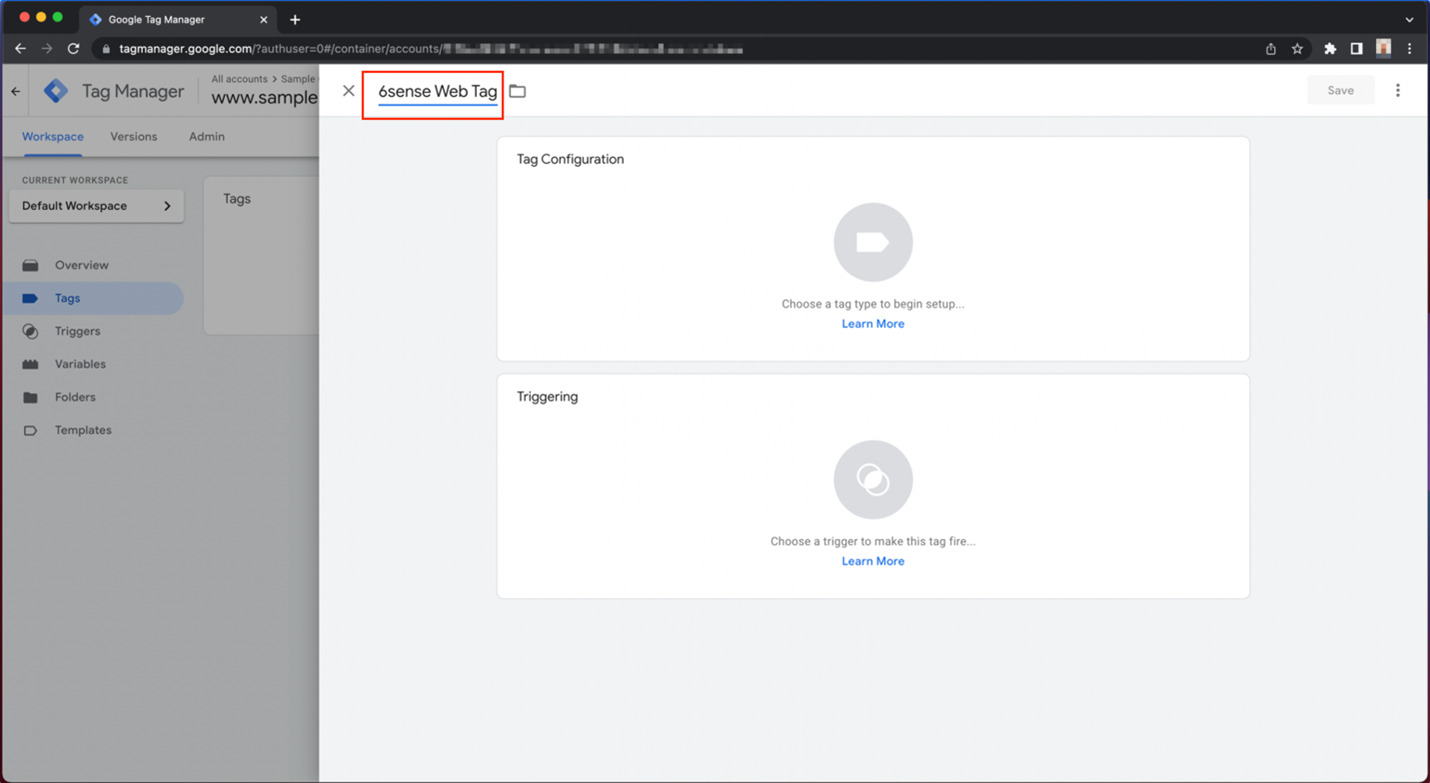
Provide a name, such as “6sense Web Tag” or a distinct name for better identification.
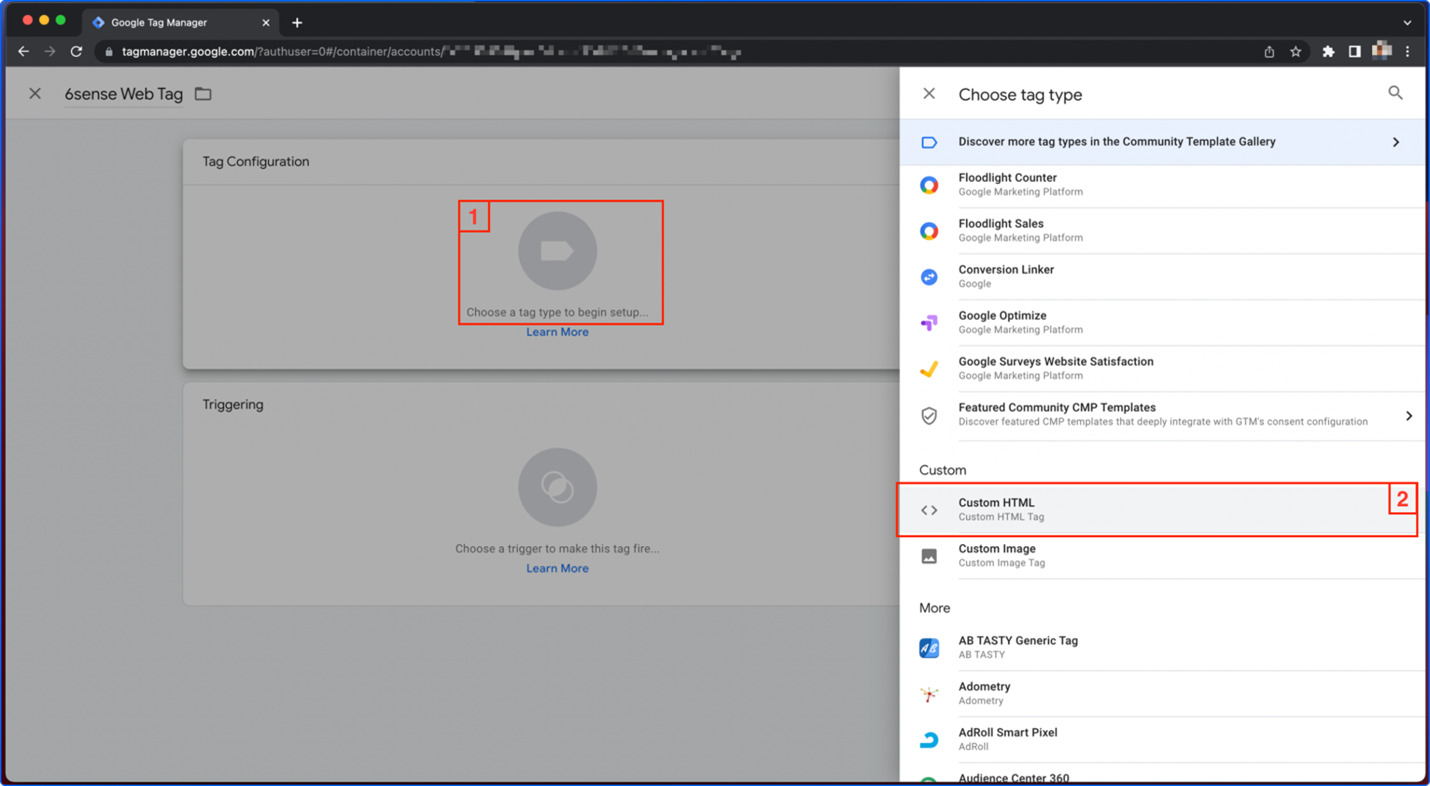
Now, click on the Tag Configuration part to choose a tag type.
Scroll down to the Custom section and select Custom HTML.
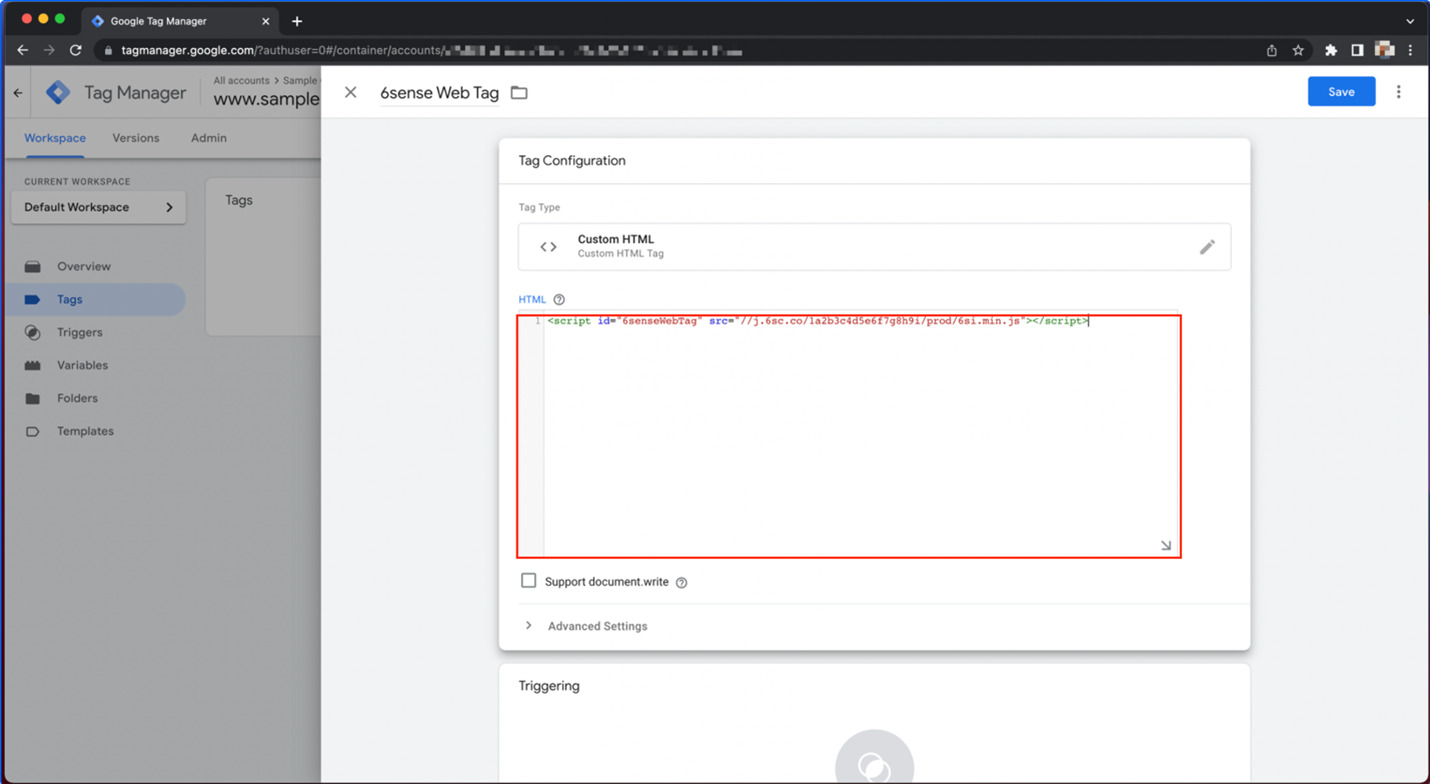
Now, paste the 6sense Web Tag code (copied in the above Step 1) in the HTML input box.
Then, click on the Advanced Settings section.
Type 9999 in the Tag firing priority input box to ensure 6sense Web Tag fires as soon as possible.
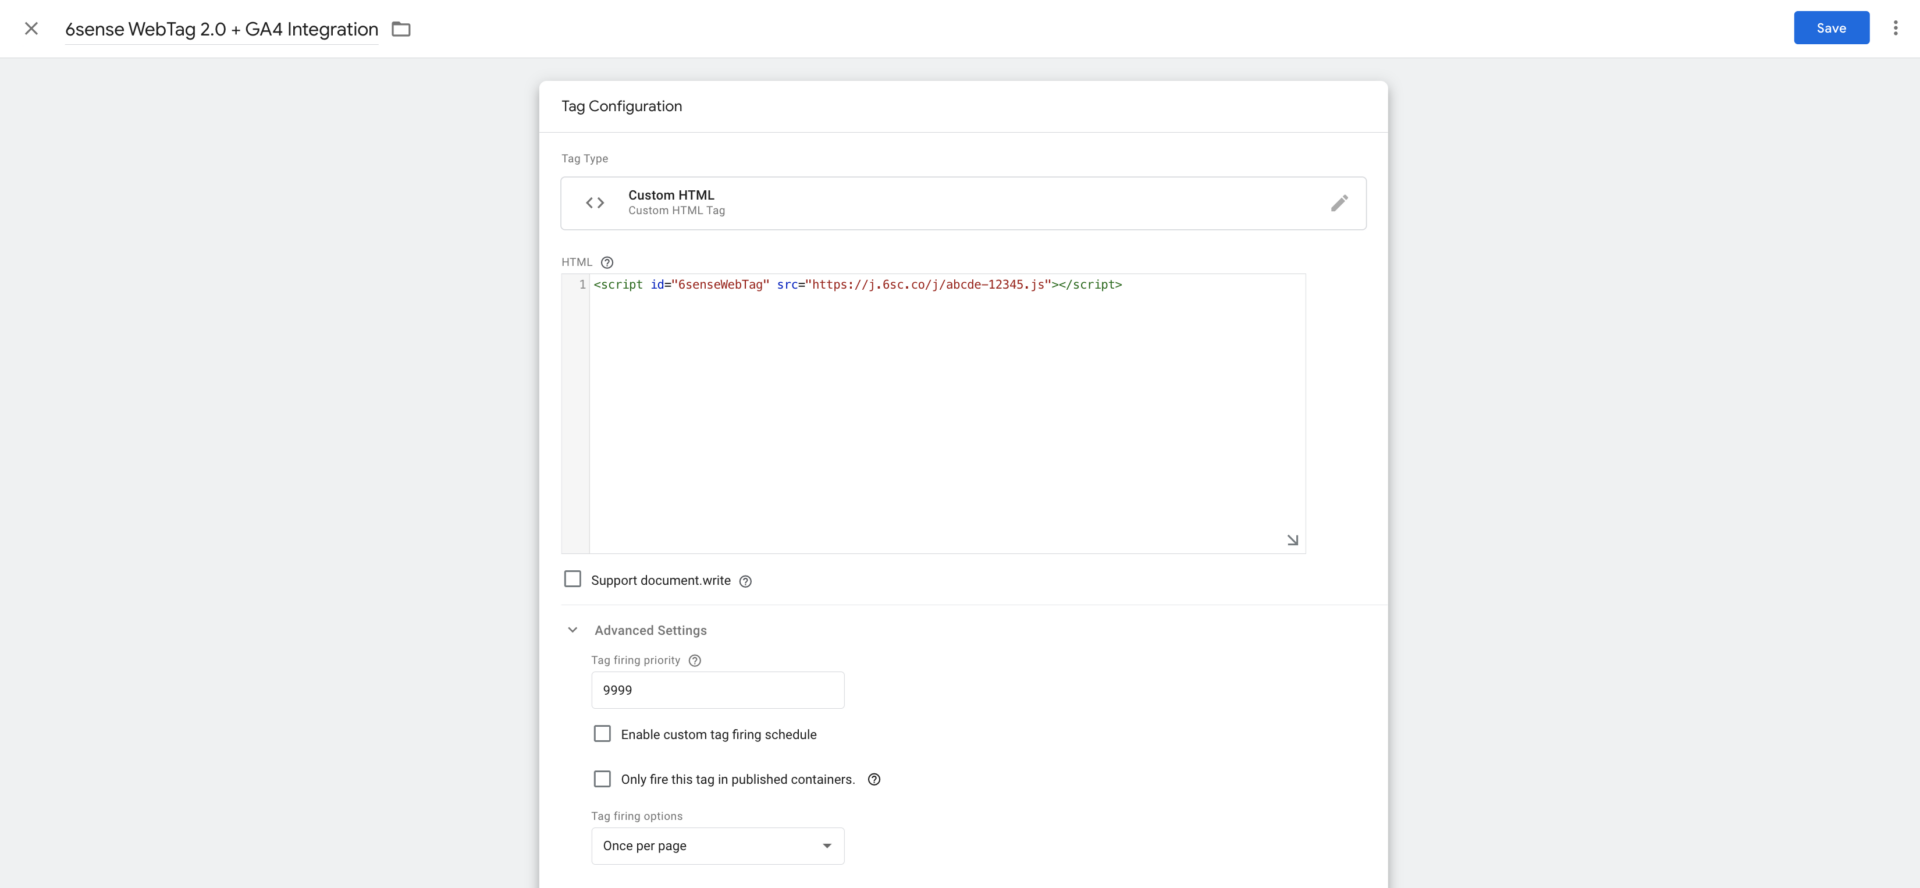
Set the Tag firing options to Once per page.
[Optional] If you have any consent requirements, click on Consent Settings to configure the same.
The 6sense WebTag can be configured to initialize without setting any cookies. Cookies can be enabled at a later point if needed.
If you are not a 6sense Customer, please work with your 6sense representative if this is required. If you are a 6sense Customer, please visit 6sense Cookies & Browser Storage for more information.
Now scroll down and click on the Triggering section to choose a trigger for firing 6sense Web Tag.
Select the Initialization – All Pages trigger, to ensure the tag fires as soon as possible.

[Optional] In case you have any additional requirements, you can choose a different trigger or add multiple triggers or exceptions.
Your tag configuration should look like the following:
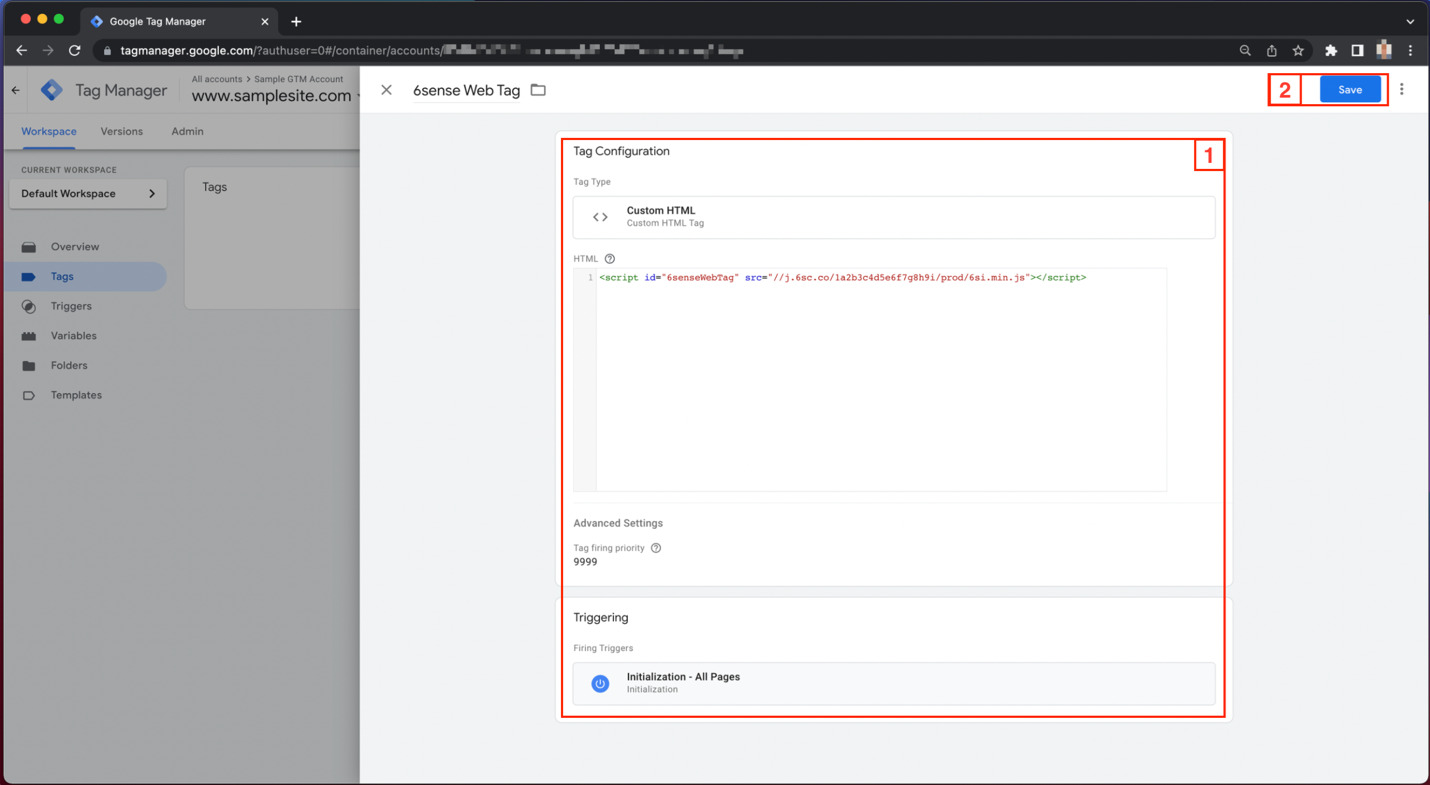
Click Save and you will see your new GTM tag is saved.

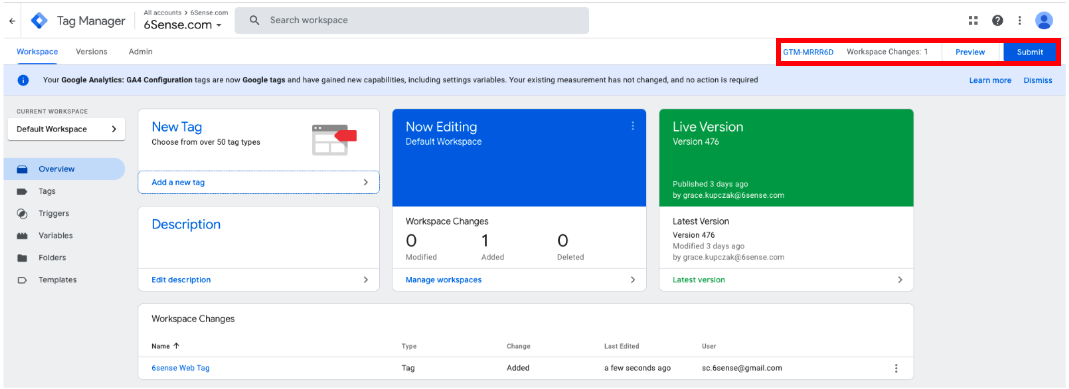
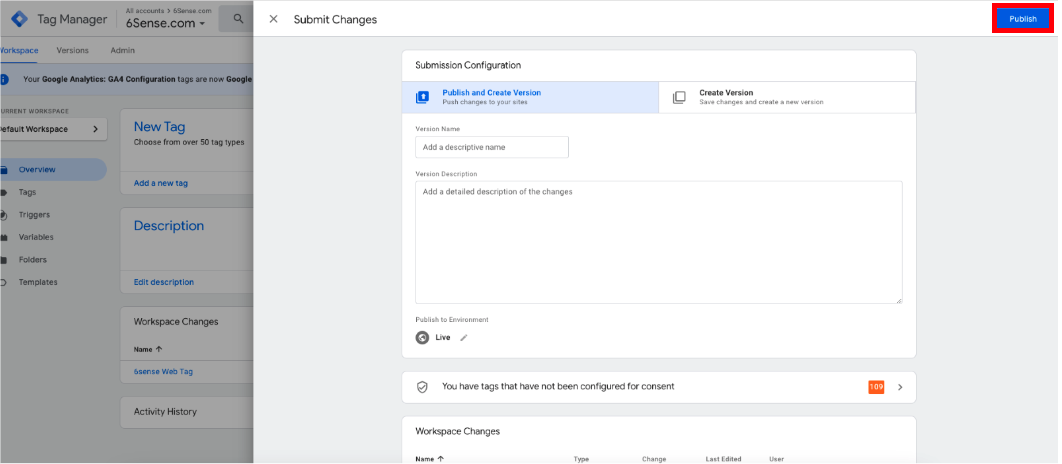
Publish your Google Tag Manager container to deploy the changes to your website. You will see the tag has saved under Workspace Changes, but has not published yet. Don’t forget to click Submit and then Publish to ensure you have published the tag.
Make sure you have also installed GTM code on all pages of your website where you would like the 6sense WebTag to be present.
To confirm you have properly installed the 6sense WebTag, please utilize the Google Tag Manager Tag Assistant and confirm you see the 6sense WebTag under the “Tags Fired” section within the Tag Assistant.