Explore the primary navigation and application-wide features of 6sense Sales Intelligence. With these features, you can:
Check your credit balance.
Use global search.
Find tip sheets and overview videos.
Jump to application settings for your organization.
Switch to another 6sense application from Sales Intelligence.
Locate your profile and your 6sense plan type.
Change your alert preferences.
Review all the companies you are following and unfollow any you wish to.
Examine your export and unlock history.
CRM Integration Required to View Dashboards
You must integrate a CRM to see and use the 6sense Sales Intelligence Dashboards.
Primary Navigation
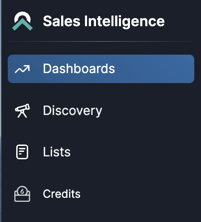
Primary navigation — expanded
The primary (lefthand) navigation menu in Sales Intelligence takes you to the different major sections of the app and offers a quick way to track your credit balance.
It includes:
Credits
Credits
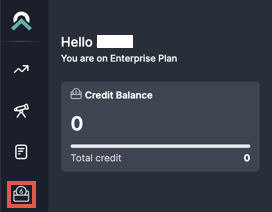
Check your 6sense credit balance by clicking Credits (the tiny wallet holding a 6sense coin) in the primary navigation.
This balance applies to your whole organization, not your account specifically.
Your Sales Intelligence plan is also listed in the credit balance drawer below the greeting.
Application-Wide Features
![]()
At the top right, global search and other settings and features that apply to the entire Sales Intelligence application are grouped.
These features are:
Global search
Help
Settings
Application launcher (only shown if more than one 6sense application is installed)
User preferences
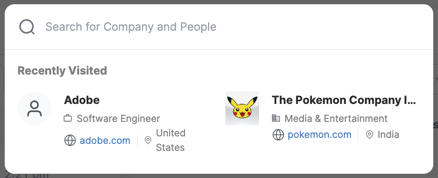
Global Search
Global search
Click the search icon (the magnifying glass) to open the global search bar.
Any recent searches are displayed below the search bar.
Enter a company name or a person’s name and all matching profiles are listed —companies on the left and people on the right.
Enter a name followed by a company name to create a more targeted search for a person.
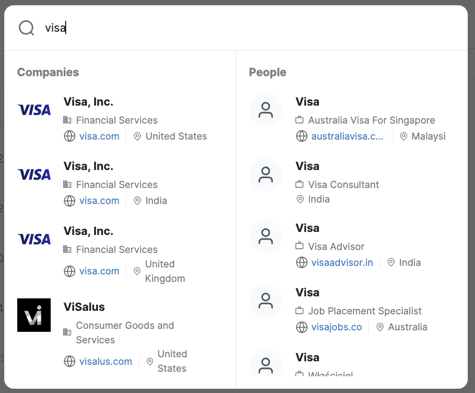
Clicking on a name listed in the search results takes you directly to the detail page of that company or person. If someone working for a company is only identifiable by their title, the name shown is that title.
Help
Help
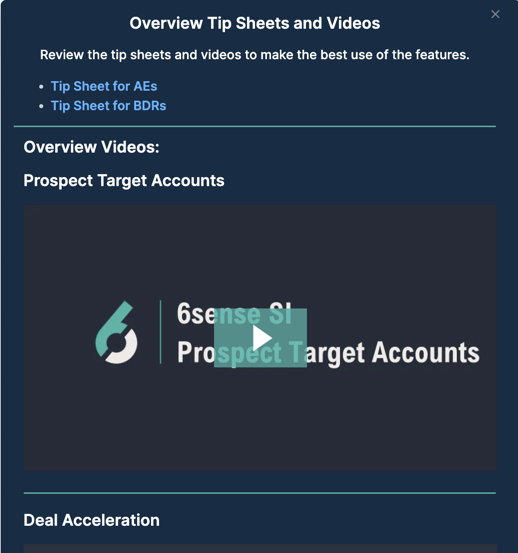
Click the help icon to open a help drawer.
The help drawer provides links to overview tip sheets and videos.
Settings
Settings
Click the settings icon (the gear) and the 6sense ABM application Settings page opens in a separate tab.
In the ABM Settings, toggle open the App Settings category, and click Sales Intelligence to select from a number of types of settings.
.png)
Sales Intelligence settings in the ABM Settings can only be configured if you are signed in as administrator. User settings are found in User Preferences.
Application Launcher
Application launcher
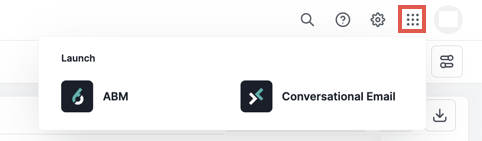
If you have Sales Intelligence and one or more additional 6sense applications, switch to another application using the application launcher.
Click the Launcher icon (the nine-dot grid) to open a dropdown menu of applications to pick from, then click the application you want to switch to.
User Preferences
User preferences — shows initials of logged in user (none shown in image for privacy purposes)
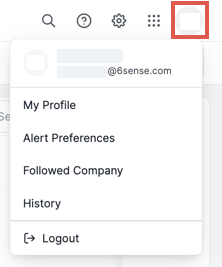
View your user preferences by clicking on the circle with your initials in it.
User preferences menu
The user preferences dropdown menu includes:
My profile
Alert preferences
Companies followed (previously labeled “Followed company”)
History
Logout link
My Profile
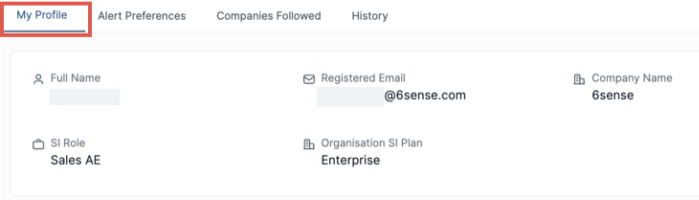
The My Profile tab displays your profile details, including your name, email, company, role, and your organization’s Sales Intelligence plan type.
Alert Preferences
Configure alerts for all products or each individual product your company has set up through 6sense in the Alert Preferences tab.
Read in-depth information about alerts in Sales Intelligence Alerts.
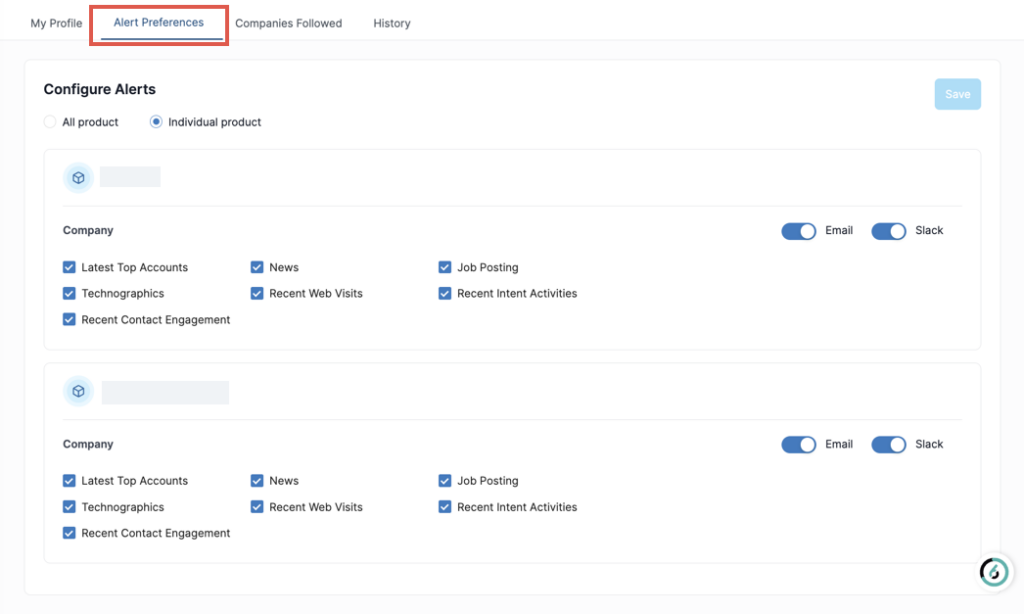
Alert preferences — individual product (offered when more than product is set up)
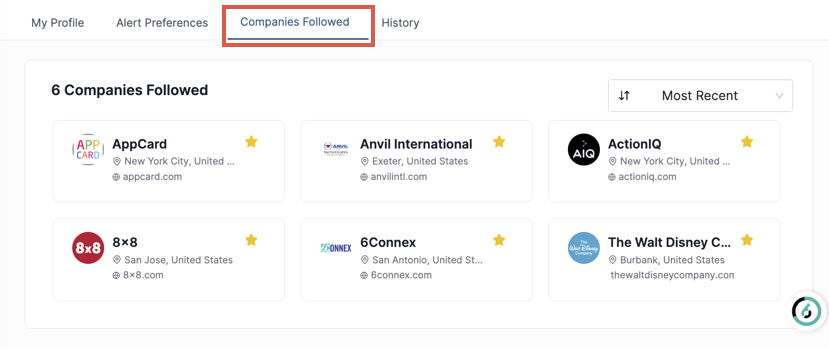
Companies Followed
Review and manage what companies you are following in the Companies Followed tab. This tab lists all companies that you have followed through Discovery or Lists. It allows you to quickly check on the prioritized companies you’ve tracked.
Unfollow a company by clicking its star.
History
The History tab includes two sub-tabs:
Export
Unlocks
Export
The Export sub-tab lists all your Sales Intelligence CRM, CSV, and SEP export activity. The history is for you (the user logged in). Export activity of others in your organization isn’t shown.
Select export type from the leftmost dropdown:
CSV
Your organization’s CRM
Your organization’s SEP
The CRM or SEP listed in the dropdown is the name of the CRM or SEP integrated with Sales Intelligence.
The type of export you select determines the information listed.
.png)
CSV Export: CSV export information includes:
Export (export source)
Total records exported
Number of credits you used for each export
Overall export status
You can download the same CSV file again for a particular export by clicking on the download button at the end of each listed export.
.png)
CRM or SEP Export: CRM or SEP export information includes:
Export source
Total records exported
Columns indicating the number of records that were successfully exported, skipped, or didn’t export
Number of credits you used for each export
Overall export status
Export History Filters: Filter the export history list by selecting from dropdowns at the top of the list.
All objects
People only
Company only
All status
Initiated
In progress
Success
Failed
Skipped
All (time period)
Today
Last week
Last month
Last 3 months
Unlock
The Unlock sub-tab lets you view a comprehensive history of your unlocks. By viewing your history, you can enhance your follow-up and engagement strategies, streamline reporting, and maintain a complete record of your prospecting efforts.
.png)
Read in-depth about the unlock history in Using the Unlock History.
FAQ
Q: How do I log in to Sales Intelligence?
A: Log in to SI the same way you log in to the ABM platform.
Q: How do I log out of Sales Intelligence?
A: Log out of SI by clicking on user preferences (the circle with your initials top right of the Sales Intelligence application). Log out is the last item in the dropdown menu that appears.
Q: When is the export of a record skipped?
A: A record can be skipped because:
The record is up-to-date — there’s no net new information to update.
Exporting the record requires including mandatory information we can’t provide or a mandatory action that would cause the export to fail or be useless. For example:
Exporting a Contact Record: The export is skipped when the export requires including an account, and we can’t find or create an account in the CRM.
Exporting to an SEP: To export a contact record to an SEP, the export has to include an email. If you export contact records without email addresses, then those records are skipped.
Q: Why has a particular record that I tried to export not exported?
A: To understand why a single record failed to export or was skipped, hover over the information icon (the “i”) that follows the overall status for a brief explanation.
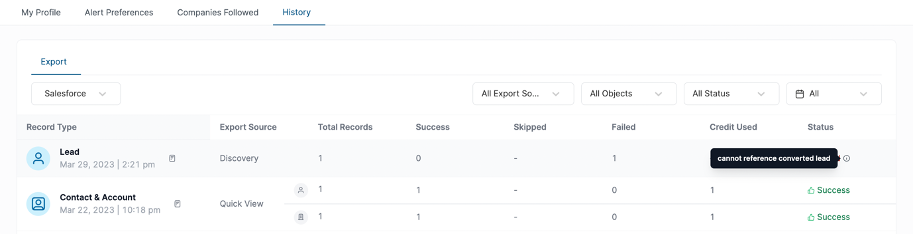
Hover on information icon for tooltip reason for skip or failure
To analyze the results of multiple export record failures, review the reasons by exporting the CSV of failed or skipped records.
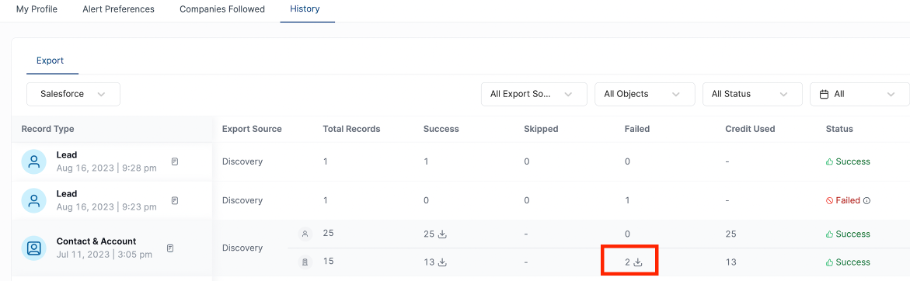
Download CSV of failed or skipped records

CSV example of skip reason