In AI Email (AIE), you can:
Add or remove a scenario
Edit touchpoints
Add or remove follow-up touchpoints
Update similar scenario
Publishing your conversation flow
Add or remove a scenario
To add a scenario, select Add a Scenario.
Select a scenario to add from the available options.
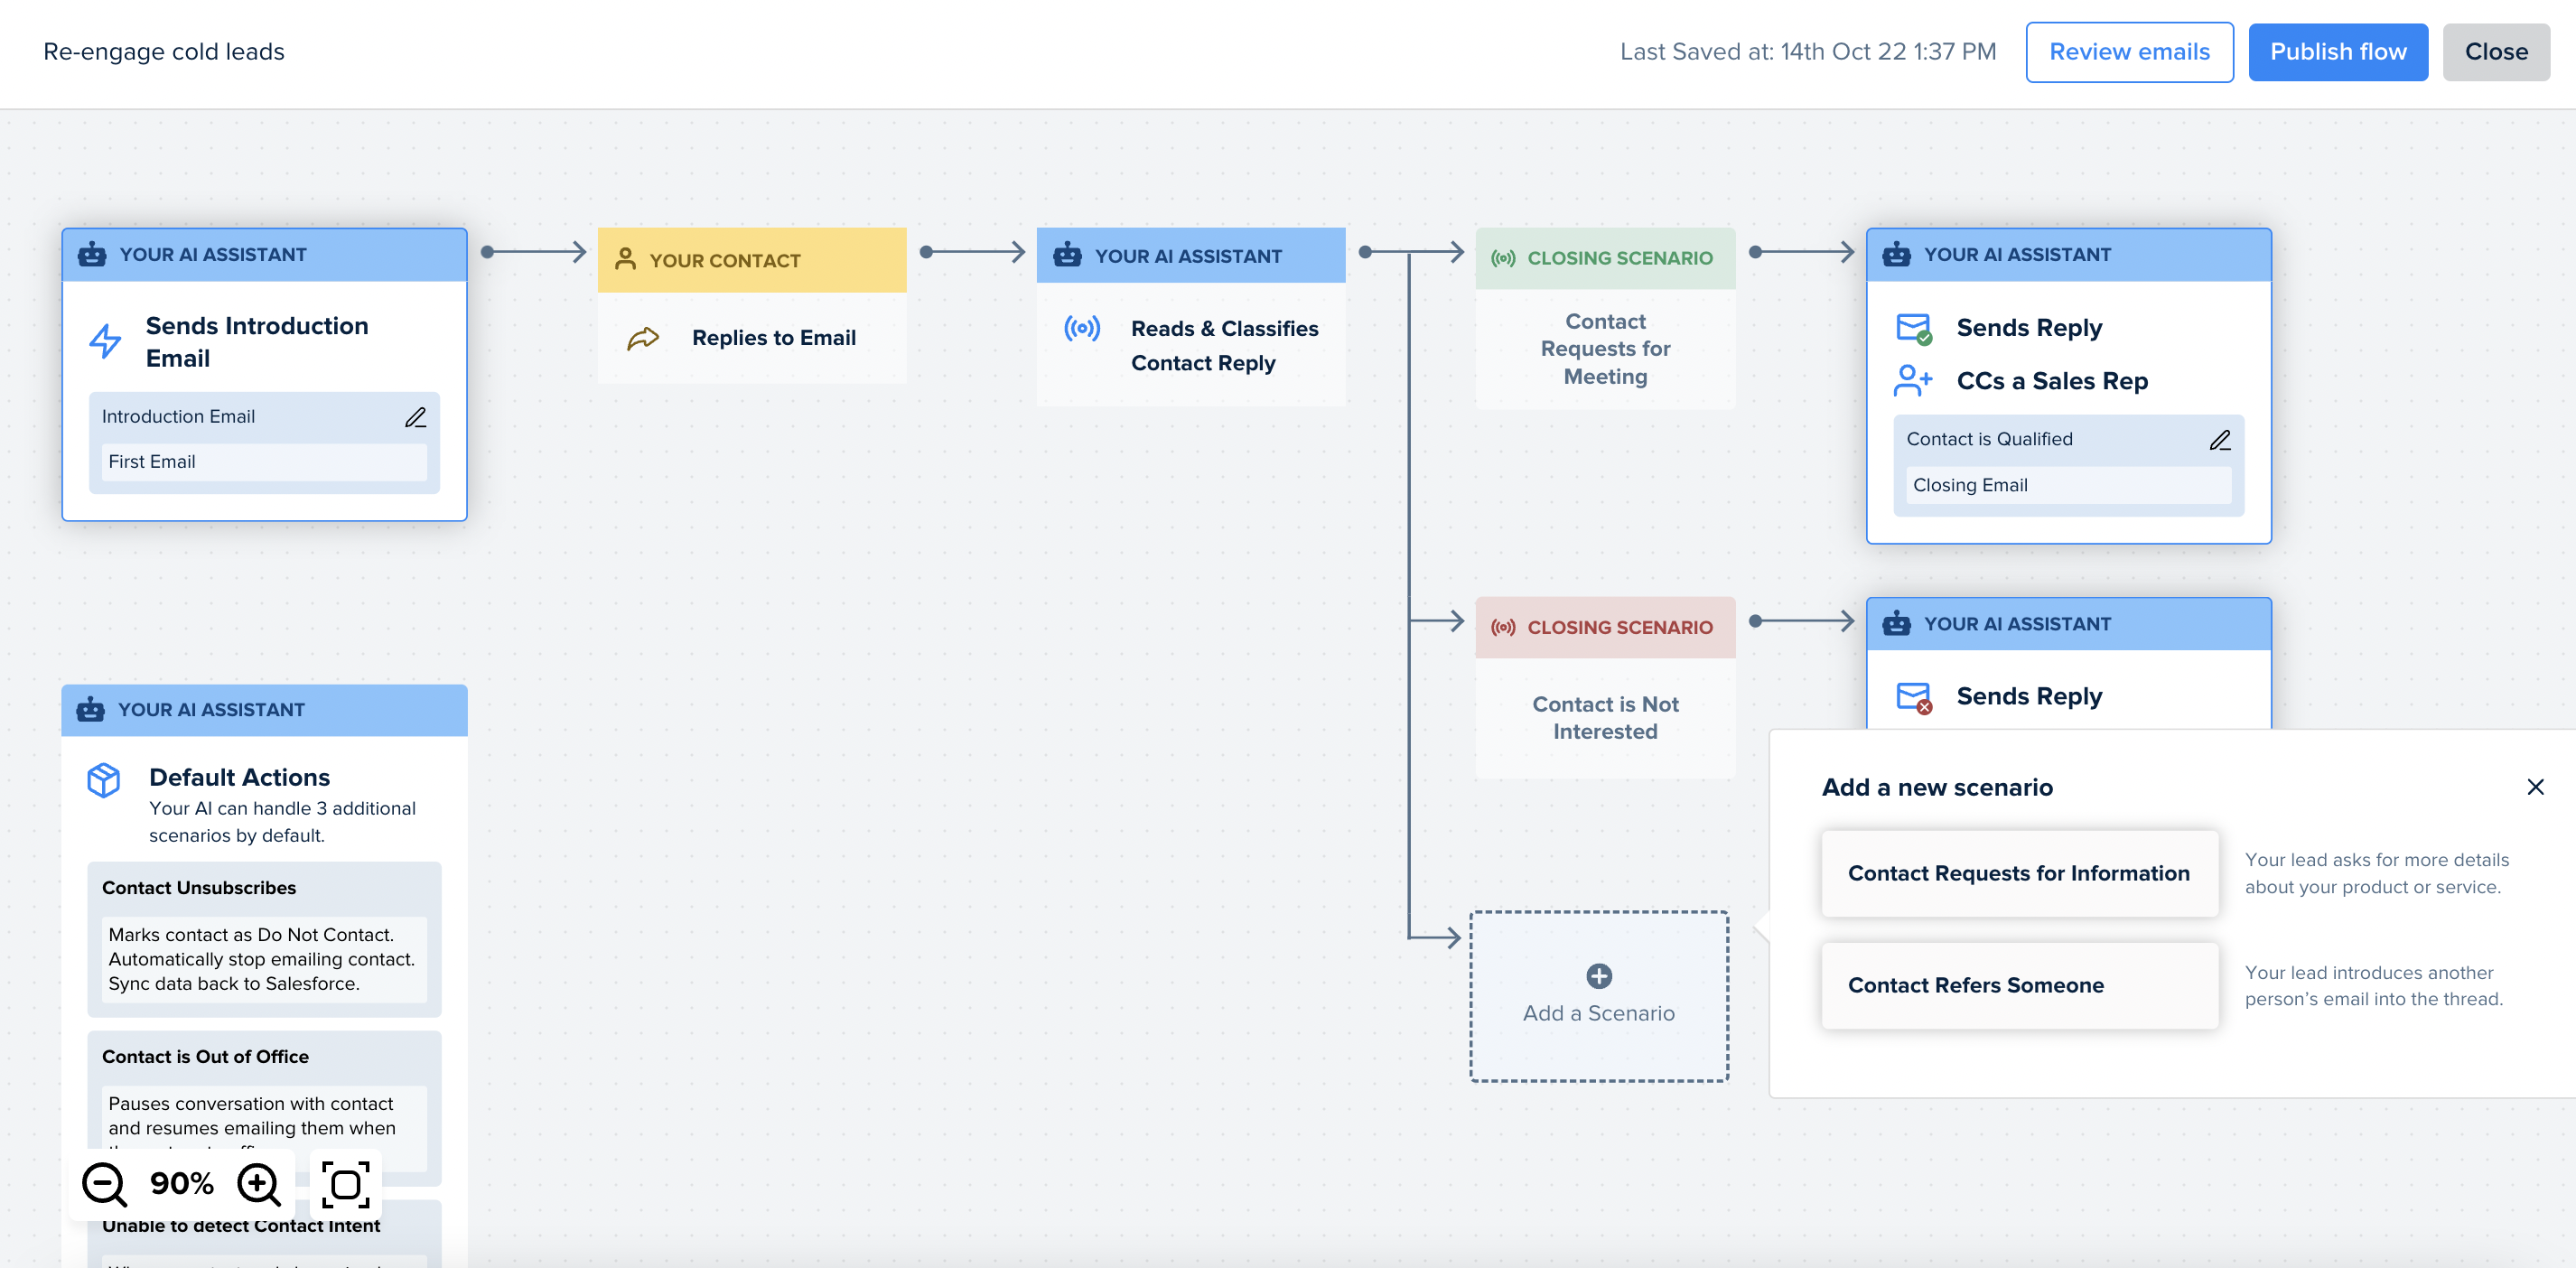
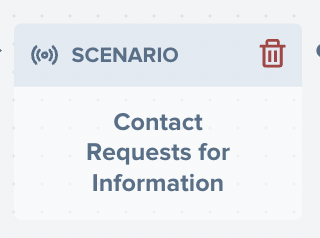
To remove a scenario, click the bin icon at the top right of the selected scenario. This will automatically remove any scenario following this one.
Edit touchpoints
Hover your cursor over the scenario that you would like to edit touchpoints, and click ‘Edit Emails’.
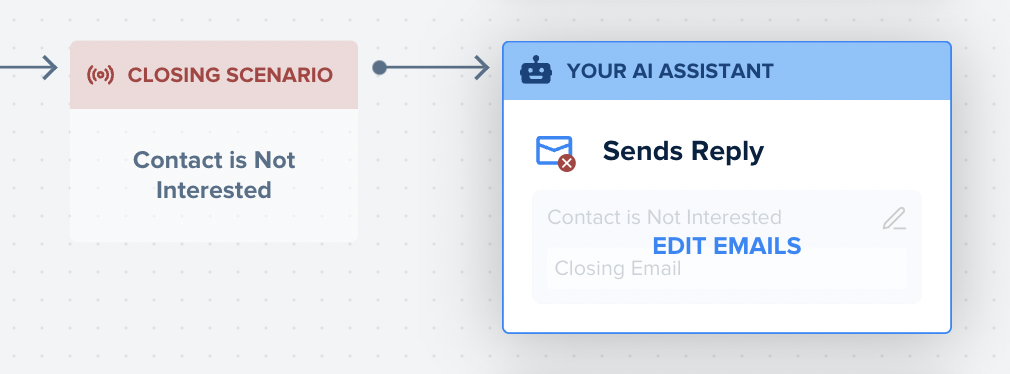
The touchpoint editor panel and the preview panel open.

In the Editor Panel, you can customize your message in several ways:
Subject Editor: Edit the subject of your email.
Message Editor: Configure your message here.
Insert Merge Tag: To customize your message, you can insert a merge tag. Put your text cursor where you would like to include a merge tag, and click on “{…}” at the bottom right to select the relevant merge tag. You can also add new merge tags by adding Custom Fields in Customize Assistant.
Insert Image: You can insert an image into your message.
Add Attachments: You can include an attachment to your AI email agent’s email.
When your touch-point is ready, select Save Email to save your changes.
The Preview panel shows a preview of the messaging with the merge tags filled with sample contact information, and your AI email agent’s signature appended.
Add or remove follow-up touchpoints
To add a follow-up touchpoint, select Add Follow-Up Email below the previous touch-points save button.

AIE creates a new touchpoint editor where you can customize the messaging and set schedule.
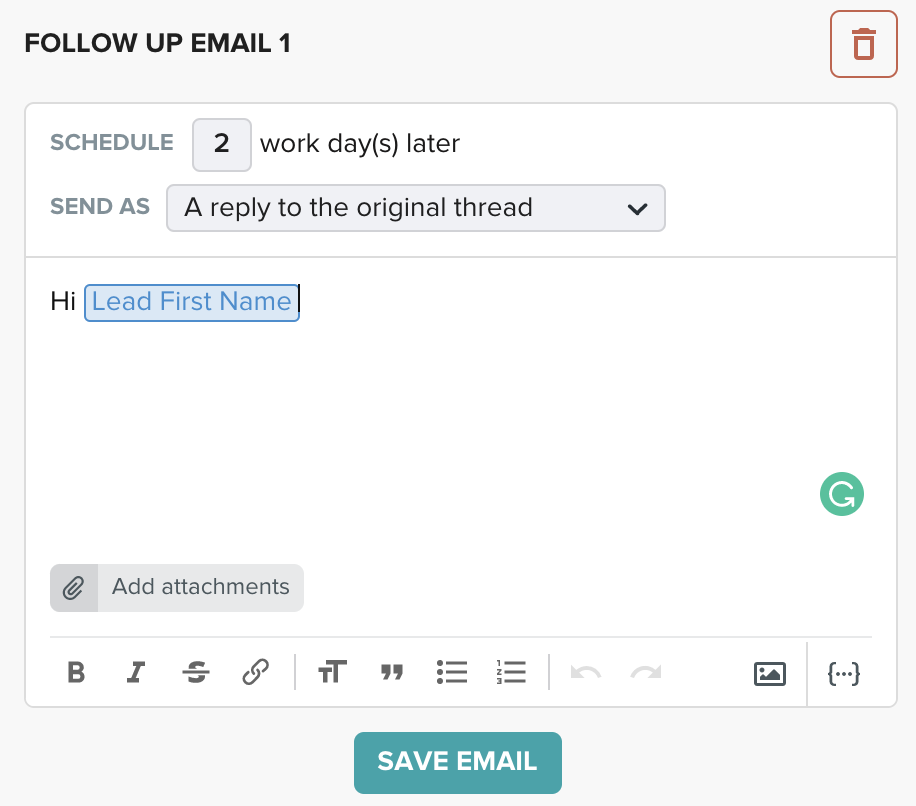
Send Schedule: Configure when your AI email agent will send the message. The days are counted as work days from when the previous email touch-point was sent.
Send As: By default, your AI email agent is configured to send subsequent emails as replies to the original email thread, which is the recommended behavior. You can change this by selecting “A new thread” and setting a new email subject.
To remove a follow-up touchpoint, click on the red “bin” icon of the selected touchpoint.
Update similar scenarios
You will notice that as more scenarios are added and your conversation flow gets larger, there will be scenarios that are repeated. You may see multiple similar scenarios, such as “Contact is Not Interested,” “Contact is Qualified,” “Contact Requests for Information,” etc., in your conversation flow.
By default, your latest messaging for your selected scenario is replicated (and all its touchpoints) to similar scenarios in the same conversation.
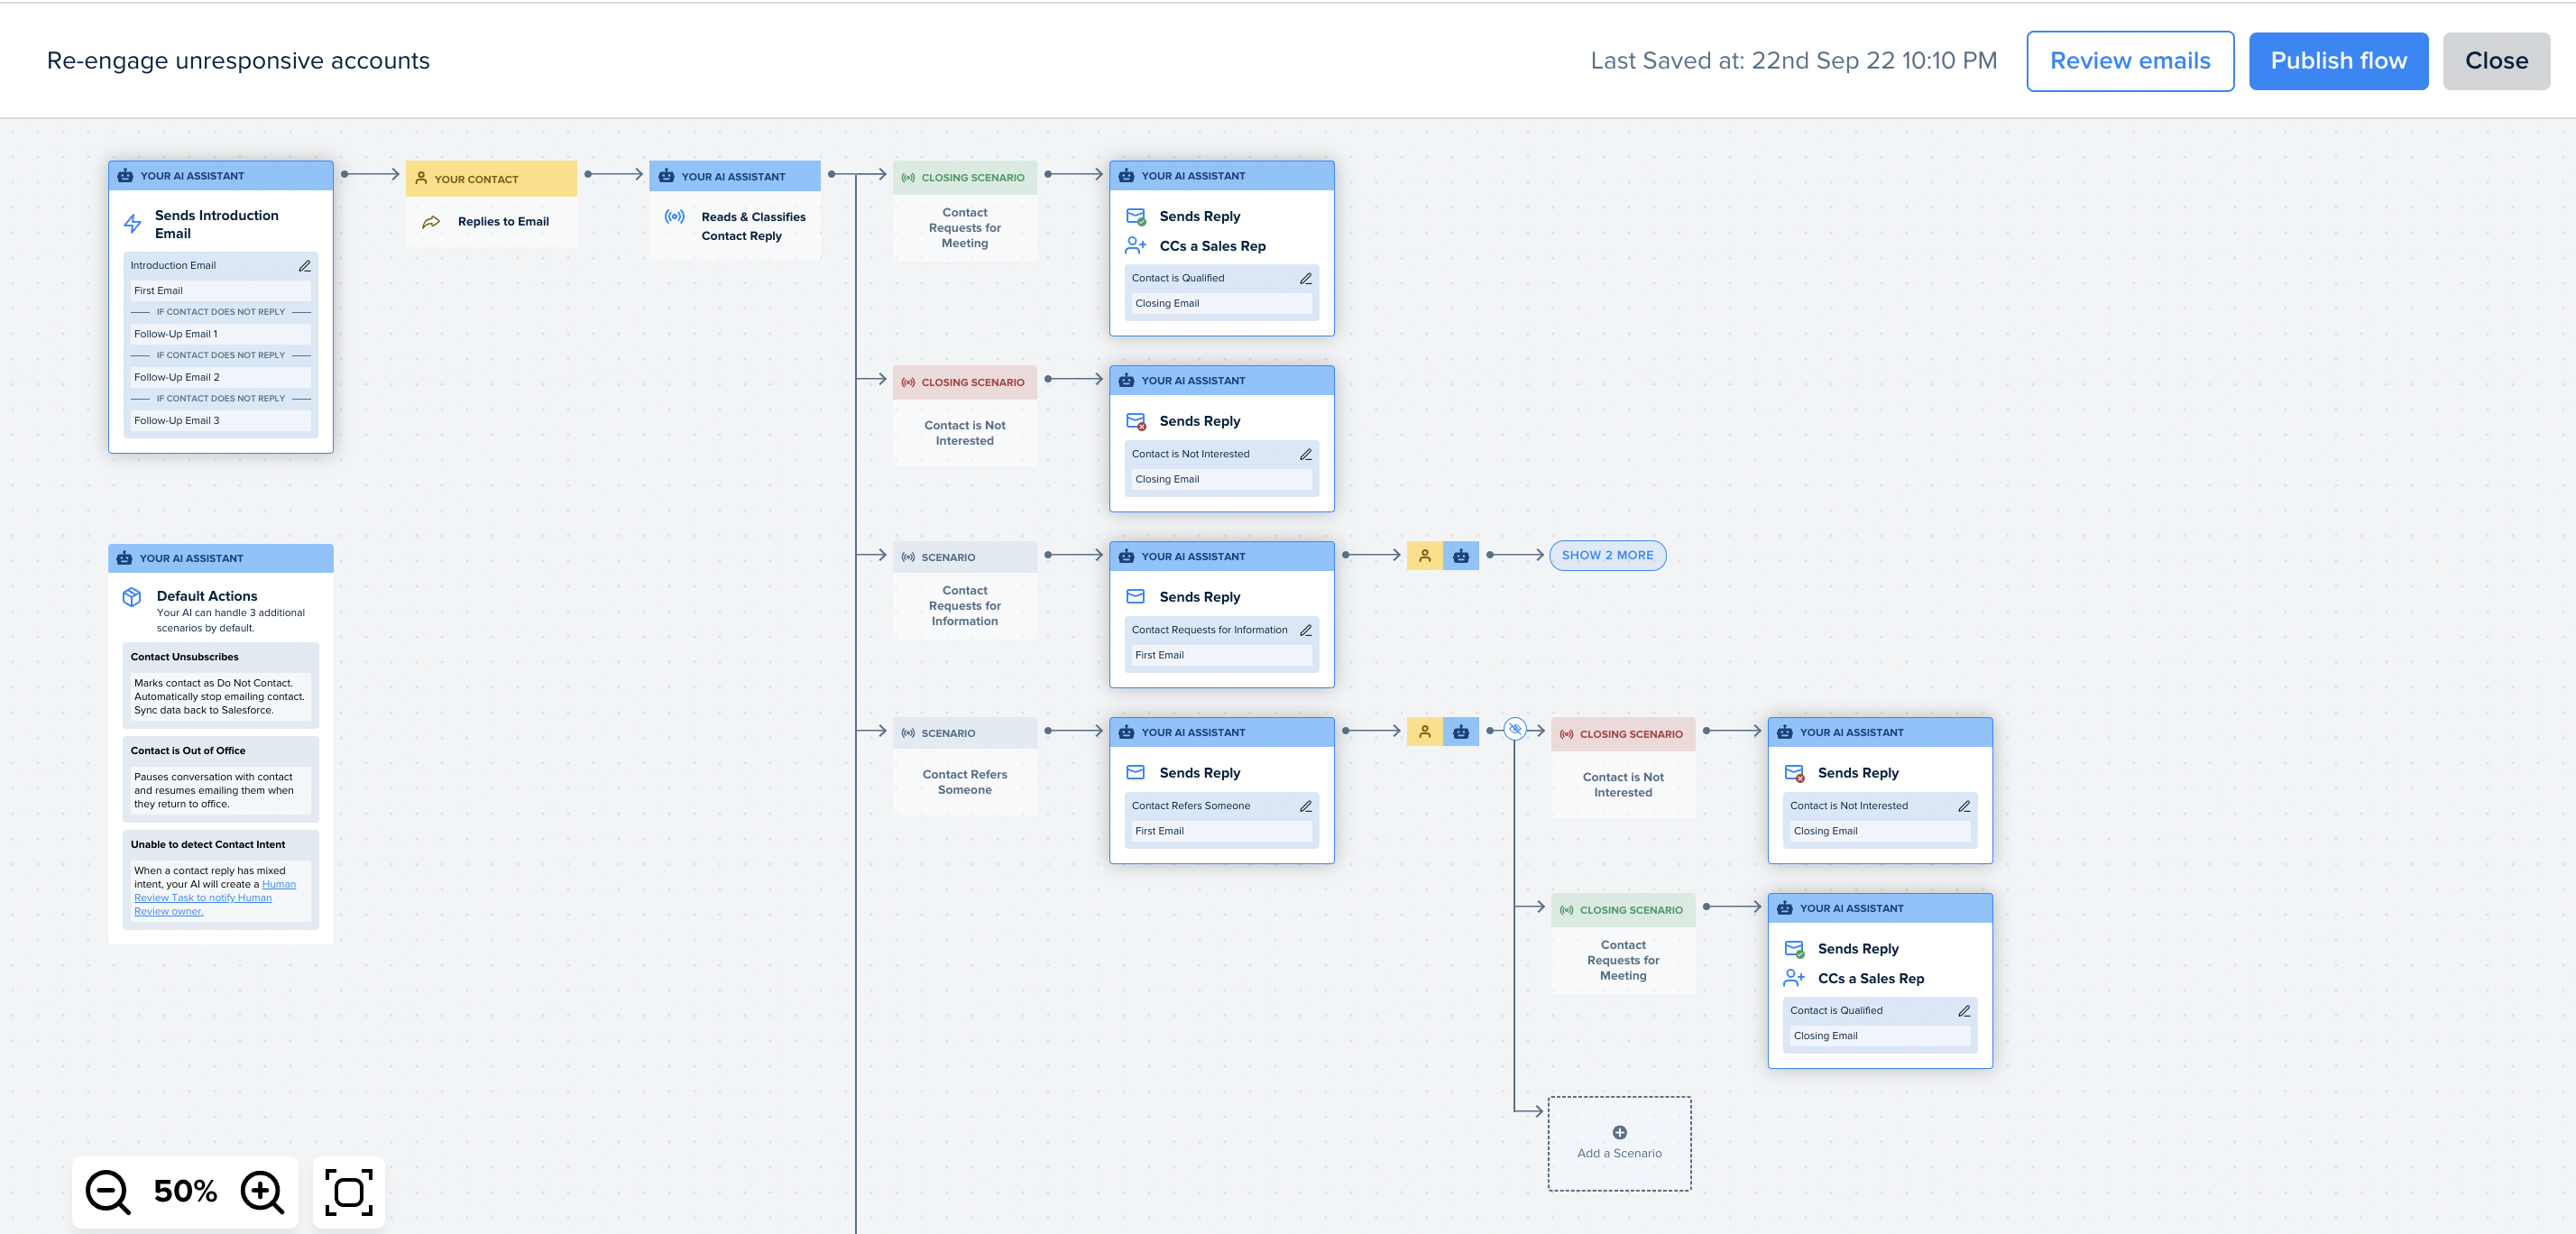
Publish your conversation flow
You will need to publish your conversation flow before it can be used in a campaign.
You can review your changes before publishing. Once you have finalized your conversation’s scenarios and messaging, click “Publish” at the top right of the conversation flow’s page to use begin using it in a campaign.
