This integration with S3 allows the user to send Data Packs (f.k.a. Standardized File Export (SFE)) and Audit Logs directly to your organization’s S3 Bucket. This integration allows you to securely store logs and data for long-term retention and integrate them with your security tools, including SIEM platforms, for monitoring, investigation, and compliance purposes.
This integration is not enabled by default. To request enablement, please contact your Customer Success Manager (CSM).
Additional resources:
Prerequisites:
You must be a 6sense Data Packs and/or Audit Logs customer.
Your organization must be using AWS S3 internally.
You must contact your CSM to turn on this integration if eligible.
Note: Only the following AWS regions are supported by 6sense:
us-east-1
us-east-2
us-west-1
us-west-2
ap-south-1
ap-northeast-2
ap-northeast-3
ap-northeast-1
ap-southeast-1
ap-southeast-2
ca-central-1
eu-west-1
eu-west-2
eu-west-3
eu-central-1
eu-north-1
sa-east-1
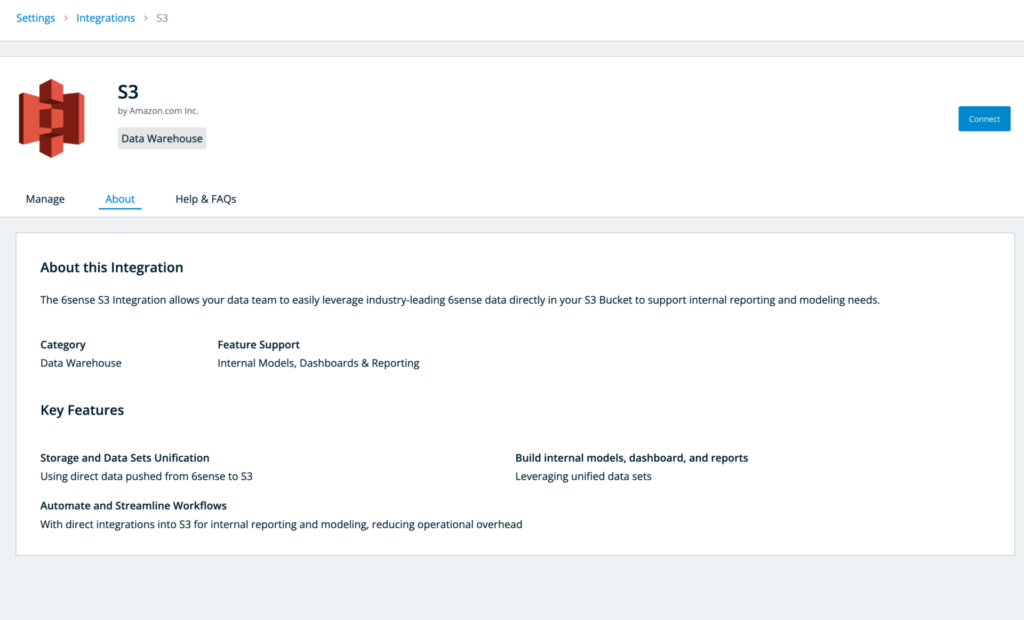
To integrate S3, navigate to Settings and select S3 from the list of integrations.
In the top right of the integration page, click the Connect button.
Prior to connecting to S3 you will need to grant our 6sense common IAM role the following permissions to your desired S3 bucket.
list
Putobject
Putobjectacl
This is usually done via a bucket permission policy. To learn more please visit this article.

Once completed, check the box for “I have read and followed the steps mentioned above” and click Next.
Enter your S3 connection information and click Validate.
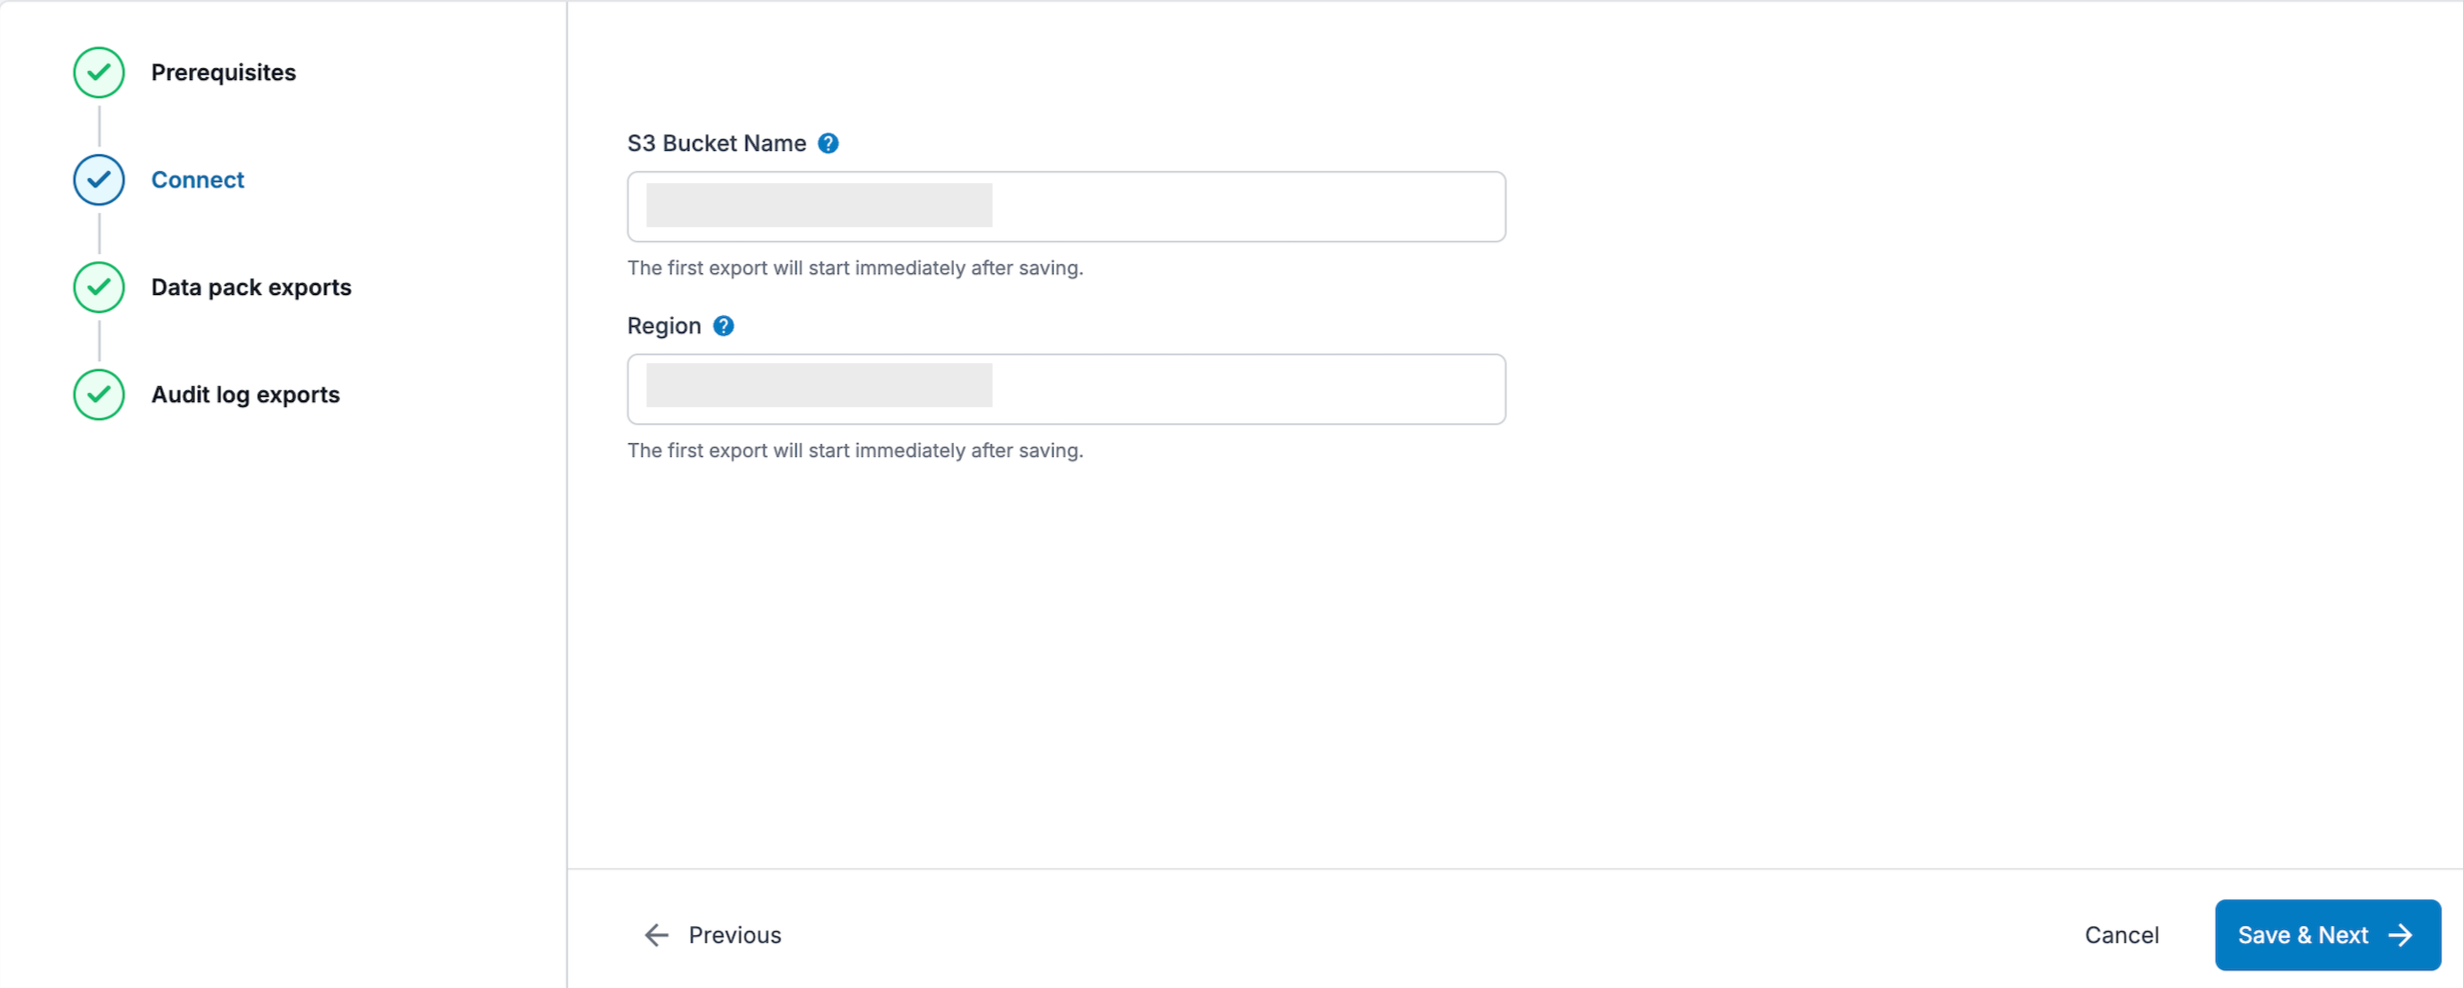
Property | Description |
|---|---|
S3 Bucket Name | The name of the staging S3 bucket (Example: |
Region | The S3 staging bucket region used. |
After successful validation, click Save & Next to configure the integration for data packs and/or audit logs.
Configure data packs
If you have data packs enabled, enter the file path that data packs will be exported to.
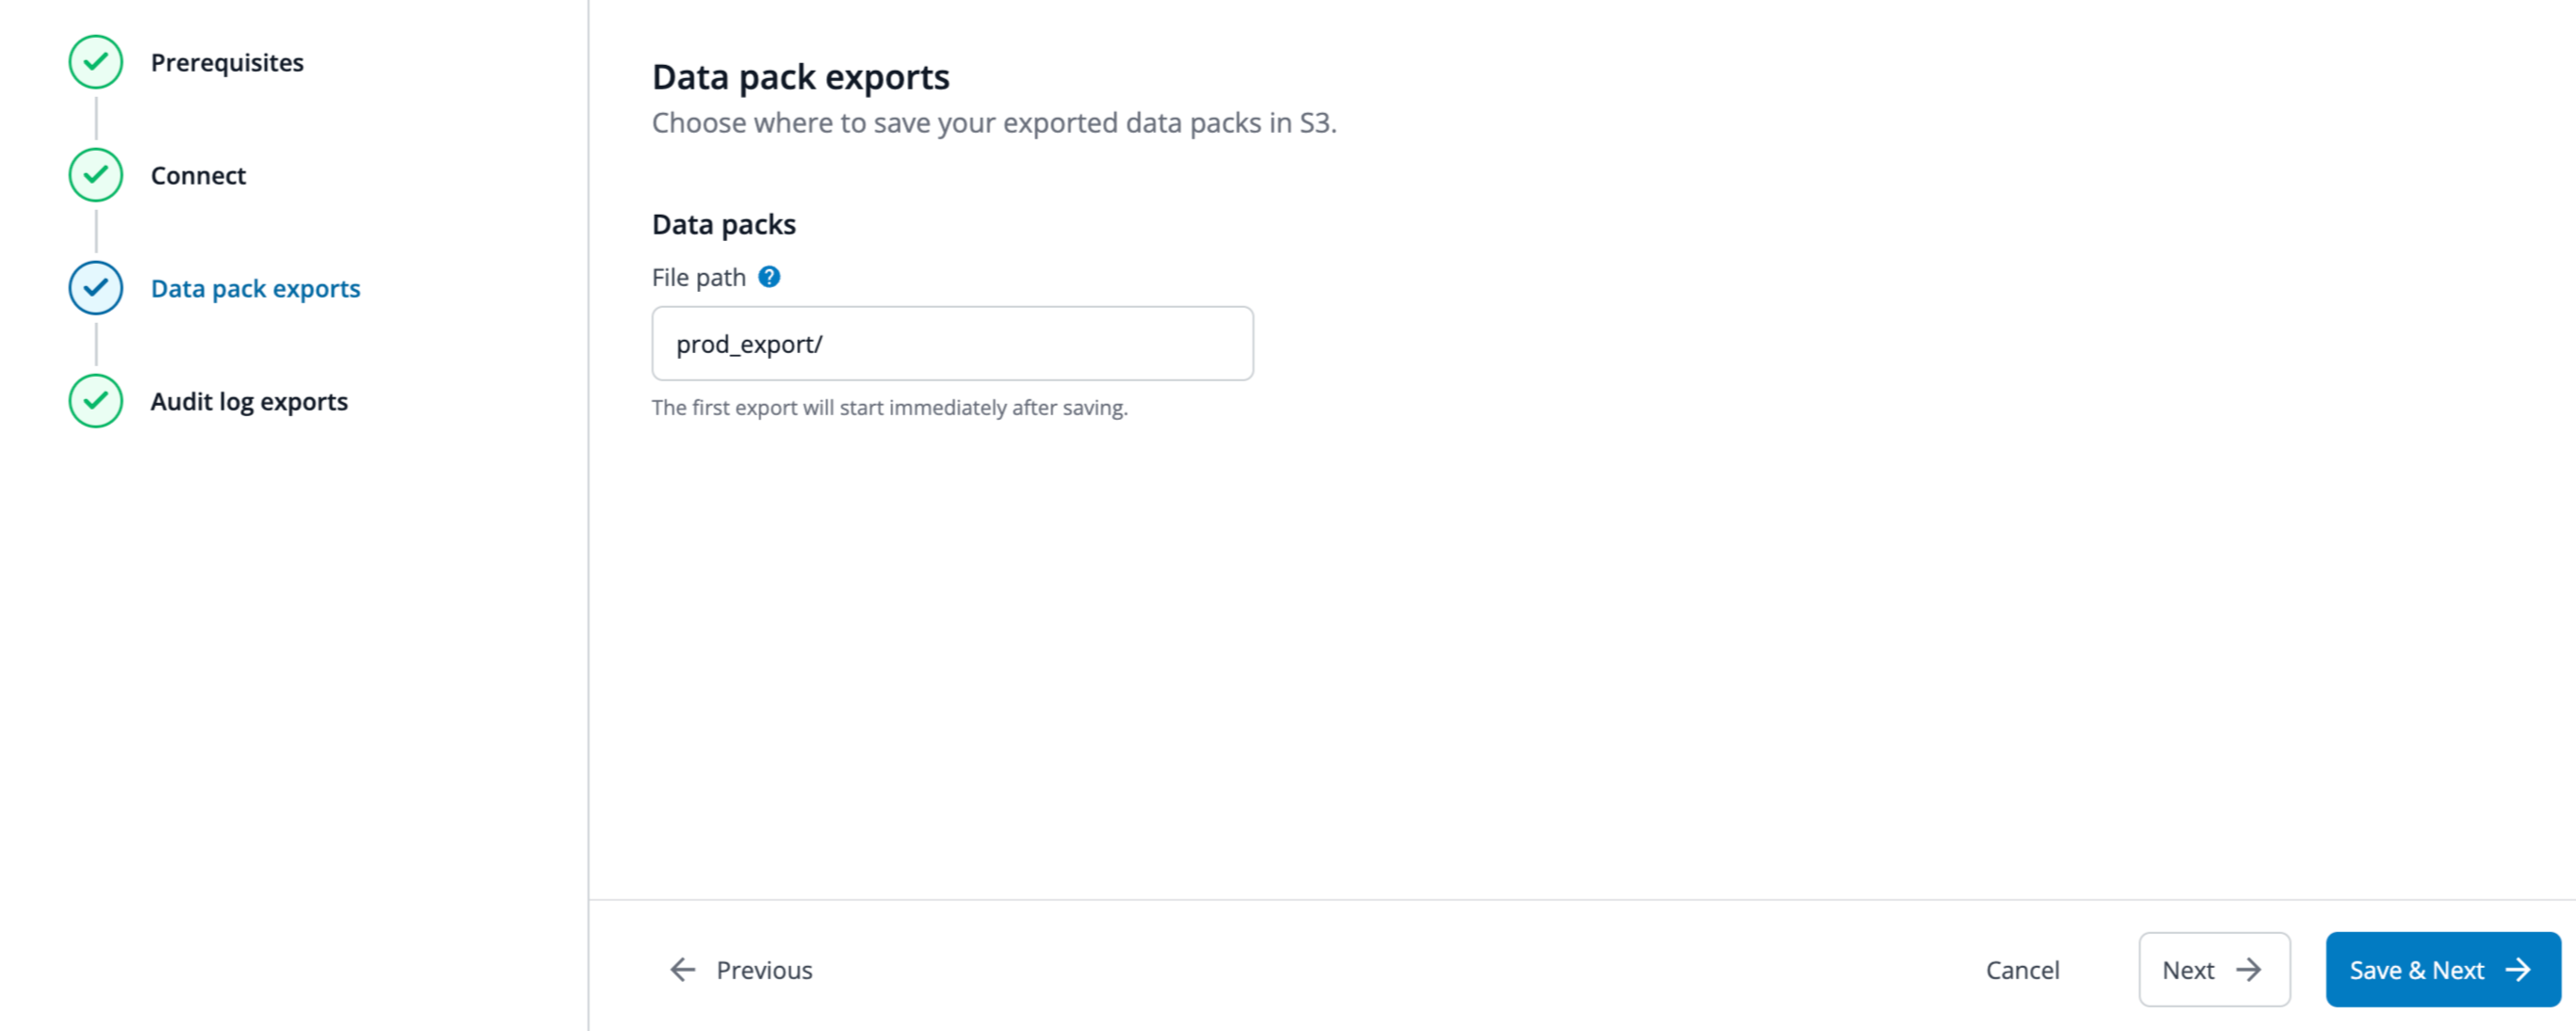
Click Save & Next in the bottom right of the page to save this setting.
Once S3 has been configured as your organization’s data pack destination, by default we will no longer send the data to the SFTP server if you were previously using it.
Configure audit logs
Configure the integration by entering your desired file path. This information allows 6sense to know the exact S3 endpoint location to send the data.

Select the frequency at which you want the audit logs to be delivered:
Hourly: Fresh logs will be delivered every hour.
Daily: Logs will be delivered around 5:00AM UTC each day for the previous day.
Audit logs require processing before they can be exported. As a result, newly generated logs may take up to 4 hours to appear in your S3 bucket.
Select Finish in the bottom right of the page to complete your integration.
FAQ
Who can configure the S3 integration?
Only administrators have access to configure the S3 integration.
Can I change the export frequency after setup?
Yes, you can update the export frequency at any time by editing your existing integration settings.
Are any other integrations supported for audit logs?
At this time, AWS S3 is the only supported integration for audit log exports.
What kind of actions are tracked under audit logs?
The following logs are available:
User authentication events (logins including failed login attempts)
CRUD actions on data (create, read, update, delete)
Permission or role changes
System configuration changes
Export or download actions
Error logs
What does a 400/401/403/500 in the log indicate?
These are HTTP status codes captured in logs:
Code | Meaning |
|---|---|
400 | Something was wrong with the information sent to the server. |
401 | You are not logged in or your session has expired. |
403 | You don’t have permission to access this resource. |
404 | The page you tried to access cannot be found. |
500 | Server internal error (System issue) |
503 | Service unavailable |
What information is included in each audit entry?
Timestamp
User ID / email /role as applicable
Action performed
Affected resource or entity
IP address
Additional metadata (before/after values, error messages, visitor URL)