Before you can enroll contacts into campaigns for launch, you first need to import your contacts using a CSV file into AI Email (AIE).
If you are importing contacts and launching your campaign using a Salesforce integration, read instead about enabling Salesforce auto-enrollment.
To import contacts using a CSV file, either:
Select Import new contacts as part of the campaign creation process, OR

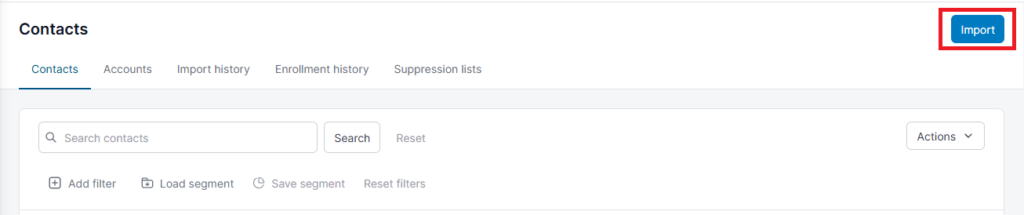
Go to People > Contacts tab and select Import, OR
Go to People > Import history tab select Start an import.

The Import from CSV page opens.
Step 1: Upload CSV
Select Click to upload or drag-and-drop your CSV file into the box to begin the import.
There is a sample CSV file that you can download. The sample CSV file only includes the most commonly used merge tags, and may not include all the merge tags used in your campaign.

Step 2: MAP CSV columns
Map the column headers from your CSV file to the corresponding AIE fields using the value dropdown menus. Then select Confirm mapping.
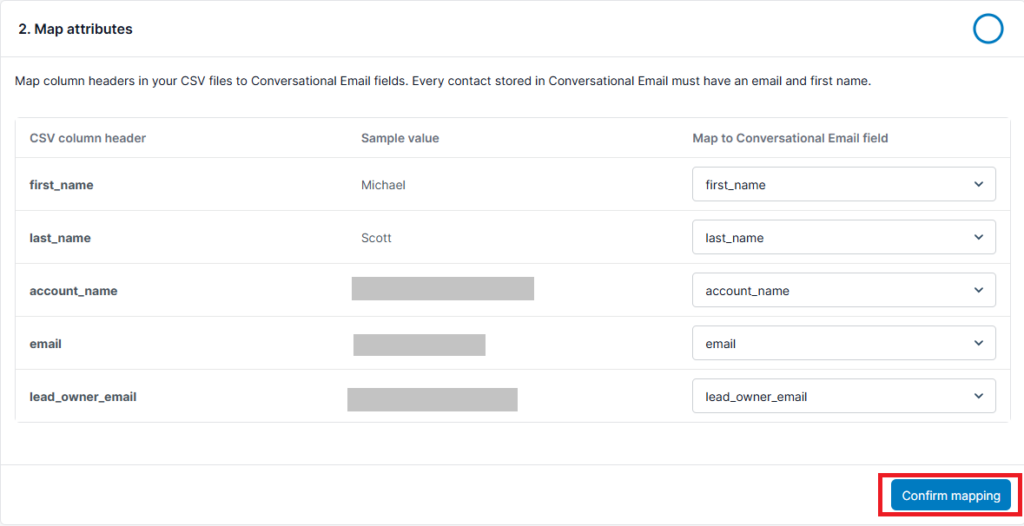
You can choose not to map columns from your CSV file to a AIE field by selecting Don’t Map from the menu. Any unmapped columns from your CSV file will not be imported into AIE.
Step 3: Review and validate
A summary page of your imported data shows the number of contacts in your CSV file that are:
Without errors and warnings
With warnings
With errors
Review and resolve any errors. Then check the boxes next to any warnings to validate those actions. After you’re satisfied with your choices, select Confirm.
For a full list of warnings and errors refer to AIE Enrollment Warnings and Errors.
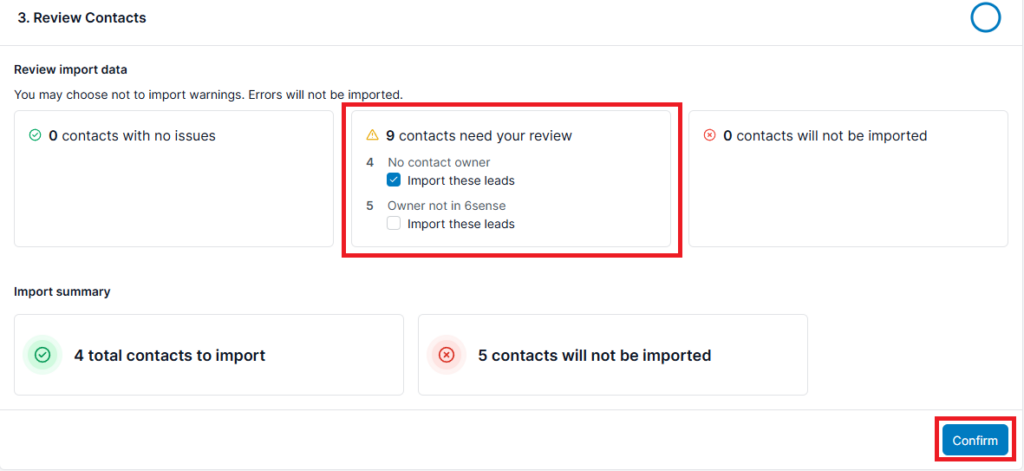
By default, contacts with warnings will not be imported. However, you have the option to import contacts despite the warnings by selecting the checkbox corresponding to each warning. (You will only import contacts belonging to that specific warning category.) Hover your cursor over each warning category for a pop-up containing more information on that warning.
Contacts with errors cannot be imported. Together with unimported contacts with warnings, contacts with errors will be stored as Unimported Contacts following your import. Refer to AIE Enrollment Warnings and Errors.
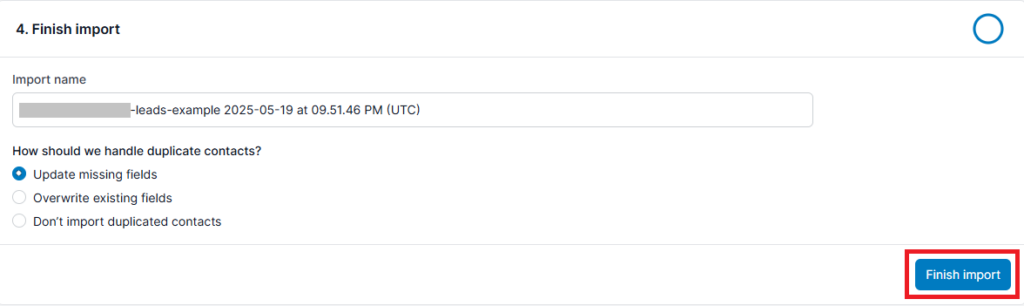
Step 4: Confirm and import
You can name your import batch for easy identification, and choose how you want to update contacts from your CSV file that are already in AIE. Refer to Importing and re-importing Contacts.
Select Finish import, and your import batch will begin processing.
Once ready, your import batch will show the import details (number of imported/unimported) in the People > Import history.