The purpose of this guide is to help you enhance your existing 6sense Website Tag 1.0 with the 6sense Company Identification API within Google Tag Manager. If you are looking for WebTag 2.0 set up for GTM, use this article.
If you have not added the 6sense website tag to GTM yet you will need to treat this as a new tag set up.
For instructions on setting up Google Tag Manager, see Setup and install Tag Manager
For instructions on adding the 6sense Website Tag to your GTM see 6sense & Google Tag Manager.
This guide includes additional steps to set up a Google Tag Manager Custom Trigger and Custom Event so that the Company Identification API data will push to Google Analytics when loaded.
Once the API is live, 6sense customers can use the data in various systems such as Google Analytics to create Account based dashboards and use custom dimensions to define or refine audiences for activation within Google Campaigns. To set up custom dimensions in Google Analytics see 6sense & Google Analytics. To deploy 6sense within Google Ad words see How to Use 6sense with Google Ads.
Note: you will need your Company Identification API key to complete the set up below. API key can be found in the Settings > API Key.
Instructions
Step 1
Open Google Tag Manager and navigate to your web property.
Step 2
Select the existing 6sense tag from the list of tags on your website. If you have not added the 6sense website tag to GTM you will need to treat this as a new tag set up. For instructions on adding the 6sense Website Tag to your GTM see 6sense & Google Tag Manager.
Step 3
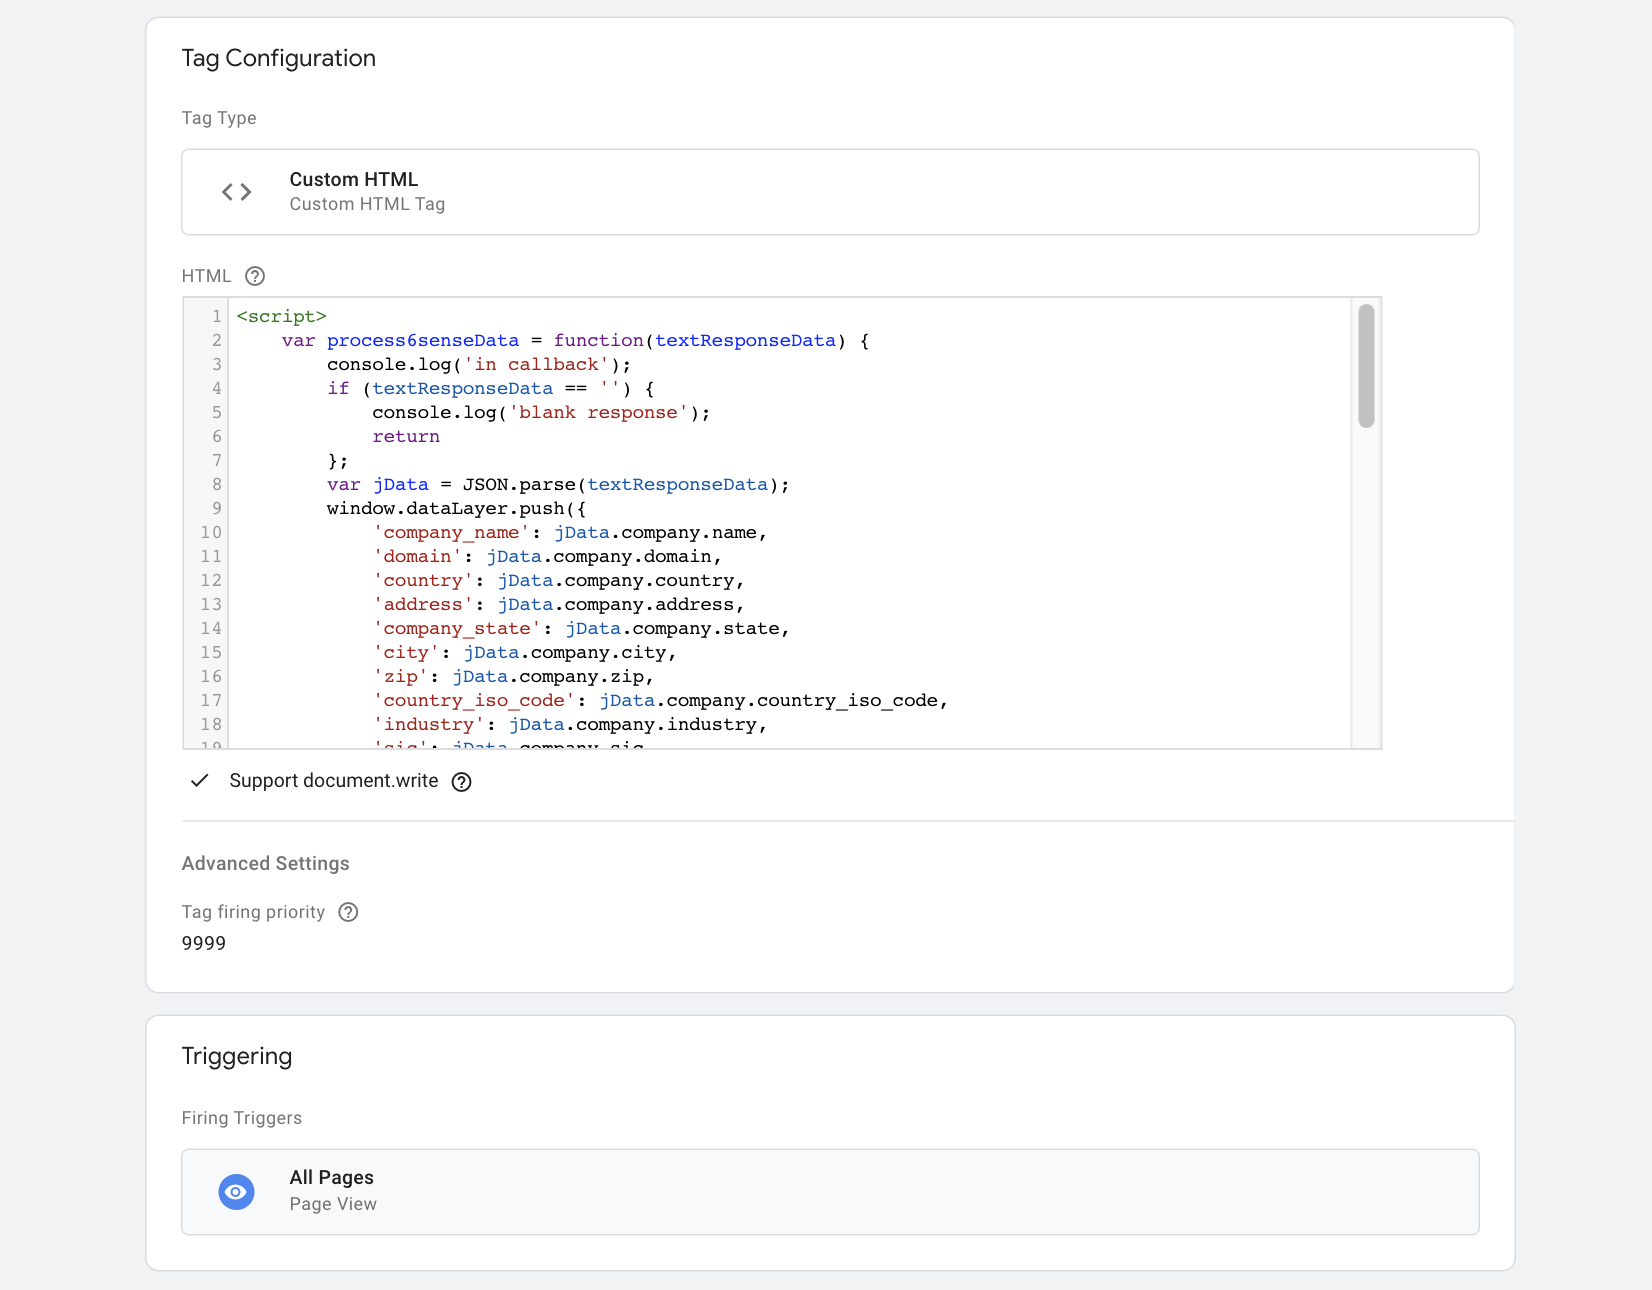
Update the existing code with the snippet below. There are 3 sections of the snippet that need to be customized for each customer. Please note the sections in RED that need to be updated in order for the tag to work.
3a) YOUR_6SENSE_WEB_TAG_KEY – can be found in the existing 6sense tag or in the settings section in 6sense under “Website Tag”
3b) YOUR_6SENSE_COMPANY_DETAILS_API_KEY – can be found in the settings section in 6sense under “API Key”
3c) If you have more than one product, they will each be displayed in the current code snippet (see example below here). If you wish to choose specific products to pass, you will need to modify the code.
Custom Script Snippet
<script>
var processEpsilonData = function(a) {
    // --- Decode Response ---
    if (a === '') {
        // If the response is blank, stop processing
        return;
    }
    var jData = JSON.parse(a);
    // --- End Decode Response ---

    // --- Push Company Identification to GTM ---
    window.dataLayer.push({
        'company_name': jData.company.name,
        'domain': jData.company.domain,
        'country': jData.company.country,
        'address': jData.company.address,
        'company_state': jData.company.state,
        'city': jData.company.city,
        'zip': jData.company.zip,
        'country_iso_code': jData.company.country_iso_code,
        'industry': jData.company.industry,
        'sic': jData.company.sic,
        'sic_description': jData.company.sic_description,
        'naics': jData.company.naics,
        'naics_description': jData.company.naics_description,
        'employee_range': jData.company.employee_range,
        'employee_count': jData.company.employee_count,
        'revenue_range': jData.company.revenue_range,
        'annual_revenue': jData.company.annual_revenue,
        'is_blacklisted': jData.company.is_blacklisted,
        'state_code': jData.company.state_code,
        'region': jData.company.region,
    });
    // --- End Company Identification to GTM ---

    // --- Push Segments to GTM ---
    window.dataLayer.push({
        'segment_ids': jData.segments.ids,
        'segment_names': jData.segments.names,
        'segment_lists': jData.segments.lists,
    });
    if (jData.segments.names) {
        window.dataLayer.push({
            'segments': jData.segments.names.join(',')
        });
    }
    // --- End Push Segments to GTM ---

    // --- Push Product Scores to GTM ---
    if (jData.scores.length !== 0) {
        for (var i = 0; i < jData.scores.length; i++) {
            var product = jData.scores[i].product;
            var scoreObject = {};
            scoreObject[product] = jData.scores[i];
            window.dataLayer.push(scoreObject);
        }
    }
    // --- End Push Product Scores to GTM ---
    if (jData.scores.length != 0 && jData.scores[0]) {
        var score = jData.scores[0];
        window.dataLayer.push({
            'buying_stage': score.buying_stage,
            'profile_fit': score.profile_fit,
        })
    }
    // --- Send Confidence Score to GTM ---
    window.dataLayer.push({
        'confidence': jData.confidence
    });
    // --- End Send Confidence Score to GTM ---

    // --- Trigger Company Identification Loaded in GTM ---
    window.dataLayer.push({
        'event': '6si_company_details_loaded'
    });
    // --- End Trigger Company Identification Loaded in GTM ---
};

window._6si = window._6si || [];
window.dataLayer = window.dataLayer || [];
window._6si.push(['enableEventTracking', true]);
window._6si.push(['setToken', 'YOUR_6SENSE_WEB_TAG_KEY']); // REPLACE ME
window._6si.push(['setEpsilonKey', 'YOUR_6SENSE_COMPANY_DETAILS_API_KEY']); // REPLACE ME
window._6si.push(["setEndpoint", "b.6sc.co"]);

var epsilonName = 'enableCompanyDetails';
var enabled = true; // set to true to enable API
var callback = processEpsilonData; // optional callback
var version = 3; // 3 for v3

window._6si.push([epsilonName, enabled, callback, version]);

(function() {
    var gd = document.createElement('script');
    gd.type = 'text/javascript';
    gd.async = true;
    gd.src = ('https:' == document.location.protocol ? 'https://' : 'http://') + 'j.6sc.co/6si.min.js';
    var s = document.getElementsByTagName('script')[0];
    s.parentNode.insertBefore(gd, s);
})();
</script>
Your tag will look similar to this:
Step 4
Save the tag.
Step 5
Navigate to “Triggers” in Google Tag Manager and create a new Trigger.
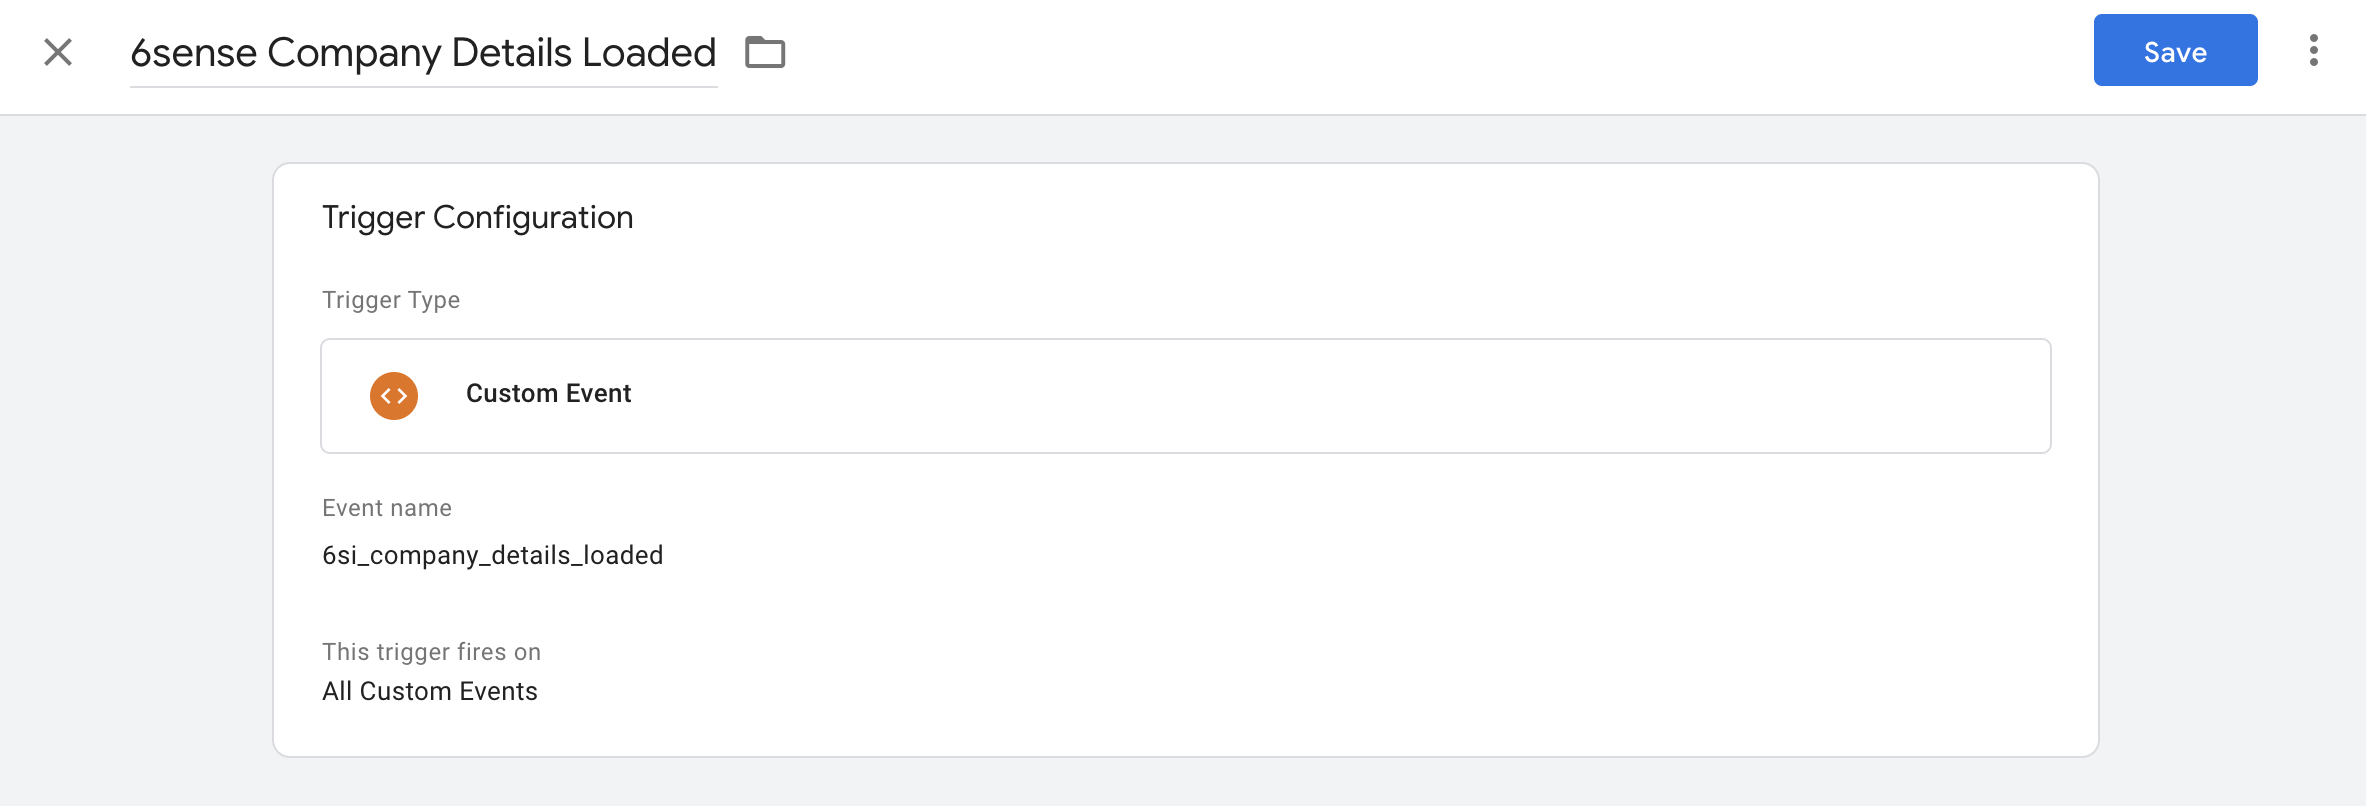
The type will be
Custom Event.The event name will be
6si_company_identification_loaded.The title of this event should be
6sense Company Identification Loaded.Click Save.
Your trigger should look similar to this:
Step 6
Navigate back to Tags and locate your Google Analytics / Universal Analytics tag that sends the Pageview event.
Click on the tag to open up the settings.
Verify that the Track Type says
Page ViewVerify that Custom Dimensions are listed. If not, set up custom dimensions in Google Analytics and Variables in Google Tag manager by following instructions in 6sense & Google Analytics.
On the top right, click the icon with 3 vertical dots.
Click Copy.
Step 7
To the left of the icon, change the name to Send 6sense CD to GA
Click the edit icon on Tag Configuration
Tag Type should be
Google Analytics: Universal AnalyticsChange the Track Type to
EventSet the category as
6si_company_detailsSet the action as
6si_data_loadedSet Non-Interaction Hit to
TrueThe rest of the fields remain blank or will contain default values.
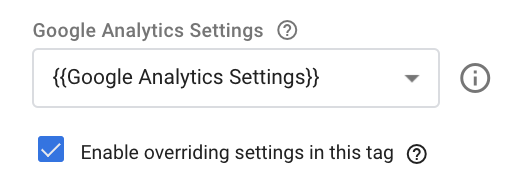
For Google Analytics Settings, choose the Settings Variable for your main Universal Analytics tag
Check ‘Enable overriding settings for this tag
Expand ‘More Settings’
Under ‘More Settings’ > Custom Dimensions, configure desired 6sense Company Identification attributes. Make sure you are referencing the Index set up in Google Analytics. If this is not yet set up, see: Step 4 in the Google Analytics Guide
Note: Click the ‘LEGO’ icon to easily select the GTM Variable you set up.

Scroll down and click the edit icon on Triggers
Remove existing firing triggers
Add a new firing trigger, selecting the
6sense Company Identification Loadedtrigger that was created above.Click save
Your tag should look similar to this:
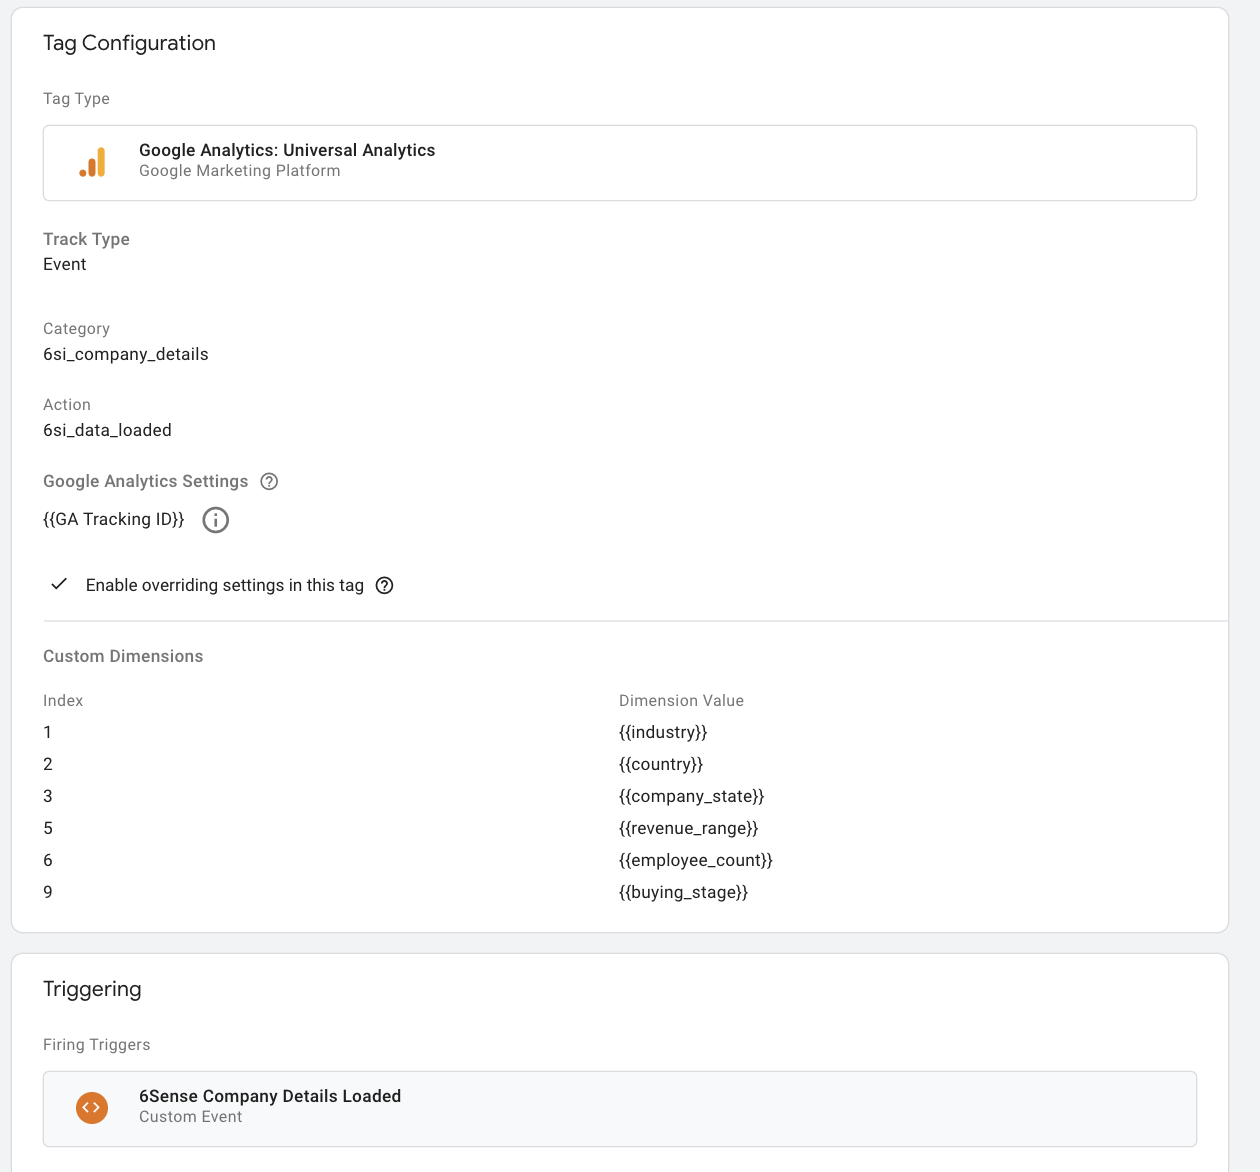
Note: Custom Dimensions will differ depending on your configuration. If you have not set up the custom dimensions yet for Google Analytics, please see 6sense & Google Analytics and during Step 6 configure the Custom Dimensions for this new tag instead.
Step 8
Don’t forget to publish in GTM!
Validation – Google Tag Manager
Step 1
Navigate to the Versions tab in Google Tag Manager
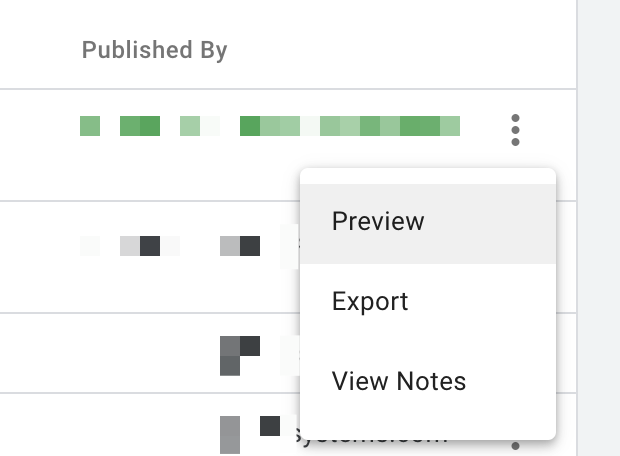
Step 2
Click on the 3 vertical dots to the right of the latest version and click on Preview
Step 3
Enter your website URL and click Start
A new tab will open to your website
Step 4
Navigate back to Google Tag Manager and click Continue if there is a pop-up on the screen
Click on the item on the left with the name
6si_company_details_loaded. This is the trigger we set up.
Ensure that the
Send 6sense CD to GAtag has fired.
Step 5
Navigate to the Variables tab
Confirm that the 6sense variables you set up in 6sense & Google Analytics are populated with information.

Step 6
Since the event tag is firing and the Data Layer Variables are populated with information, Google Analytics is now receiving the data and will associate these custom dimensions with the page view since the variables have Session scope.
Allow 24 to 48 hours for data to collect in Google Analytics and any report with Custom Dimensions are present will now show the Company Identification API data!
Validation – Google Analytics
Step 1
On any report, create a new segment called “Has 6sense Company Identification Populated”.
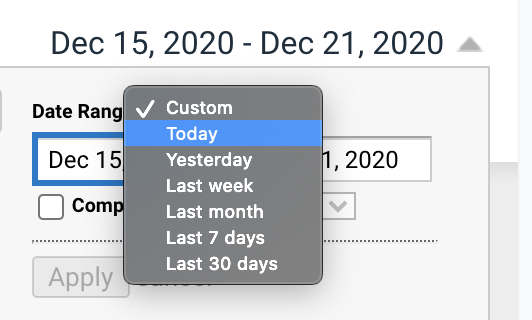
Step 2
Change the date range near the top right to include Today if you made the tag updates today
Step 3
Go to Advanced ? Conditions and choose any 6sense Custom Dimension
Select the second dropdown to change the criteria to
matches regex.Input
.(a period symbol). This is the Regular Expression for “any character or symbol” and is the equivalent to “is not blank”.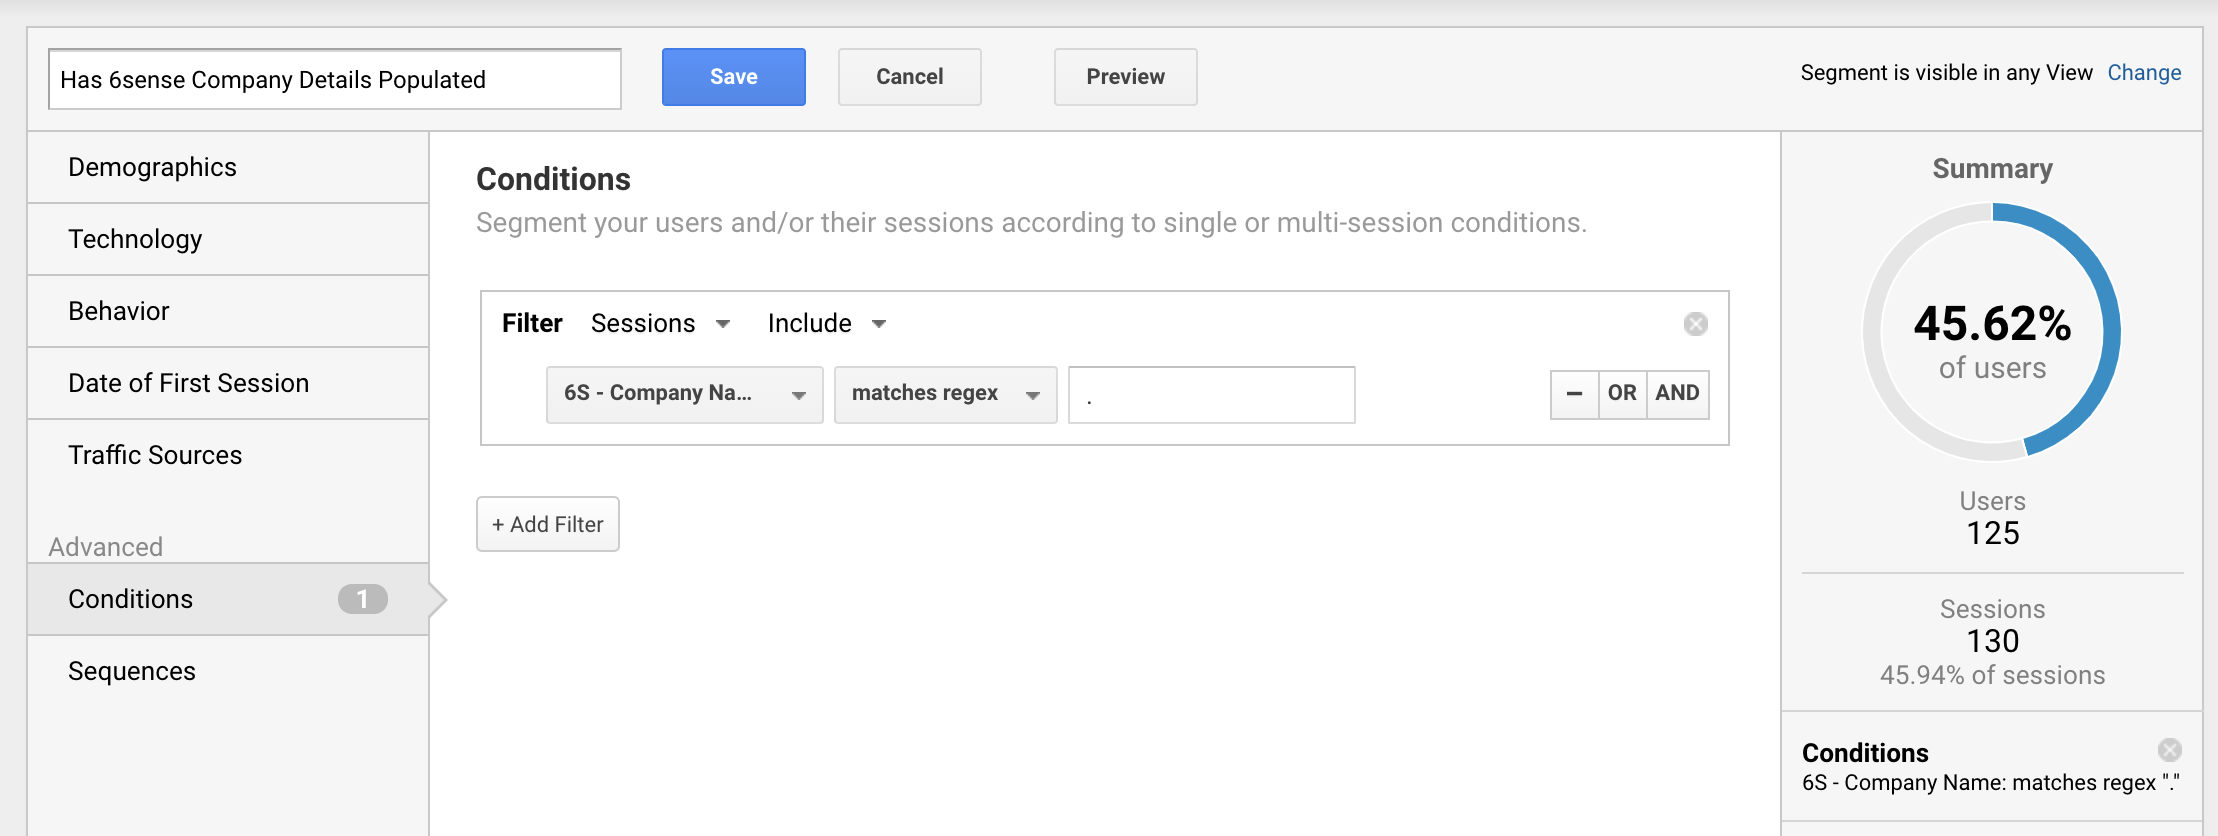
Step 4
Review the Summary pane to the right. This will show you the proportion of users for the time period selected that fall into this segment.
If you still do not see any counts to the right, either the Google Analytics Custom dimensions were not configured correctly (revisit 6sense & Google Analytics) or simply more data needs to be collected on the website. Please wait 24 hours or so for more data to collect.
Step 5
Save the segment to see the results. Compare this segment to your “All Users” segment to see the proportion of traffic that is identified vs. not identified by the 6sense Company Identification API.

Appendix
Company Identification API Response Sample
{
  "confidence": "Very High",
  "company": {
    "naics_description": "Software Publishers",
    "zip": "94107",
    "employee_count": "200",
    "country": "United States",
    "address": "450 Mission",
    "city": "San Francisco",
    "employee_range": "100 - 249",
    "industry": "Software and Technology",
    "sic": "7372",
    "revenue_range": "",
    "country_iso_code": "US",
    "phone": "(415) 212-9225",
    "domain": "6sense.com",
    "name": "6sense",
    "state": "California",
    "region": "Northern America",
    "naics": "5112",
    "annual_revenue": "",
    "sic_description": "Prepackaged Software"
  },
  "scores": [
    {
      "product": "cloud_services",
      "intent_score": 79,
      "buying_stage": "Decision",
      "profile_score": 49,
      "profile_fit": "Weak"
    },
    {
      "product": "onprem_support",
      "intent_score": 5,
      "buying_stage": "Target",
      "profile_score": 21,
      "profile_fit": "Weak"
    }
  ],
  "segments": {
    "ids": [
      123123,
      456456,
      119900,
      226688
    ],
    "names": [
      "Web Visitors Last 30 days",
      "Accounts with 10+ Impressions",
      "Accounts renewal 45 Days",
      "Competitive Takeout Campaign Oct19"
    ],
    "list": [
      {
        "name": "Web Visitors Last 30 days",
        "id": 123123
      },
      {
        "name": "Accounts with 10+ Impressions",
        "id": 456456
      },
      {
        "name": "Accounts renewal 45 Days",
        "id": 119900
      },
      {
        "name": "Competitive Takeout Campaign Oct19",
        "id": 226688
      }
    ]
  }
}